BATTERY & ADAPTER INSTALLATION
Home Receiver Unit:
Main Power Source: Plug in the 6.0 V adapter into the adapter
socket at the back for basic operation and continuous backlight.
Backup Power: Open the battery door, install 3 pieces of AAA
backup batteries according to the polarity indicated, close the
battery cover.
Remote Sensor:
Loosen the screws on the battery door with a small
screwdriver, insert 2 pieces of AAA batteries according to the
polarity indicated. Replace the cover and tighten the screws.
INITIAL SETTING
After battery installation of the main unit, the weather icons
will flash. Press [UP] or [DOWN] to select local weather condition
as initial setting. Press [CLOCK] to confirm and exit. (Refer
“WEATHER FORECAST” section for details).
SETTING UP THE WIRELESS THERMO-HYGROMETER:
1. For the first installation, always turn on the home unit and
then the remote sensor. Set Channel 1 for the first remote sensor.
Set channel 2 and channel 3 for the 2
nd
and 3
rd
sensor.
2. Press and hold [SNOOZE/CHANNEL/LIGHT] button on
main unit until a beep is sound to search for remote sensor.
Temperature & humidity readings will flash indicating it is in the
searching mode.
3. Press the [Tx] button inside the battery compartment of
remote sensor to transmit RF signal.
4. When RF connection is established, the respective
temperature & humidity of the selected channel will appear on
the main unit.
WEATHER FORECAST
The unit predicts weather condition of the next 12 – 24 hours
based on the change of atmospheric pressure. The coverage area
is around 30 – 50 km. The weather forecast is based on atmo-
spheric pressure change and is about 70-75% correct. As weath-
er conditions cannot be 100% correctly forecasted, we cannot be
responsible for any loss caused by an incorrect forecast.
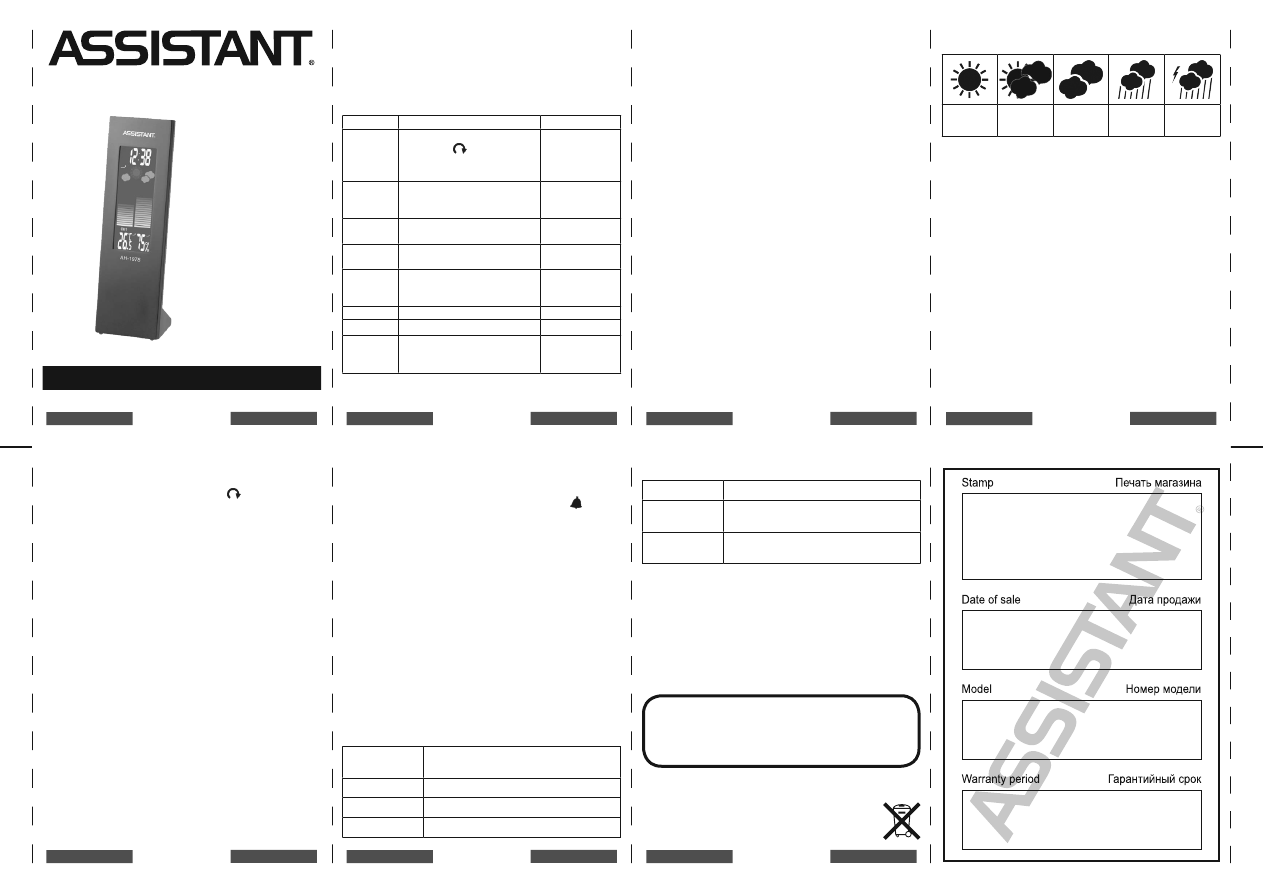
SUNNY
PARTLY
CLOUDY
CLOUDY
RAINY
STORMY
To obtain an accurate weather forecast, you need to input
your current weather condition as initial setting. After the re-
set of the unit, Press [UP] or [DOWN] to select the local weath-
er condition as initial weather forecast setting. Press [CLOCK] to
confirm and exit.
You may also set the weather forecast by holding [CLOCK]
button to enter the setting mode. Press [CLOCK] repeatedly to
skip the clock & calendar setting until the weather icon flashes.
Press [UP] or [DOWN] to select local weather condition. Press
[CLOCK] to confirm and exit.
12/24hr format > Hr > Min > Yr > D/M or M/D format >
Month > Date > Weather Forecast > EXIT
NOTE:
Different geographical location such as inland area or coastal
region has different weather forecasting response. In case your
weather forecast always show rainy or stormy over a long peri-
od of time and does not reflect the actual weather condition, it is
necessary to follow above setting procedure for fine tuning the
weather forecast’s accuracy.
IN/OUT TEMPERATURE & HUMIDITY
Temperature reading is located on the lower left of the display
and humidity is on the lower right.
Press [C/F] button to select temperature unit C/F.
english
– 2 –
english
WEATHER STATION WITH COLOUR
DISPLAY
english
– 3 –
english
Press [SNOOZE/CHANNEL/LIGHT] button to select indoor,
Ch1, Ch2, Ch3 and auto-channel scrolling [
] display modes.
COLOR BAR GRAPHS
The color graphs are designed as an intuitive way to gauge
the weather at a glance.
The left color bar graph represents the respective In/
Out temperature of the current display mode. The right
graph represents the respective In/Out humidity. As the
measurements change, the number of illuminated bars
changes automatically.
MAXIMUM/MINIMUM MEMORY
Press [MEM] button repeatedly to view the maximum &
minimum values of temperature & humidity readings. To clear
the memory record, hold [MEM] button while the respective
values are displaying on screen.
TEMPERATURE & HUMIDITY TREND INDICATOR
The icons will indicate Rising, Steady, Falling if the temperature
or humidity change is more than 1 degree C (or 2 degree F) within
an hour.
CLOCK & CALENDAR
Press [CLOCK] to toggle display between time, calendar and
day of the week.
Hold [CLOCK] button to enter clock setting mode. Using [UP]
or [DOWN] to adjust and [CLOCK] to confirm, the following
values can be set in sequence:
12/24hr format > Hr > Min > Yr > D/M or M/D format > Month
> Date > Weather Forecast > EXIT
HOME TIME WORLD (ZONE) TIME
Hold [ZONE] to enter world (zone) time setting mode. Press
[UP] or [DOWN] to enter the desired hour offset value from –12
to +12 hours. Press [CLOCK] to confirm and exit.
Press [ZONE] button to toggle between home time and world
(zone) time. “ZONE” icon appears when world (zone) time is se-
lected. When zone time is not used, set zone time to “0”.
ALARM SETTING
Press [ALARM] to show alarm time and “AL” icon will appear.
Press again to enable or disable the alarm. Bell icon “ ” appears
when alarm is enabled.
Hold [ALARM] to enter alarm time setting mode. Press [UP] or
[DOWN] to enter the desired Hr/ Min values and press [ALARM]
to confirm setting.
SNOOZE & BACKLIGHT
When alarm is going off, press [SNOOZE/CHANNEL/
LIGHT] to trigger snooze alarm and “Zz” icon will appear. To
stop alarm for one day, press [ALARM] key.
Press [SNOOZE/CHANNEL/LIGHT] for an extended back-
light if adapter is not connected.
Press [LIGHT ON/OFF] to turn on or off the backlight when
adapter is connected.
LOW BATTERY INDICATION
Low battery indication is available for the home unit itself and
all of the 3 remote channels. Replace the batteries and follow the
setup procedure in this instruction manual.
BATTERY DISPOSAL
Replace only with the same or equivalent type recommended
by the manufacturer.
Please disposal of old, defective batteries in an environmentally
friendly manner in accordance with the relevant legislation.
SPECIFICATIONS
Indoor
Temperature:
0 C to + 50 C (+32 F to +122 F)
Humidity:
20% - 99% RH
Remote sensor -20 C to +60 C (-4 F to +140 F)
Channel:
max. 3 remote sensors
Transmission:
up to 30M in open area, RF434 MHz
Resolution:
0.1 degree C for temperature, 1% for
humidity
Power:
6.0V adapter & AAA x 3 pcs for main unit
AAA x 2 pcs for remote sensor
english
– 4 –
english
english
– 6 –
english
english
– 7 –
english
english
– 5 –
english
english
– 1 –
english
Model AH-1978
Thank you for purchasing the new generation color
weather station. Designed and engineered with the state-of-
art technology and components, this instrument will provide
accurate and reliable measurement of weather forecast, indoor/
outdoor temperature & humidity as well as an alarm clock. Read
this manual carefully to fully explore the features and functions
of the new product.
NAME AND FUNCTIONS OF BUTTONS
Press Functions
Hold 3 seconds
SNOOZE/
CHANNEL/
LIGHT
Select indoor, Channel 1,2,3,
auto scroll [
]
Trigger snooze alarm & extend
backlight
Search for
remote sensor
CLOCK
Read time, calendar and day-
of-week
Set Clock,
Calendar &
Weather
ALARM
Read alarm time; enable/
disable alarm
Alarm time
setting
MEMORY
Read max/min temperatures
& humidity
Clear memory
record
ZONE/
DOWN
Toggle time & Zone time/
1 step backward in setting
Zone time
setting/Fast
backward
UP
1 step forward in setting
Fast advance
C/F
Toggle degree C & F unit
LIGHT ON/
OFF
Turn on/off continuous
backlight when adapter is
connected
OPERATION MANUAL
WWW.TIWELL.COM
WWW.ASSISTANT.UA
Made in China


