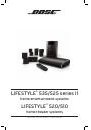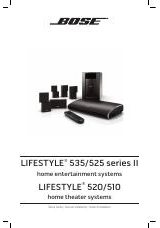
LIFESTYLE
®
535/525 series II
home entertainment systems
LIFESTYLE
®
520/510
home theater systems
Setup Guide | Guía de instalación | Guide d’installation
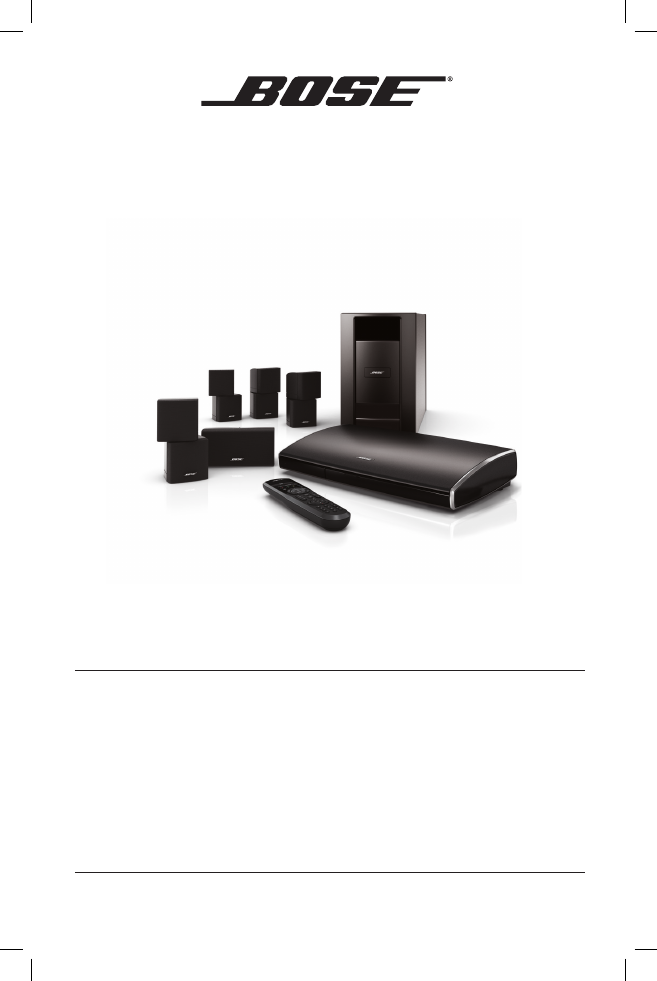
LIFESTYLE
®
535/525 series II
home entertainment systems
LIFESTYLE
®
520/510
home theater systems
Setup Guide | Guía de instalación | Guide d’installation