H-CDM8033
CD/MP3-RECEIVER CD/MP3-
Instruction manual
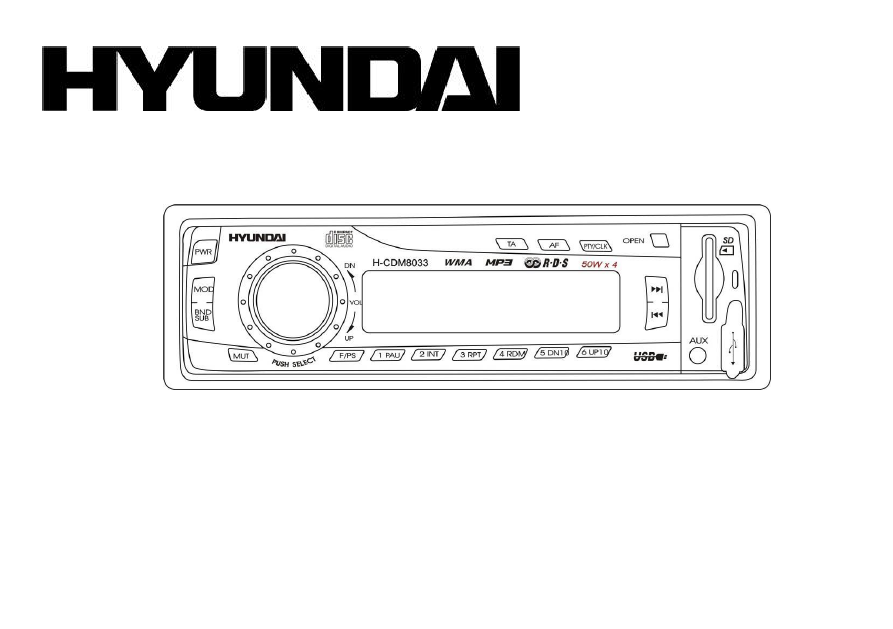
H-CDM8033
CD/MP3-RECEIVER CD/MP3-
Instruction manual