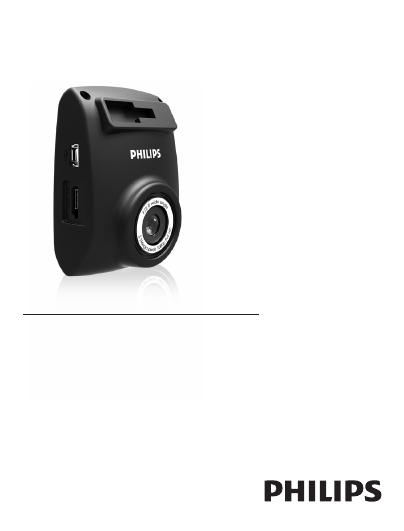
Driving video recorder
EN
Driving video recorder
DE Fahrzeug-Videokamera
ES
Grabador de conducción para automoción
FR
Caméra embarquée pour voiture
IT
Videocamera per auto
PL
Samochodowy rejestrator jazdy
PT
Gravador de condução para automóvel
RU
Видеорегистратор
ADR610