ENGLISH
Introduction
Congratulations on your purchase and welcome to
Philips! To fully benefit from the support that Philips
offers, register your product at
www.philips.com/
welcome
.
Important safety information
Read this important information carefully before
you use the appliance and its accessories and save
it for future reference. The accessories supplied
may vary for different products.
Warning
- This appliance can be used by children aged
from 8 years and above and persons with
reduced physical, sensory or mental capabilities
or lack of experience and knowledge if they
have been given supervision or instruction
concerning use of the appliance in a safe way
and understand the hazards involved.
Children shall not play with the appliance.
Cleaning and user maintenance shall not be
made by children without supervision.
- Always check the appliance before you use
it. Do not use the appliance if it is damaged,
as this may cause injury. Always replace a
damaged part with one of the original type.
Caution
- This appliance is not washable.
Never immerse the appliance in water and do
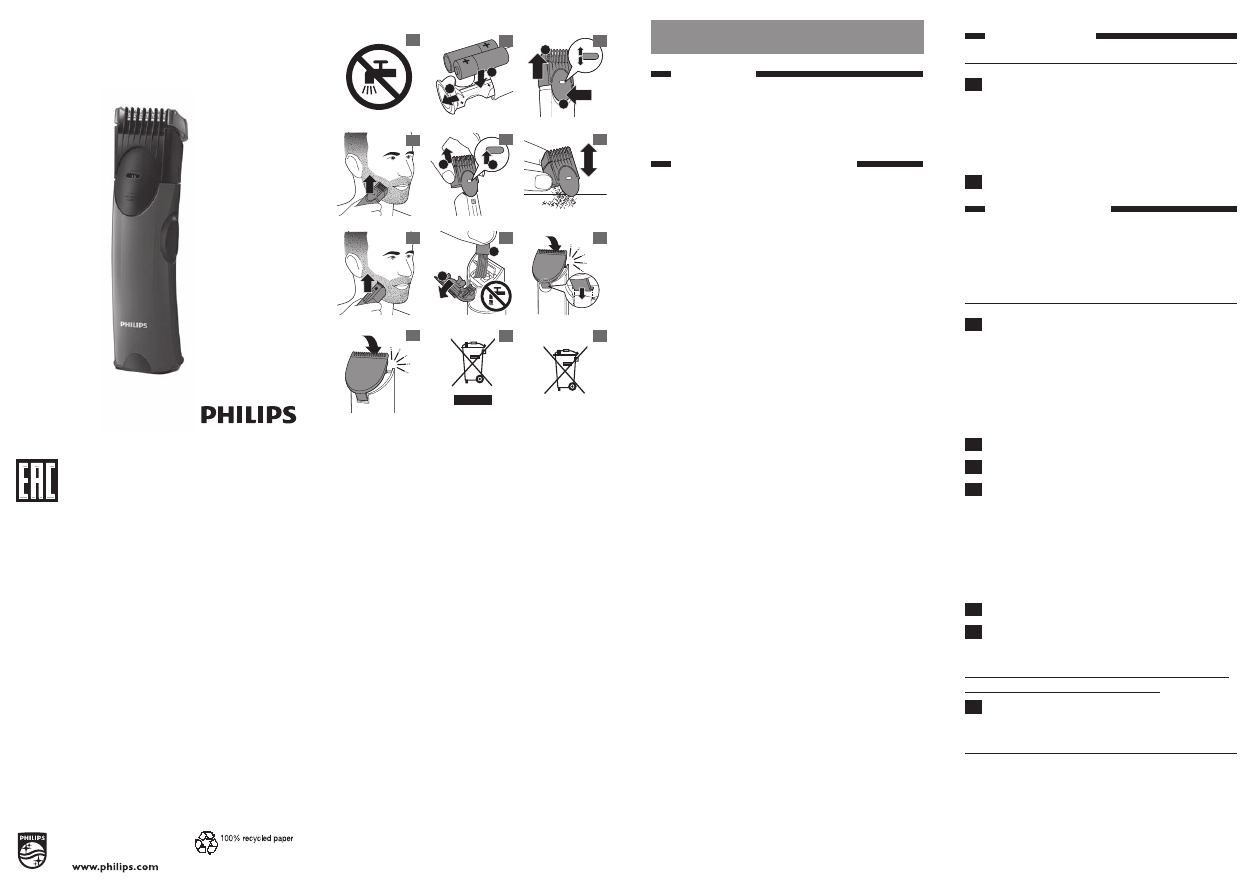
not rinse it under the tap (Fig. 1).
- Only use this appliance for its intended
purpose as shown in the user manual.
- For hygienic reasons, the appliance should only
be used by one person.
- Never use compressed air, scouring pads,
abrasive cleaning agents or aggressive liquids
such as petrol or acetone to clean the appliance.
- Only operate the appliance on 1.5V LR6 AA
batteries.
- Use and store the appliance at a temperature
between 15°C and 35°C.
- Do not expose the appliance to direct sunlight.
- Remove batteries from the appliance if you are
not going to use it for some time.
Electromagnetic fields (EMF)
- This Philips appliance complies with all
applicable standards and regulations regarding
exposure to electromagnetic fields.
General
- Maximum noise level: Lc = 75dB(A)
Preparing for use
Placing the batteries
1
Open the battery holder and put the
batteries into the battery holder. (Fig. 2)
Make sure your hands are dry when inserting the
batteries.
Make sure the + and - poles of the batteries point
in the right direction.
2
Close the battery holder.
Using the appliance
When you trim for the first time, be careful and
test the appliance on a small part of your arm
or leg. Do not move the trimmer too fast, make
smooth and gentle movements.
Trimming with comb
1
Slide the comb to the desired hair length
(Fig. 3).
The hair length in millimeters appears in the
window in the centre of the comb.
Note: When you trim for the first time, start at the
highest length setting to familiarise yourself with the
appliance.
2
Switch on the appliance.
3
Place the trimmer on the skin.
4
Move the trimmer slowly over the skin
against the direction of the hair growth while
pressing it lightly (Fig. 4).
Make sure the flat surface of the comb always stays
in contact with the skin.
If a lot of hair has accumulated in the
comb:
1
Make sure the appliance is switched off.
2
Slide the comb to the highest setting and pull
it off the appliance (Fig. 5).
Never pull off the comb at the flexible top part,
always pull it off at the bottom part.
3
Blow and/or shake the hairs out of the comb
(Fig. 6).
Trimming without comb
Use the trimmer without comb to trim full bears
and single hairs.
Note: The comb keeps the cutting unit at a certain
distance from the skin. If you use the trimmer without
comb, the hair will be cut off at the point where the
cutting unit touches the hair.
4222.002.8632.1
BT1005, BT1000
Register your product and get support at
www.philips.com/welcome
1
1
2
2
1
2
1,5
3
5
7
3
4
1 5
3
5
7
1
2
5
6
7
1
2
8
9
10
11
12


