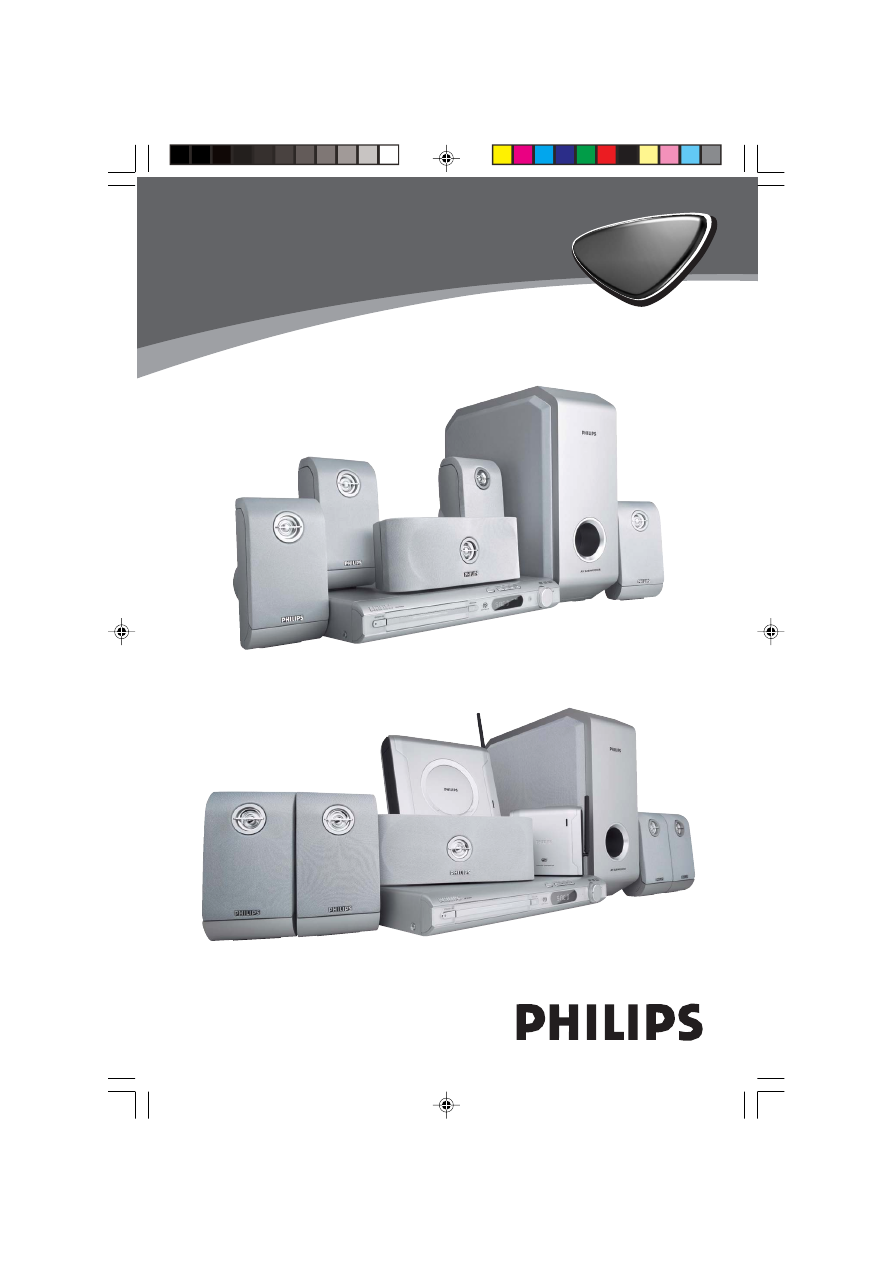
DVD VIDEO DIGITAL SURROUND SYSTEM
LX3900SA • LX3950W
DVD HOME
CINEMA
SYSTEM
DVD HOME
CINEMA
SYSTEM
LX3900SA
LX3950W
001-041-LX39-22-Eng1
12/12/2003, 10:20 AM
1
DVD VIDEO DIGITAL SURROUND SYSTEM
LX3900SA • LX3950W
DVD HOME
CINEMA
SYSTEM
DVD HOME
CINEMA
SYSTEM
LX3900SA
LX3950W
001-041-LX39-22-Eng1
12/12/2003, 10:20 AM
1