CYCLECOMPUTING
INSTRUCTION MANUAL
BEDIENUNGSANLEITUNG
MANUEL D´INSTALLATION ET D´UTILISATION
MANUALE D´INSTALLAZIONE E FUNZIONAMENTO
INSTALACION Y OPERACIÓN MANUAL
HANDLEIDING
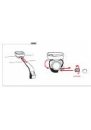
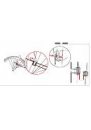
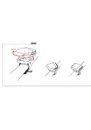
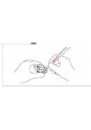
HC12.6
CYCLECOMPUTING
INSTRUCTION MANUAL
BEDIENUNGSANLEITUNG
MANUEL D´INSTALLATION ET D´UTILISATION
MANUALE D´INSTALLAZIONE E FUNZIONAMENTO
INSTALACION Y OPERACIÓN MANUAL
HANDLEIDING
HC12.6