MANUAL V3.0
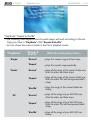
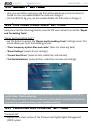
5, 5g & 7
TRANSfERRING fILES > P. 51
5g
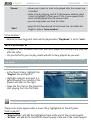
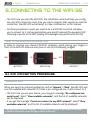
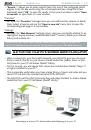
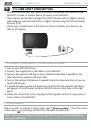
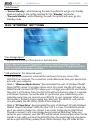
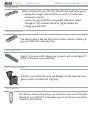
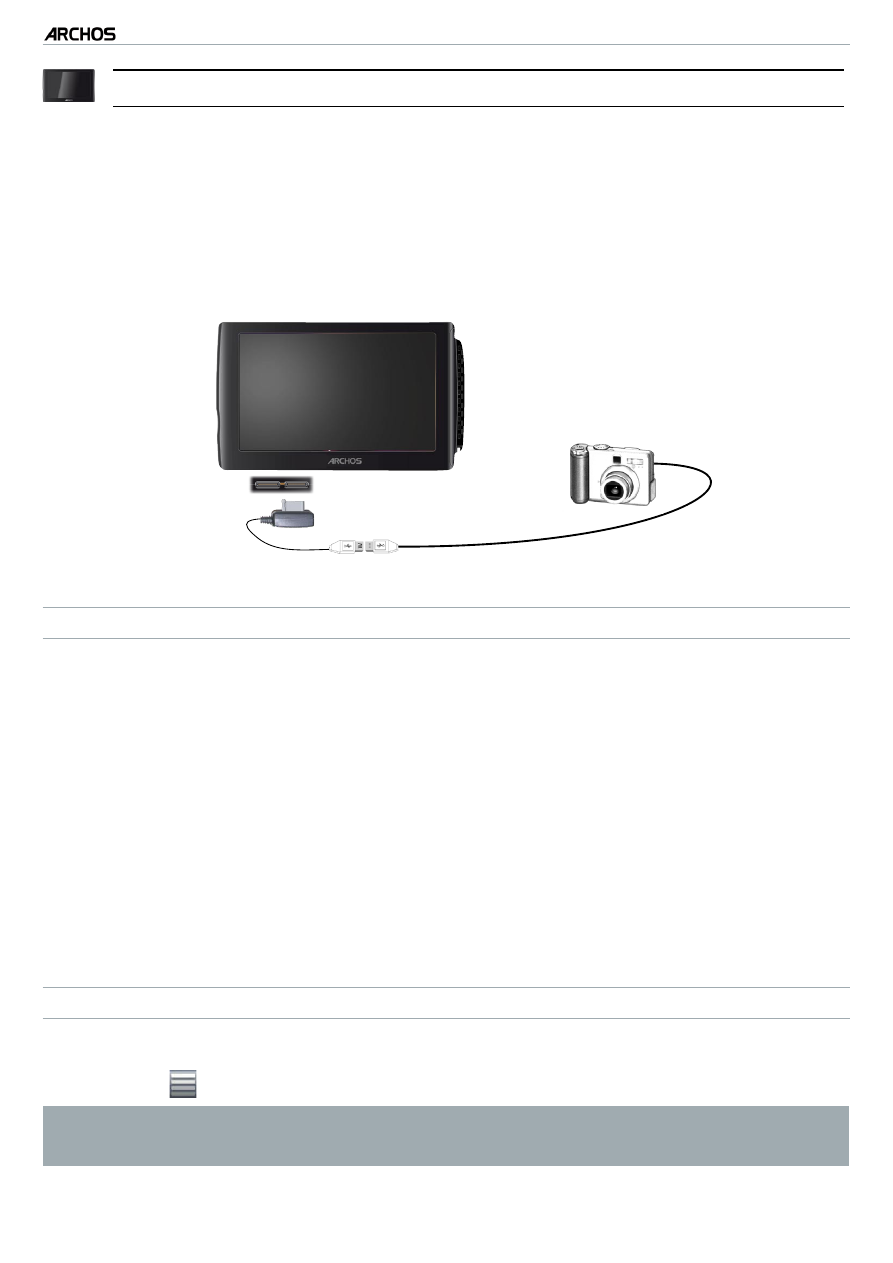
7.4 usb hOsT COnneCTIOn
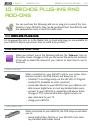
Thanks to the USB Host port, you can connect compatible USB devices to the
ARCHOS, in order to transfer files or pictures to your
ARCHOS.
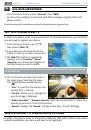
These devices can be Mass Storage Class (MSC) devices, such as digital cameras,
card readers or external hard drives, or digital cameras using the Picture Transfer
Protocol (PTP).
Check your manufacturer’s information to find out whether your device is an
MSC or PTP device.
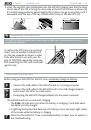
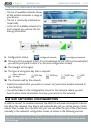
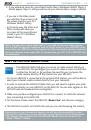
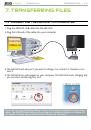
To CoNNECT A USb dEVICE To YoUR ARCHoS dEVICE:
Turn on your ARCHOS device.
Connect the supplied host USB cable to your ARCHOS.
Connect the external USB device (use a standard USB cable if needed) to the
other end of the supplied USB host cable.
Turn on the external USB device if needed (check the documentation of your ex-
ternal USB device).
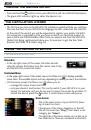
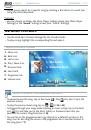
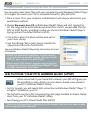
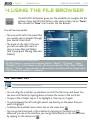
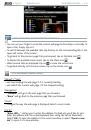
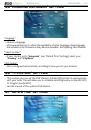
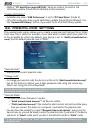
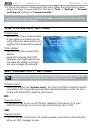
A double browser window will appear on the ARCHOS: the external USB device
will appear in the left panel, and your ARCHOS device’s hard drive in the right
panel.
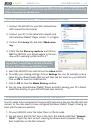
Follow the instructions in the
Copying and Moving Files section to copy your pic-
tures or files to the ARCHOS.
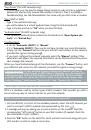
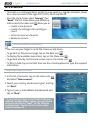
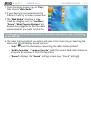
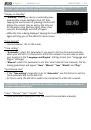
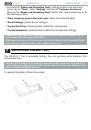
To dISCoNNECT:
Make sure that no transfer is being made, select “
Remove safely...
” (from the Home
screen menu
), and simply pull out the USB cable on either end.
Note : you may not always be able to copy files to your external USB device
from your ARCHOS.
•
•
•
1.
2.
3.
4.
5.
6.