1
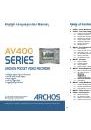
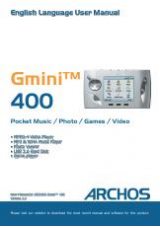
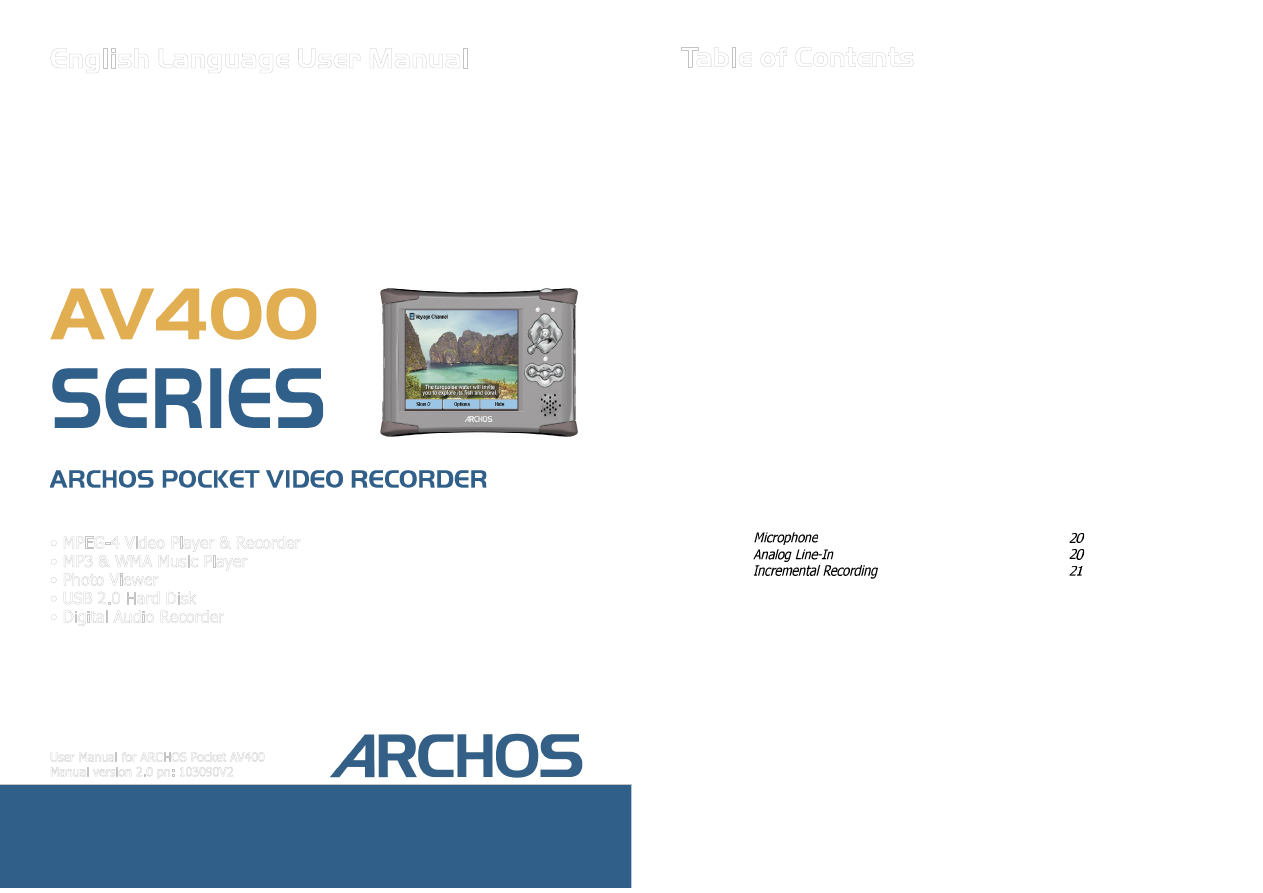
• MPEG-4 Video Player & Recorder
• MP3 & WMA Music Player
• Photo Viewer
• USB 2.0 Hard Disk
• Digital Audio Recorder
User Manual for ARCHOS Pocket AV400
Manual version 2.0 pn: 103090V2
English Language User Manual
Please visit our website to download the most recent manual and software for this product.
2
Table of Contents
1 INTRO - Ports, Buttons and Connections
6
2 INTRO - First Time Usage
8
2.1
Plugging in the AC Adapter
8
2.2
Turning on the AV400
8
2.3
Shutting off the AV400 and Battery saving features
8
2.4
Changing the Language
9
2.5
Foreign Character Sets
9
2.6
Charging the Batteries
9
2.7
Caring for the AV400
10
2.8
Hardware Reset
10
3 MUSIC - Playing Music Files
11
3.1
Button Control
11
3.2
Playing Through your Stereo System
12
3.3
Artist, Album, Title … ID3 Tags
13
3.4
The ARCLibrary (Browsing by Album, Artist, or Song name)
13
3.5
Setting a Bookmark
14
3.6
The Resume Function
15
4 MUSIC - Playlists
16
4.1
Playing a Playlist
16
4.2
Creating a Playlist
17
4.3
Saving a Playlist
17
4.4
Adding songs to a Playlist while listening to Music
18
5 MUSIC - Recording Music
19
5.1
Cable Connections for Audio Recording
19
5.2
Recording Procedure
19
5.3
Where is the Recording Saved?
21
5.4
Audio Editing
21
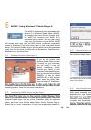
6 MUSIC - Using Windows™ Media Player 9
23
6.1 Installing Windows Media Player 9
23
6.2
Installing the WMP9 Service Provider Plug-in
23
6.3
Copying Music to your AV400
24
7 MUSIC - Using iTunes™ with your AV400
25
8 VIDEO - Playing Video
26
8.1
Setting a Bookmark
27
8.2
The Resume Function
27
8.3
Display Format Settings
28
8.4
Playing Video Files from the Internet
28