1
GB
English,1
Contents
Installation, 2-3
Unpacking and levelling, 2
Electric and water connections, 2-3
The first wash cycle, 3
Technical details, 3
Washing machine description, 4-5
Control panel, 4
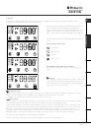
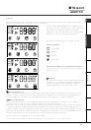
Display, 5
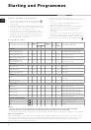
Starting and Programmes, 6
Briefly: how to start a programme, 6
Programme table, 6
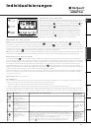
Personalisations, 7
Setting the spin cycle, 7
Setting the temperature, 7
Setting the Delay Start, 7
Functions, 7
Detergents and laundry, 8
Detergent dispenser, 8
Bleach cycle, 8
Preparing your laundry, 8
Special items, 8
Woolmark Platinum Care, 8
Precautions and advice, 9
General safety, 9
Disposal, 9
Saving energy and respecting the environment, 9
Care and maintenance, 10
Cutting off the water or electricity supply, 10
Cleaning your appliance, 10
Caring for your appliance door and drum, 10
Cleaning the pump, 10
Checking the water inlet hose, 10
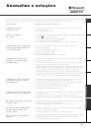
Troubleshooting, 11
Service, 12
Before calling for Assistance, 12
WASHING MACHINE
EXT 1400
Instructions for use
GB
Deutsch,25
DE
Français,13
F
Nederlands,37
NL
Espanol,49
ES
Português,61
PT