english
– 2 –
english
english
– 3 –
english
english
– 4 –
english
english
– 1 –
english
english
– 6 –
english
english
– 7 –
english
english
– 5 –
english
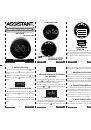
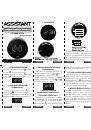
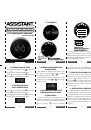
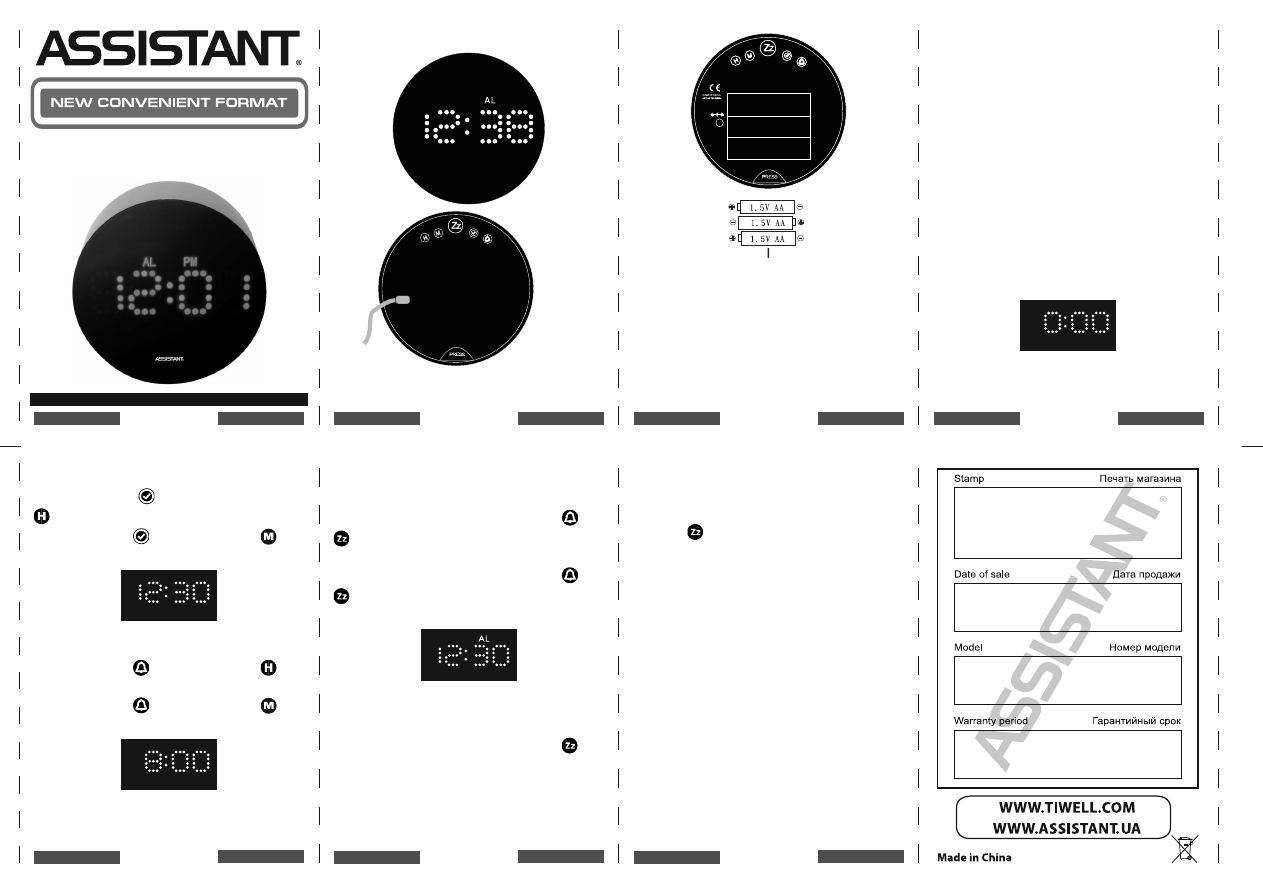
LED CLOCK
Model AH-1025
OPERATION MANUAL
1. INSTALLATION
Plug in DC
jack
Press on the
[
PRESS
]
button
once to open the battery door
Insert 3 x AA as
back up batteries
Plug the AC/DC adaptor into any 230V AC
household outlet. Then open the battery cover at
the back case, plug in the L-shape DC jack into the
opening next to the battery compartment.
2. OPTIONAL BATTERY BACK UP
This clock is equipped with optional battery
back up powered by 3 x AA batteries. If the bat-
tery back up is used when the household pow-
er is interrupted, the batteries will power the
clock to keep track of the time and alarm time.
Push the
[PRESS]
button once at the back case
to open the battery door, insert 3 x AA batteries
by observing the + and - polarity signs inside the
battery compartment. Replace the battery cov-
er. When the back-up batteries activate, the LED
panel is off.
After power up, LED display shows 12:00 (on
12HR format version) or 0:00 (on 24HR format ver-
sion)
3. TO SET TIME
Press and hold
[ ]
button and press button
[ ]
to set hours.
Press and hold
[ ]
button and press
[ ]
but-
ton to set minutes.
4. TO SET ALARM TIME
Press and hold
[ ]
button and press
[ ]
but-
ton to set hours.
Press and hold
[ ]
button and press
[ ]
but-
ton to set minutes.
5. TO TURN ON / OFF
ALARM PERMANENTLY
To turn on the Alarm function, press
[ ]
and
[ ]
at the same time. An “AL” icon will appear on
the top of digits.
To turn off the Alarm function, press
[ ]
and
[ ]
at the same time. The “AL” icon on the LED dis-
play will disappear.
6. TO USE THE SNOOZE ALARM
When time reaches the alarm time, the clock will
beep with the “AL” LED blinking. Press the
[ ]
but-
ton once, the alarm sound will stop with “AL” LED
blinking. Alarm will sound again in 9 minutes.
7. TO STOP THE ALARM
When time reaches the alarm time, the clock
will beep with the ALM LED blinking. Press and
hold the
[ ]
button or any other key until “AL”
LED becomes static. The alarm beep will stop and
will beep again same time next day.
8. RE-SETTING THE CLOCK
(TROUBLE SETTING)
On rare occasions, the clock may display irrelevant
time. This may be caused by electrostatic discharge
or unstable AC power. Unplug the L-shape adaptor
jack at the back of the clock, wait for 1 minute and
then plug the jack back into the back of the clock.
The clock will display 12:00 (AM) default time.
9. CARE OF YOUR CLOCK
Avoid exposing to extreme temperatures, water,
severe shock or corrosive materials. To clean your
clock use a soft damp rag and always unplug the
clock first. Do not tamper with any of the compo-
nents of this clock.