20
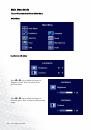
How to install your monitor’s software
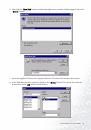
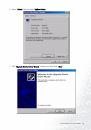
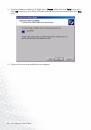
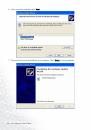
Windows 2000 The first time you start Windows with a new monitor, the system will detect it and
automatically start the “Add New Hardware Wizard”. Carry out the instructions beginning at
step 4.
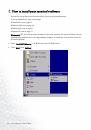
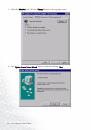
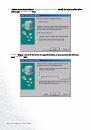
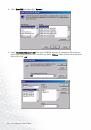
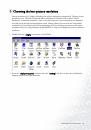
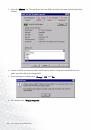
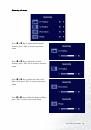
1. Insert “BenQ LCD Monitor” CD-ROM into your CD-ROM Driver.
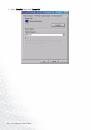
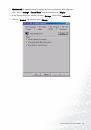
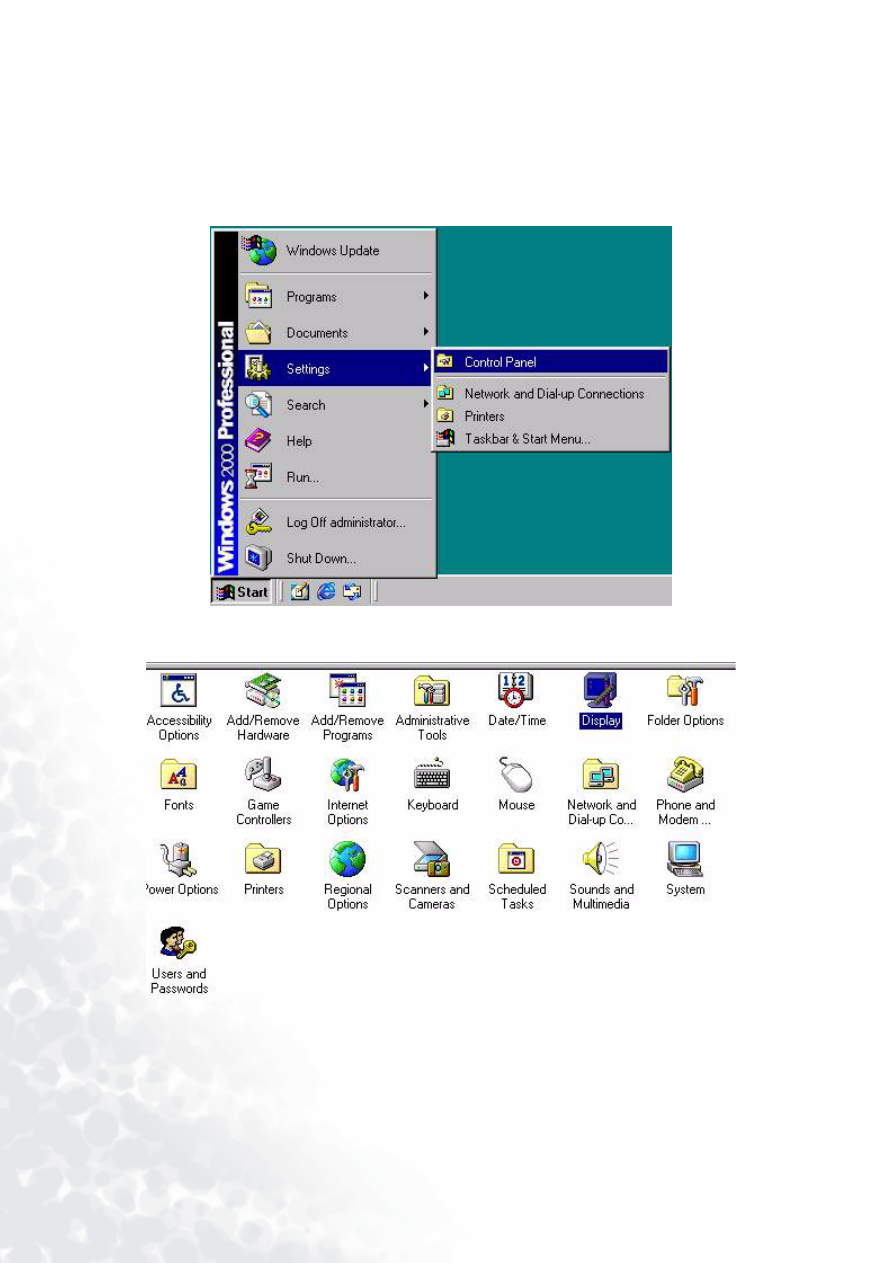
2. Click “Start” then “Settings”.
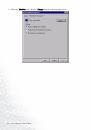
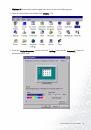
3. Open the Control Panel and double click on the “Display” icon.