7
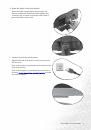
How to install your monitor hardware
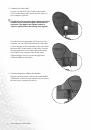
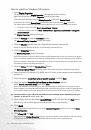
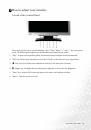
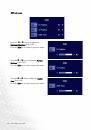
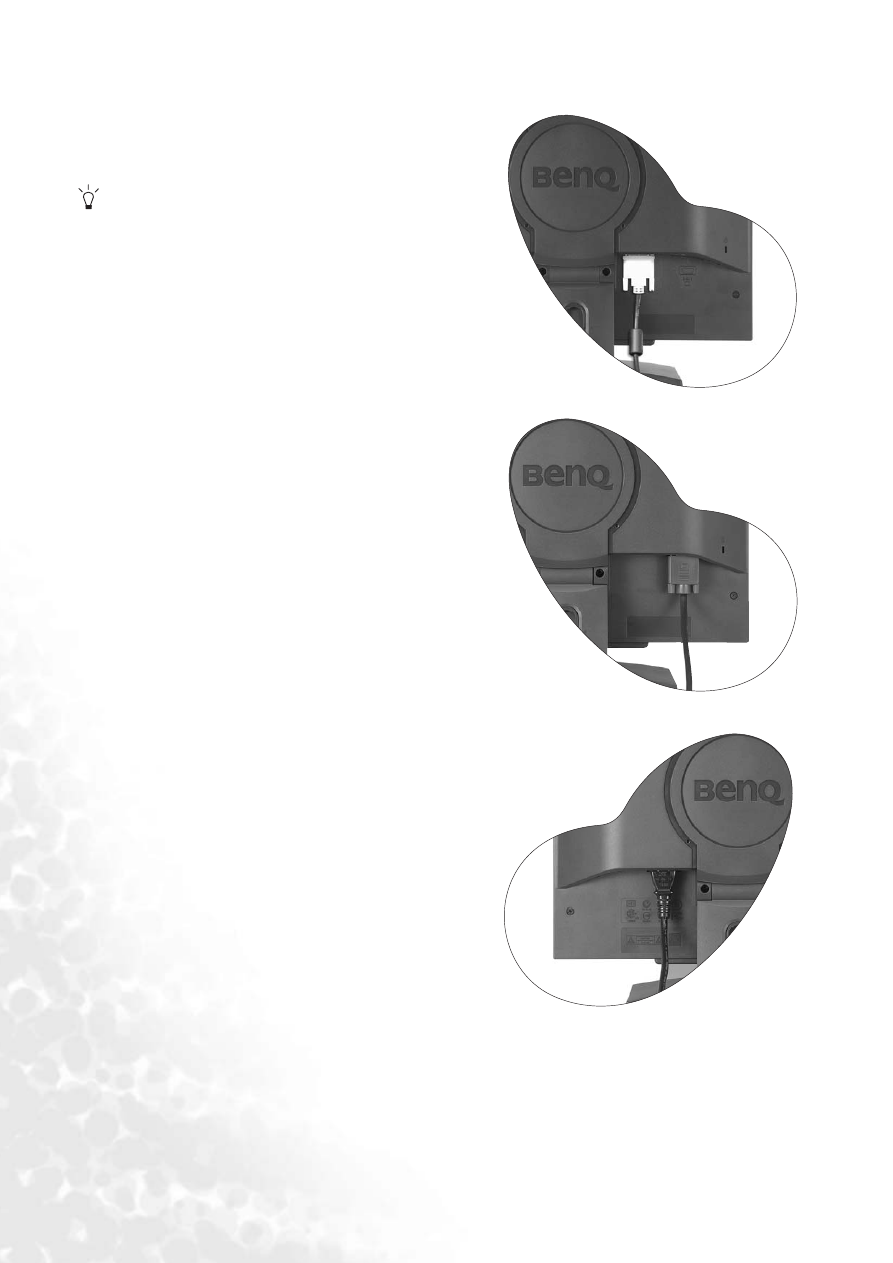
2. Connect the video cable.
Connect one end of the DVI-D cable to the monitor
DVI-D socket and the other and to the DVI-D port on
your computer. (optional)
The DVI-D format is used for direct digital connection
between source video and digital LCD monitors or
projectors. The digital video signals produce a
superior quality picture than analog video signals.
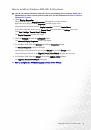
If you don’t have an appropriate DVI-D port on your
computer, you can use the standard video D-Sub cable.
Connect the plug of the D-Sub cable (at the end without
the ferrite filter) to the monitor D-Sub socket. Connect
the other plug of the D-Sub cable (at the end with the
ferrite filter) to the computer video D-Sub socket.
Tighten all finger screws to prevent the plugs from
accidently falling out during use.
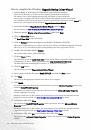
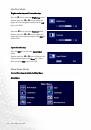
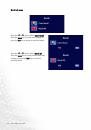
3. Connect the power cable to the monitor.
Plug one end of the power cord into the socket labelled
’POWER IN’ on the rear of the monitor. Do not connect
the other end to a power point just yet.