7
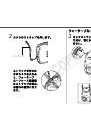
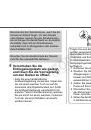
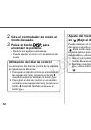
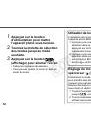
• Fate attenzione a non applicare troppo grasso.
Applicare troppo grasso sulla guarnizione
potrebbe essere causa d’infiltrazioni d’acqua (è
sufficiente una piccola goccia).
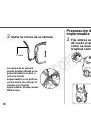
• Per applicare del grasso sulla guarnizione non
usate né della carta né un panno.
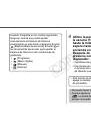
• Una guarnizione impermeabile danneggiata e
incrinata potrebbe causare infiltrazioni d’acqua.
Contattate il Centro Assistenza Canon più
vicino.
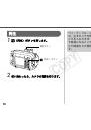
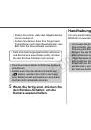
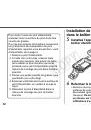
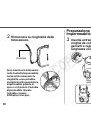
Manutenzione della
guarnizione impermeabile
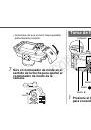
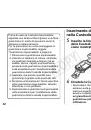
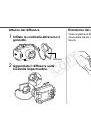
• Lavate l’esterno della Custodia Impermeabile
con acqua pulita (acqua corrente di rubinetto
inferiore a 30 °C ecc.) entro breve tempo
dall’uso. Dopo averla utilizzata nell’acqua
marina, è particolarmente consigliabile
immergerla nell’acqua pulita per qualche ora
per rimuovere depositi di sale.
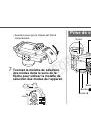
Verificate di aver chiuso saldamente il fermo
in modo da impedire che l’acqua entri nella
custodia.
Le parti metalliche possono
arrugginire o i tasti diventare duri da premere in
caso si formino depositi di sale. Per evitare di
graffiare la Custodia Impermeabile, non
strofinatela se sono presenti residui di sabbia.
Pulitela con un panno morbido e asciutto dopo
averla lavata.
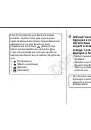
Pulite la parte interna della custodia con un
panno morbido e asciutto. Non lavatela con
acqua.
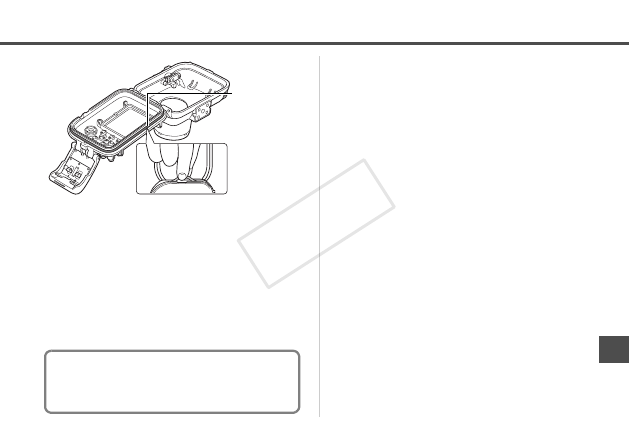
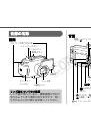
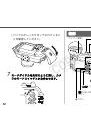
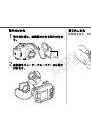
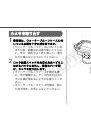
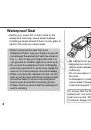
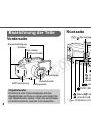
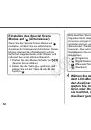
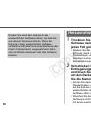
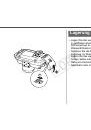
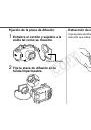
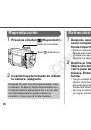
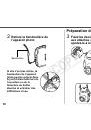
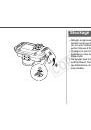
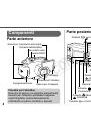
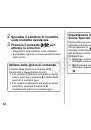
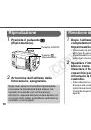
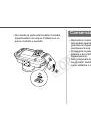
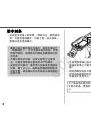
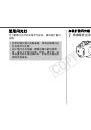
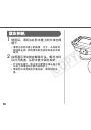
Fig. 1
Guarnizione
impermeabile
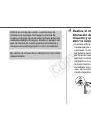
Per mantenere l’impermeabilità della Custodia
Impermeabile, vi raccomandiamo di sostituire
la guarnizione una volta all’anno. Contattate il
Centro Assistenza Canon più vicino.
COP
Y
 1
1
 2
2
 3
3
 4
4
 5
5
 6
6
 7
7
 8
8
 9
9
 10
10
 11
11
 12
12
 13
13
 14
14
 15
15
 16
16
 17
17
 18
18
 19
19
 20
20
 21
21
 22
22
 23
23
 24
24
 25
25
 26
26
 27
27
 28
28
 29
29
 30
30
 31
31
 32
32
 33
33
 34
34
 35
35
 36
36
 37
37
 38
38
 39
39
 40
40
 41
41
 42
42
 43
43
 44
44
 45
45
 46
46
 47
47
 48
48
 49
49
 50
50
 51
51
 52
52
 53
53
 54
54
 55
55
 56
56
 57
57
 58
58
 59
59
 60
60
 61
61
 62
62
 63
63
 64
64
 65
65
 66
66
 67
67
 68
68
 69
69
 70
70
 71
71
 72
72
 73
73
 74
74
 75
75
 76
76
 77
77
 78
78
 79
79
 80
80
 81
81
 82
82
 83
83
 84
84
 85
85
 86
86
 87
87
 88
88
 89
89
 90
90
 91
91
 92
92
 93
93
 94
94
 95
95
 96
96
 97
97
 98
98
 99
99
 100
100
 101
101
 102
102
 103
103
 104
104
 105
105
 106
106
 107
107
 108
108
 109
109
 110
110
 111
111
 112
112
 113
113
 114
114
 115
115
 116
116
 117
117
 118
118
 119
119
 120
120
 121
121
 122
122
 123
123
 124
124
 125
125
 126
126
 127
127
 128
128
 129
129
 130
130
 131
131
 132
132
 133
133
 134
134
 135
135
 136
136
 137
137
 138
138
 139
139
 140
140
 141
141
 142
142
 143
143
 144
144
 145
145
 146
146