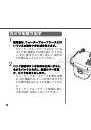
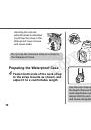
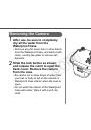
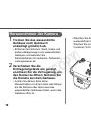
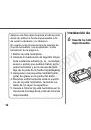
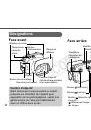
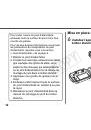
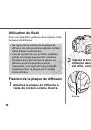
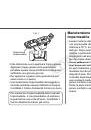
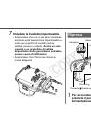
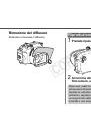
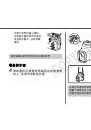
5
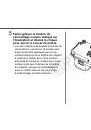
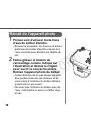
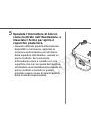
• No dañe la junta hermética, no raye sus
superficies de contacto, ni permita que se
acumule suciedad, arena, pelos, ni otros restos
entre la junta hermética y la funda. Esto podría
provocar filtraciones.
• No utilice la funda impermeable en agua con
una temperatura superior a 40 °C (104 °F). El
calor podría curvarla y provocar la infiltración
de agua.
• No deje la funda protectora impermeable
expuesta a la luz solar directa, dentro de un
automóvil, ni cerca del sistema de calefacción.
El calor podría curvarla y provocar la infiltración
de agua. Cúbrala con una toalla, por ejemplo,
si tiene que dejarla al sol.
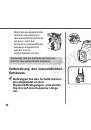
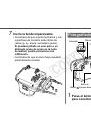
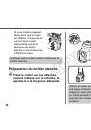
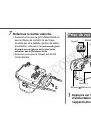
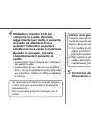
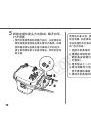
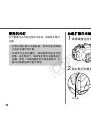
Precauciones de manejo
• No deje caer ni lance la funda impermeable.
• Utilice solamente la grasa de silicona
suministrada. La utilización de otros productos
hermetizadores podría dañar la resistencia de
la funda impermeable al agua. En caso de
haber aplicado por error otro producto
hermetizador, límpielo inmediatamente.
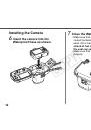
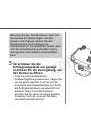
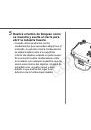
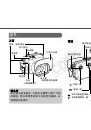
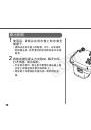
• Evite abrir o cerrar la funda impermeable cerca
del agua. A la hora de instalar la cámara, o
cambiar la tarjeta de memoria o la batería, elija
un lugar con poca humedad alejado del aire
salino del mar.
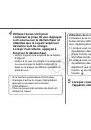
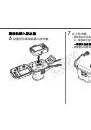
• Evite utilizar la funda impermeable durante
mucho tiempo a gran temperatura.
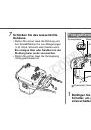
• El ciclo de vida de las batería se reducirá a
bajas temperaturas. Cuando vaya a utilizar la
funda impermeable en un lugar muy frío,
manténgala en una funda cuando no esté
fotografiando. No se aconseja utilizar la funda
impermeable en lugares con temperaturas
inferiores al punto de congelación.
COP
Y
 1
1
 2
2
 3
3
 4
4
 5
5
 6
6
 7
7
 8
8
 9
9
 10
10
 11
11
 12
12
 13
13
 14
14
 15
15
 16
16
 17
17
 18
18
 19
19
 20
20
 21
21
 22
22
 23
23
 24
24
 25
25
 26
26
 27
27
 28
28
 29
29
 30
30
 31
31
 32
32
 33
33
 34
34
 35
35
 36
36
 37
37
 38
38
 39
39
 40
40
 41
41
 42
42
 43
43
 44
44
 45
45
 46
46
 47
47
 48
48
 49
49
 50
50
 51
51
 52
52
 53
53
 54
54
 55
55
 56
56
 57
57
 58
58
 59
59
 60
60
 61
61
 62
62
 63
63
 64
64
 65
65
 66
66
 67
67
 68
68
 69
69
 70
70
 71
71
 72
72
 73
73
 74
74
 75
75
 76
76
 77
77
 78
78
 79
79
 80
80
 81
81
 82
82
 83
83
 84
84
 85
85
 86
86
 87
87
 88
88
 89
89
 90
90
 91
91
 92
92
 93
93
 94
94
 95
95
 96
96
 97
97
 98
98
 99
99
 100
100
 101
101
 102
102
 103
103
 104
104
 105
105
 106
106
 107
107
 108
108
 109
109
 110
110
 111
111
 112
112
 113
113
 114
114
 115
115
 116
116
 117
117
 118
118
 119
119
 120
120
 121
121
 122
122
 123
123
 124
124
 125
125
 126
126
 127
127
 128
128
 129
129
 130
130
 131
131
 132
132
 133
133
 134
134
 135
135
 136
136
 137
137
 138
138