13
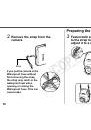
1
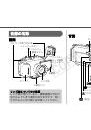
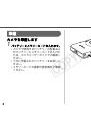
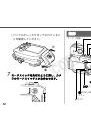
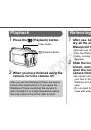
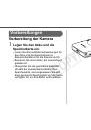
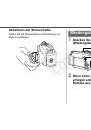
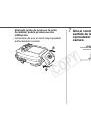
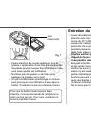
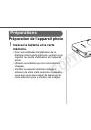
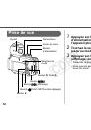
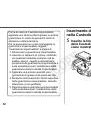
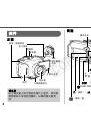
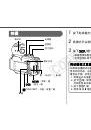
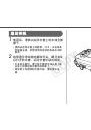
電源ボタンを押して、電源を入れます。
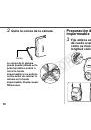
2
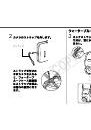
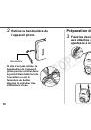
目的のモードにします。
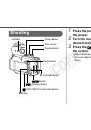
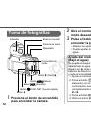
3
l
ボタンを押して画面を表示します。
•
必要に応じて、各設定を行います。
•
ズームレバーで画角を調整できます。
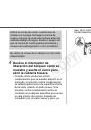
4
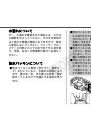
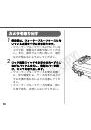
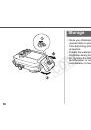
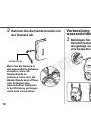
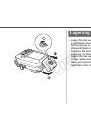
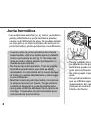
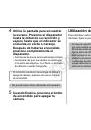
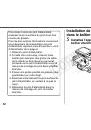
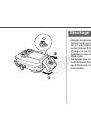
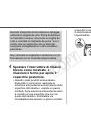
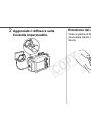
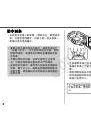
画面を見ながら構図を決めます。シャッ
ターボタンを半押しし、ランプ(背面)が
緑または橙になったら全押しします。
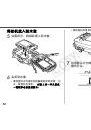
•
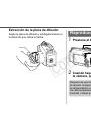
撮影するときは、レンズ窓はいつもきれ
いにしておいてください。
•
撮影時に指がレンズ窓やストロボ、拡散
板にかからないように注意してください。
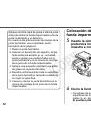
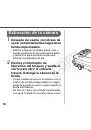
5
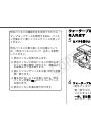
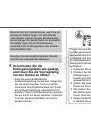
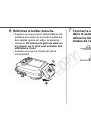
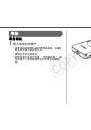
使 い終 わったら、電源 ボタンを押 して
カメラの電源 を切 ります。
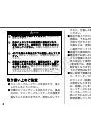
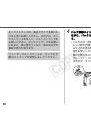
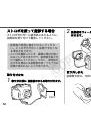
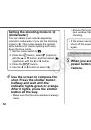
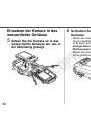
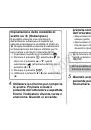
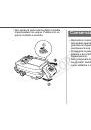
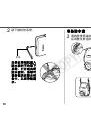
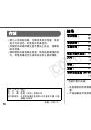
撮影モードを (水中)に設定する
水中で撮影するときに、撮影モードを
S
に
設定すると、水中に最適なホワイトバランス
に設定され、青みをおさえた自然な色あいで
撮影できます。
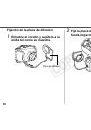
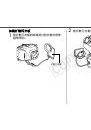
1.
モードスイッチを
4
に合わせます。
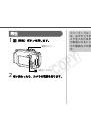
2.
m
ボタンを押し、
op
ボタンで
G
(一番
上)を選択し、
qr
ボタンで
U
(一番
右)を選びます。
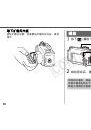
3.
l
ボタンを押します。
4.
qr
ボタンで
S
を選びます。
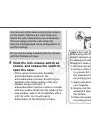
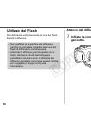
•
節電機能が働いて電源が切れたときは、
再度電源ボタンを押してください。
•
ファインダーを使った撮影はできませ
ん。
COP
Y
 1
1
 2
2
 3
3
 4
4
 5
5
 6
6
 7
7
 8
8
 9
9
 10
10
 11
11
 12
12
 13
13
 14
14
 15
15
 16
16
 17
17
 18
18
 19
19
 20
20
 21
21
 22
22
 23
23
 24
24
 25
25
 26
26
 27
27
 28
28
 29
29
 30
30
 31
31
 32
32
 33
33
 34
34
 35
35
 36
36
 37
37
 38
38
 39
39
 40
40
 41
41
 42
42
 43
43
 44
44
 45
45
 46
46
 47
47
 48
48
 49
49
 50
50
 51
51
 52
52
 53
53
 54
54
 55
55
 56
56
 57
57
 58
58
 59
59
 60
60
 61
61
 62
62
 63
63
 64
64
 65
65
 66
66
 67
67
 68
68
 69
69
 70
70
 71
71
 72
72
 73
73
 74
74
 75
75
 76
76
 77
77
 78
78
 79
79
 80
80
 81
81
 82
82
 83
83
 84
84
 85
85
 86
86
 87
87
 88
88
 89
89
 90
90
 91
91
 92
92
 93
93
 94
94
 95
95
 96
96
 97
97
 98
98
 99
99
 100
100
 101
101
 102
102
 103
103
 104
104
 105
105
 106
106
 107
107
 108
108
 109
109
 110
110
 111
111
 112
112
 113
113
 114
114
 115
115
 116
116
 117
117
 118
118
 119
119
 120
120
 121
121
 122
122
 123
123
 124
124
 125
125
 126
126
 127
127
 128
128
 129
129
 130
130
 131
131
 132
132
 133
133
 134
134
 135
135
 136
136
 137
137
 138
138
 139
139
 140
140
 141
141
 142
142
 143
143
 144
144
 145
145
 146
146