10
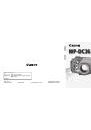
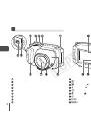
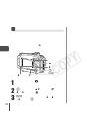
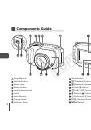
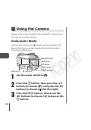
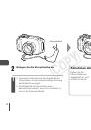
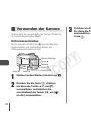
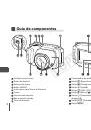
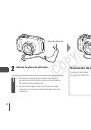
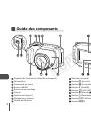
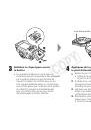
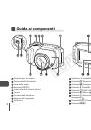
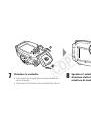
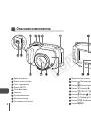
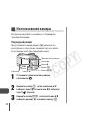
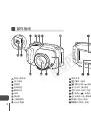
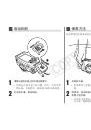
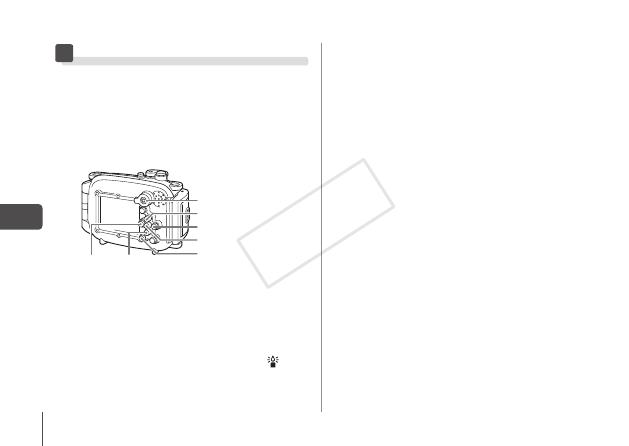
Modus-Schalter
Taste
m
Taste
l
Taste
o
Taste
r
Taste
p
Taste
q
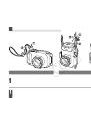
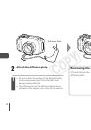
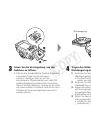
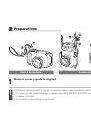
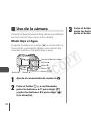
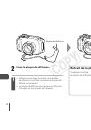
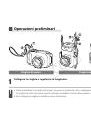
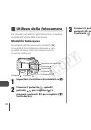
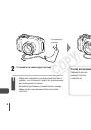
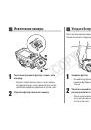
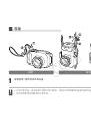
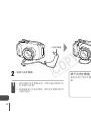
1
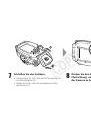
Stellen Sie den Modus-Schalter auf
4
.
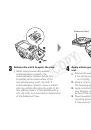
2
Drücken Sie die Taste
m
, drücken
Sie dann die Tasten
op
, um [
G
]
auszuwählen, und drücken Sie
anschließend die Tasten
qr
, um [ ]
(rechts) auszuwählen.
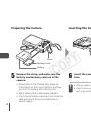
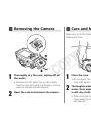
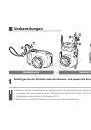
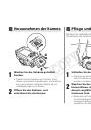
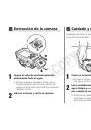
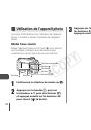
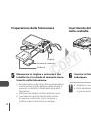
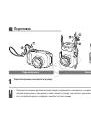
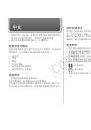
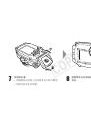
Verwenden der Kamera
Anleitungen zur Verwendung der Kamera finden Sie
im
Kamera-Benutzerhandbuch
.
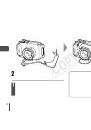
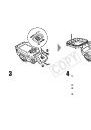
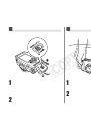
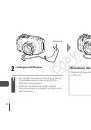
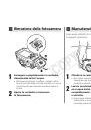
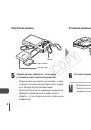
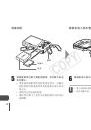
Unterwassermodus
Durch Auswahl des Modus [
S
] werden Blautöne
abgeschwächt und natürlichere Farben bei
Unterwasseraufnahmen erzielt.
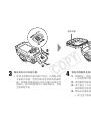
3
Drücken Sie die Taste
l
, drücken
Sie dann die Tasten
q r
, um [
S
]
auszuwählen, und drücken Sie die
Taste
m
.
COP
Y