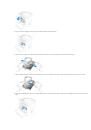
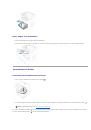
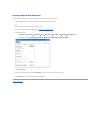
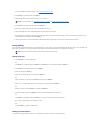
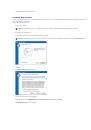
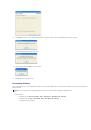
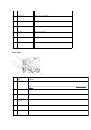
9.
The
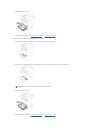
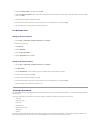
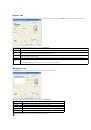
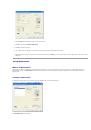
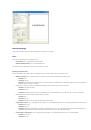
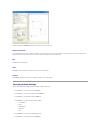
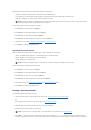
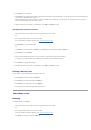
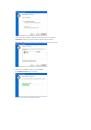
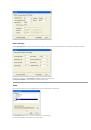
Auto-answer Settings
screen is displayed.
10.
Select the auto-answer setting (default: Yes).
The
Yes (Every incoming...)
setting should be used in conjunction with a dedicated fax line. Check
No (Manually answer...)
if the MFP shares a line
with other devices.
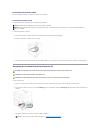
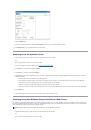
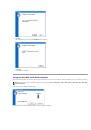
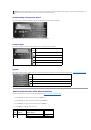
11.
Click
Next
.
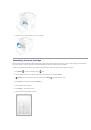
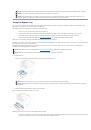
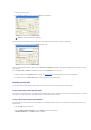
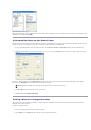
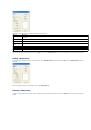
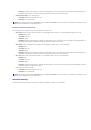
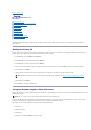
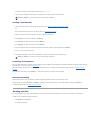
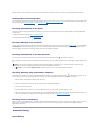
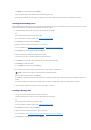
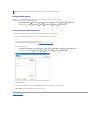
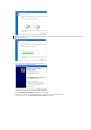
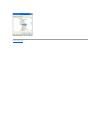
12.
The
Ring Properties
screen is displayed.
Select the number of rings until the MFP answers incoming calls. The default setting is five rings.
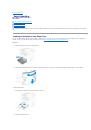
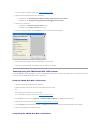
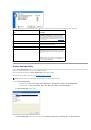
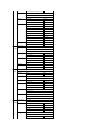
13.
Click
Next
.
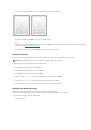
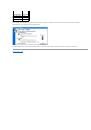
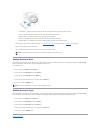
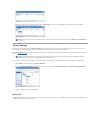
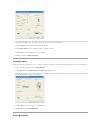
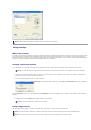
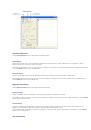
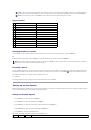
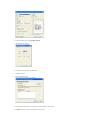
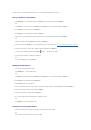
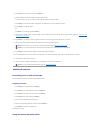
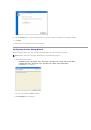
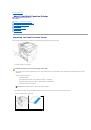
14.
The
Finished
screen is displayed.
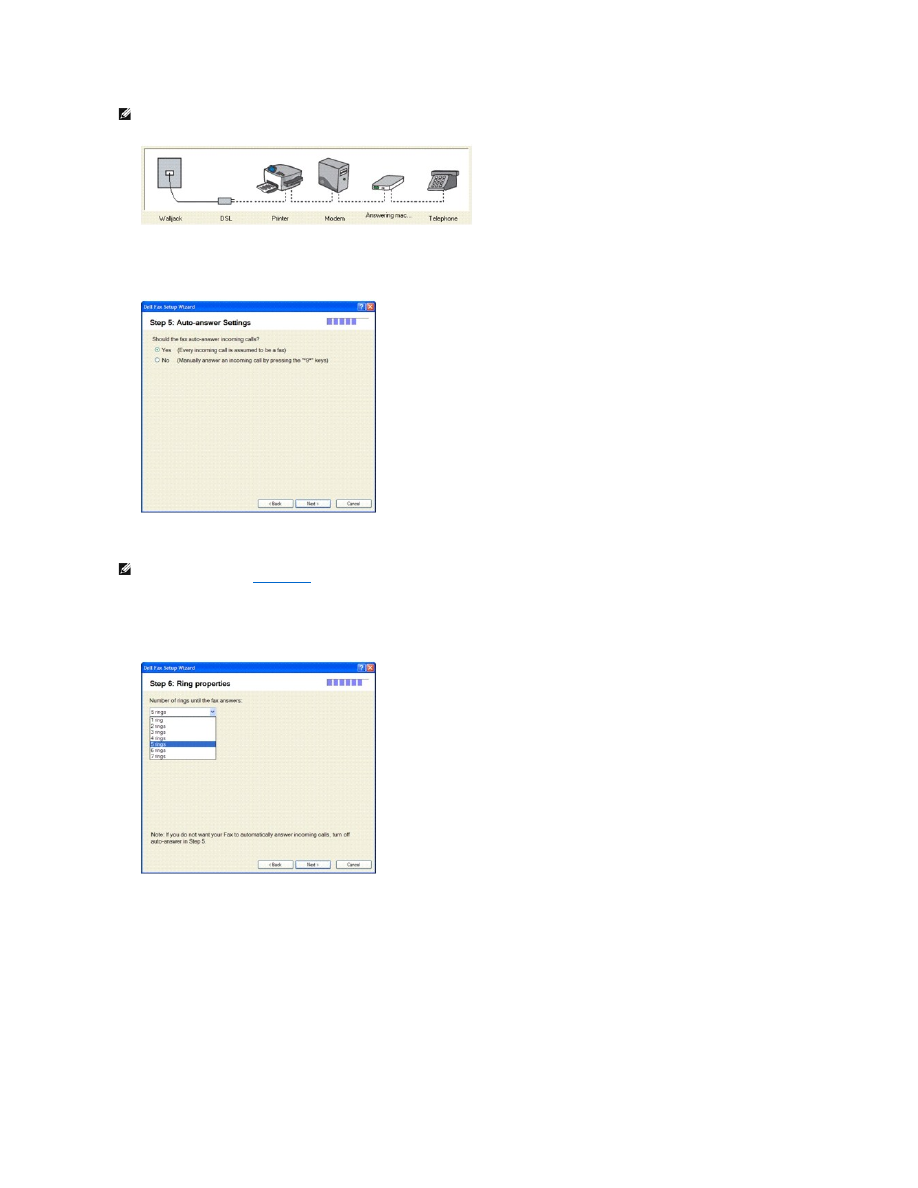
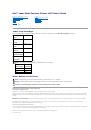
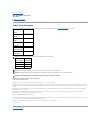
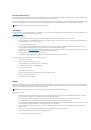
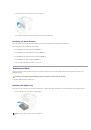
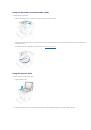
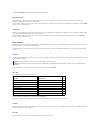
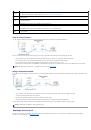
NOTE:
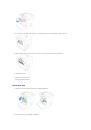
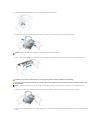
The preview window shows a different setup diagram depending on the selection(s) made. If all of the options are checked, the connection
diagram appears as follows.
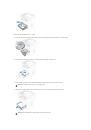
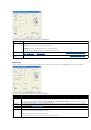
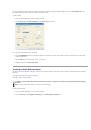
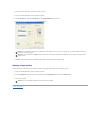
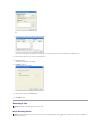
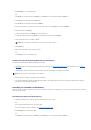
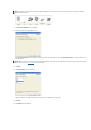
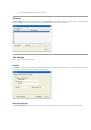
NOTE:
If
No
is selected, any incoming faxes must be answered manually by pressing the user defined Receive Code on the operator panel (the default
Receive Code is *9*). See
Receive Code
for more information.
 1
1
 2
2
 3
3
 4
4
 5
5
 6
6
 7
7
 8
8
 9
9
 10
10
 11
11
 12
12
 13
13
 14
14
 15
15
 16
16
 17
17
 18
18
 19
19
 20
20
 21
21
 22
22
 23
23
 24
24
 25
25
 26
26
 27
27
 28
28
 29
29
 30
30
 31
31
 32
32
 33
33
 34
34
 35
35
 36
36
 37
37
 38
38
 39
39
 40
40
 41
41
 42
42
 43
43
 44
44
 45
45
 46
46
 47
47
 48
48
 49
49
 50
50
 51
51
 52
52
 53
53
 54
54
 55
55
 56
56
 57
57
 58
58
 59
59
 60
60
 61
61
 62
62
 63
63
 64
64
 65
65
 66
66
 67
67
 68
68
 69
69
 70
70
 71
71
 72
72
 73
73
 74
74
 75
75
 76
76
 77
77
 78
78
 79
79
 80
80
 81
81
 82
82
 83
83
 84
84
 85
85
 86
86
 87
87
 88
88
 89
89
 90
90
 91
91
 92
92
 93
93
 94
94
 95
95
 96
96
 97
97
 98
98
 99
99
 100
100
 101
101
 102
102
 103
103
 104
104
 105
105
 106
106
 107
107
 108
108
 109
109
 110
110
 111
111
Инструкции и руководства похожие на DELL 1125