Back to Contents Page
Using Applications
Dell™ Mini 3v User's Guide
This section provides information about the additional applications available on your smartphone.
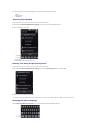
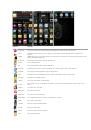
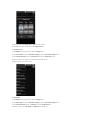
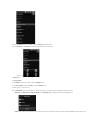
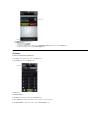
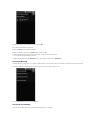
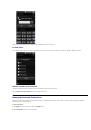
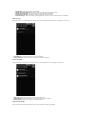
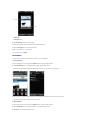
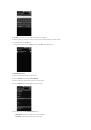
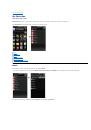
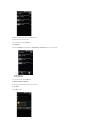
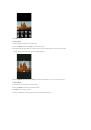
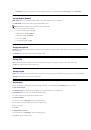
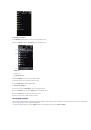
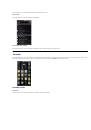
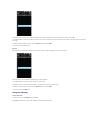
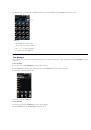
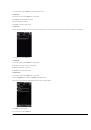
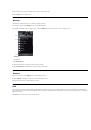
Mobile Video
Mobile Video
allows you to watch news, sports, weather, entertainment, and more.
Tap
Mobile Video
from the Home screen to open the Mobile Video screen.
NOTE:
Additional data charges may be incurred when using this application. Contact your service provider for more details.
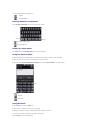
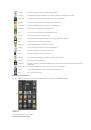
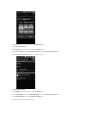
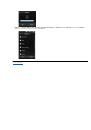
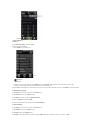
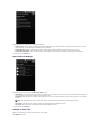
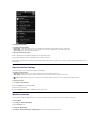
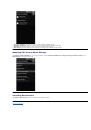
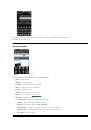
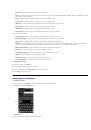
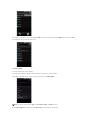
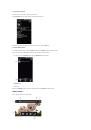
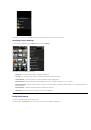
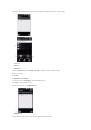
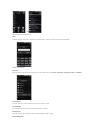
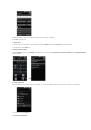
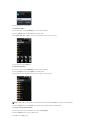
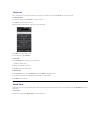
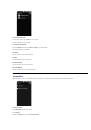
Mobile TV
Mobile TV
allows you to watch TV in broadcast quality using your smartphone.
Tap
Mobile TV
from the Home screen to open the Mobile TV screen. The phone automatically searches for channel frequencies.
NOTE:
Additional data charges may be incurred when using this application. Contact your service provider for more details.
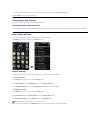
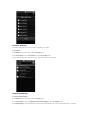
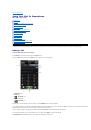
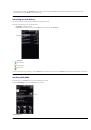
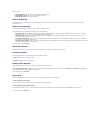
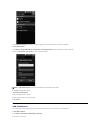
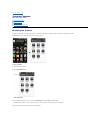
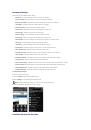
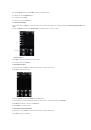
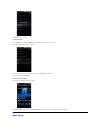
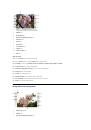
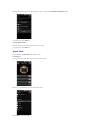
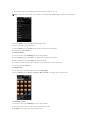
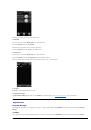
Press the
Options
button to perform the following functions:
l
To rescan frequencies, tap
Rescan
.
l
To watch recorded programs saved in the SD card, tap
My Video
.
l
To change settings, tap
Settings
.
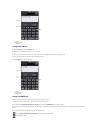
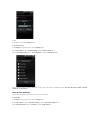
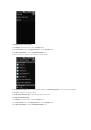
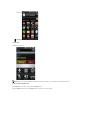
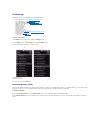
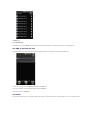
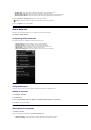
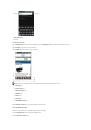
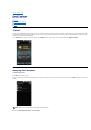
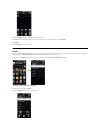
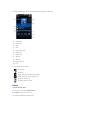
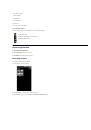
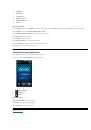
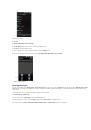
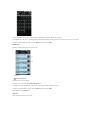
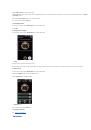
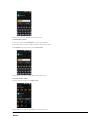
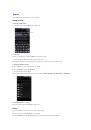
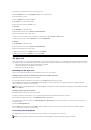
Mobile TV Settings
The following options are available from the Mobile TV settings screen.
l
Auto Record
—
Select to enable this feature. When enabled, the TV program is automatically recorded in the SD card when a call is received.
l
Scanning Type
—
Tap to select the scanning type. Available options are:
l
By City
—
Scans frequencies by city.
l
All Frequency
—
Scans all availble frequencies.
l
User Defined
—
Allows user to enter specific frequencies to scan.
l
Current City
—
Tap to select the city. This option is only available when the
Scanning Type
is set to
By City
.


Инструкции и руководства похожие на DELL Mobile Beacon