5.2 Periods of non-operation
When the appliance is not in use for long
periods, take the following precautions:
• disconnect the appliance from elec-
tricity supply
• remove all food
• defrost (if foreseen) and clean the appli-
ance and all accessories
• leave the door/doors ajar to prevent un-
pleasant smells.
If the cabinet will be kept on, ask some-
body to check it once in a while to pre-
vent the food inside from spoiling in case
of a power failure.
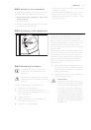
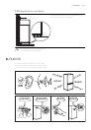
5.3 Defrosting of the refrigerator
Frost is automatically eliminated from the
evaporator of the refrigerator compart-
ment every time the motor compressor
stops, during normal use. The defrost wa-
ter drains out through a trough into a spe-
cial container at the back of the appli-
ance, over the motor compressor, where
it evaporates.
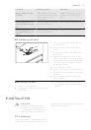
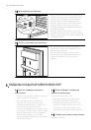
Periodically clean the defrost water drain
hole in the middle of the refrigerator com-
partment channel to prevent the water
overflowing and dripping onto the food in-
side. Use the special cleaner provided,
which you will find already inserted into
the drain hole.
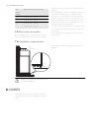
5.4 Defrosting the freezer
A certain amount of frost will al-
ways form around the top com-
partment.
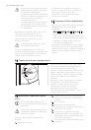
Defrost the freezer when the frost
layer reaches a thickness of about
3-5 mm.
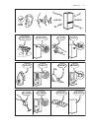
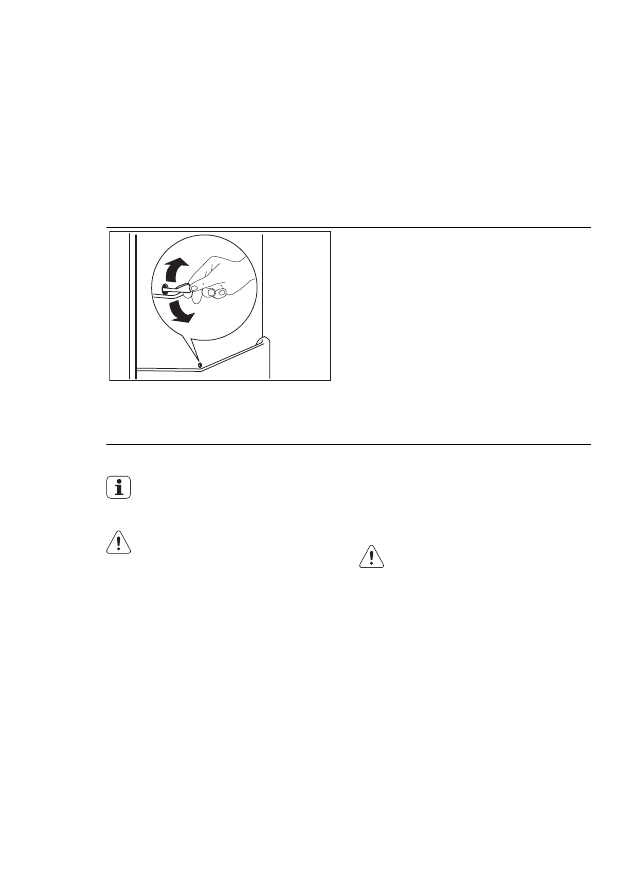
To remove the frost, do these steps:
1.
Switch off the appliance.
2.
Remove any stored food, wrap it in
several layers of newspaper and put it
in a cool place.
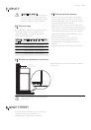
3.
Open the door.
4.
When defrosting is completed, dry
the interior thoroughly.
5.
Switch on the appliance.
6.
Set the temperature regulator to ob-
tain the maximum coldness and run
the appliance for two or three hours
using this setting.
7.
Reload the previously removed food
into the compartment.
WARNING!
Never use sharp metal tools to
scrape off frost from the evapora-
tor as you could damage it. Do
not use a mechanical device or
any artificial means to speed up
the thawing process other than
those recommended by the man-
ufacturer. A temperature rise of
the frozen food packs, during de-
frosting, may shorten their safe
storage life.
ENGLISH
9