0
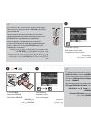
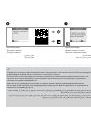
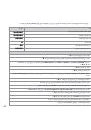
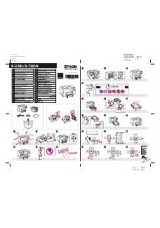
Specialty Print Mode
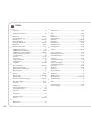
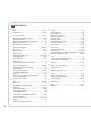
Menu List
Список меню
режима
специальной печати
Список меню
режиму
спеціального друку
ةعابط عضو مئاوق ةمئاق
ةزيمتم
پاچ تلاح یونم تسرهف
یصصخت
EN
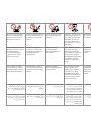
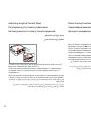
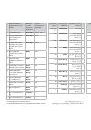
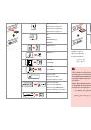
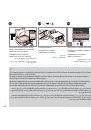
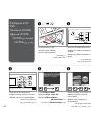
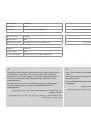
Reprint/Restore Photos
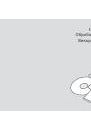
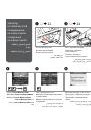
Print on CD/DVD
Reprint/Restore
Photos
Paper Type, Paper Size, Layout *¹, Quality, Filter *² *³, Expansion
*⁴
Print on CD/DVD
Media Type, Paper Type, Layout, Quality, Filter *² *³, Enhance *²
*⁵, Reduce Red Eye *² *⁶, Brightness *², Contrast *², Sharpness *²,
Saturation *², CD Innter-Outer, CD Density, Date, Print Info. *⁷,
Fit Frame *⁸, Bidirectional *⁹, Expansion *⁴
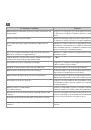
*1 When
Borderless
is selected, the image is slightly enlarged and cropped to fill the
paper. Print quality may decline in the top and bottom areas, or the area may be
smeared when printing.
*2 These functions only affect your printouts. They do not change your original images.
*3 You can change the image color mode to
Sepia
or
B&W
.
*4 Select the amount the image is expanded when printing Borderless photos.
*5 Select
PhotoEnhance
to adjust the brightness, contrast, and saturation of your
photos automatically. Select
P.I.M.
to use your camera’s PRINT Image Matching or
Exif Print settings.
*6 Depending on the type of photo, parts of the image other than the eyes may be
corrected.
*7 Select
On
to print your camera’s exposure time (shutter speed), F-stop (aperture),
and ISO speed.
*8 Select
On
to automatically crop your photo to fit inside the space available for the
layout you selected. Select
Off
to turn off automatic cropping and leave white space
at the edges of the photo.
*9 Select
On
to increase the print speed. Select
Off
to improve the print quality.
EN
v
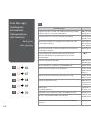
Specialty Print Mode
x
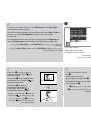
Print settings
RU
UA
AR
FA