21
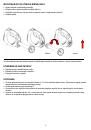
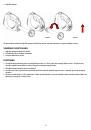
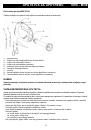
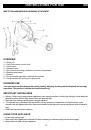
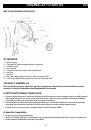
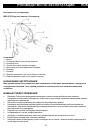
FITTING THE BEATERS
Switch the appliance off.
Insert the stem of beater into one of the mounting holes in the motor unit.
Push and turn the beater until in locks into place.
Repeat for the other beater.
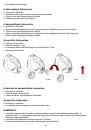
FITTING THE DOUGH KNEADERS
Switch the appliance off.
Insert the stem of left dough kneader ( with big and grey plastic ) into big mounting holes in the motor unit.
Push and turn the left dough kneader until in locks into place.
Insert the stem of right dough kneader ( with small and white plastic ) into small mounting holes in the motor unit.
Push and turn the right dough kneader until in locks into place.
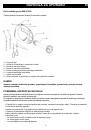
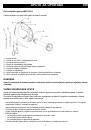
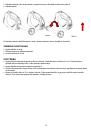
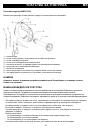
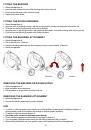
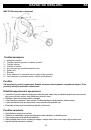
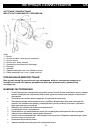
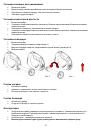
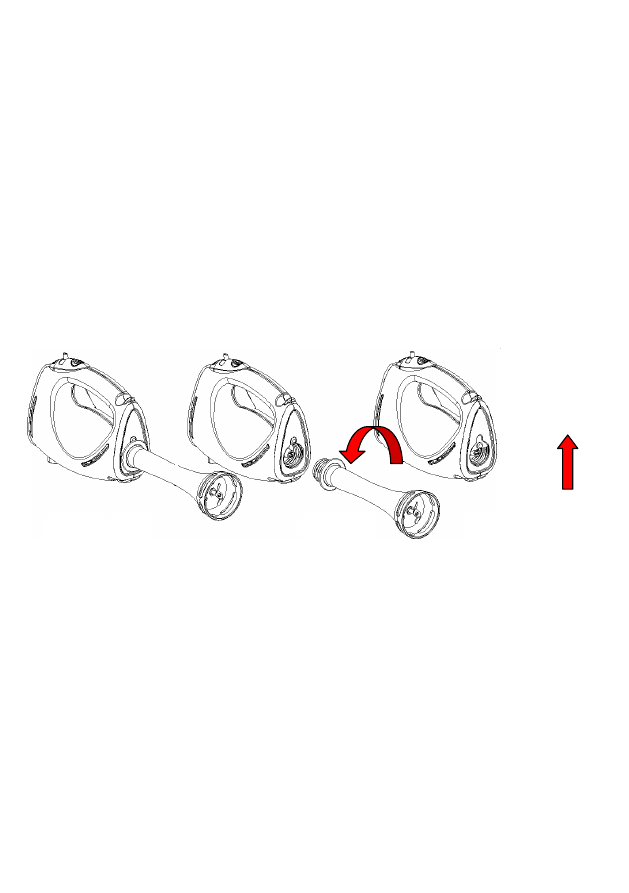
FITTING THE BLENDING ATTACHMENT
Switch the appliance off.
Pull up the bolt cover. ( Picture 1)
Screw the blending attachment into the housing by turning counter clockwise. ( Picture 2 )
Switch the appliance.
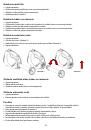
REMOVING THE BEATERS OR DOUGH HOOKS
Switch the appliance off.
Keep the release button depressed.
Pull the beaters or dough hooks out of the motor unit.
REMOVING THE BLENDER ATTACHMENT
Switch the appliance off.
Unscrew the blender attachment by turning clockwise.
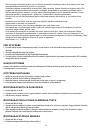
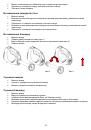
USE
To switch on, slide the speed control switch to one of the positions
1
(lowest speed) to
4
(highest speed).It is
recommended to start at a low speed, then change to a higher speed if necessary.
To switch off, slide the switch to position
0
.
Use turbo ( pulse ) button for maximum speed directly.
Do not operate the appliance continuously for more than 15 seconds
!
You can prepare a finely processed carrot juice with 300g of water and 200g of carrots
!
When working with liquids, use a low speed in order to avoid splashing liquid onto the appliancež
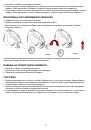
Picture 1
Picture 2