IT
PIANO
PH 930 MST/HA
PH 930 MT SKD/HA
PH 940 M/HA
PH 940 MS/HA
PH 940 MST/HA
PH 940 MT SKD/HA
PH 941 M/HA
PH 941 MS/HA
PH 941 MT SKD/HA
PH 960 MST/HA
PH 960 MST R/HA
PH 960 MST GH/HA
PH 941 MSTB/HA
PH 941 MSTB GH/HA
PH 941 MSTV/HA
PH 941 MSTV GH/HA
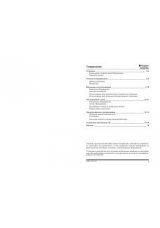
Sommario
Installazione, 2-5
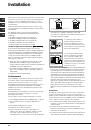
Posizionamento
Collegamento elettrico
Collegamento gas
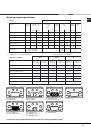
Targhetta caratteristiche
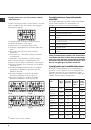
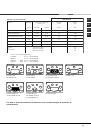
Caretteristiche dei bruciatori ed ugelli
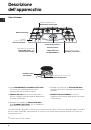
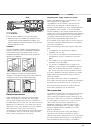
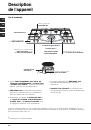
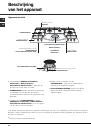
Descrizione dell’apparecchio, 6
Vista d’insieme
Avvio e utilizzo, 7-9
Consigli pratici per l’uso dei bruciatori
Consigli pratici per l'uso delle piastre elettriche
Consigli pratici per l'uso della bistecchiera
Consigli pratici per l’uso del vetroceramica
Precauzioni e consigli, 10
Sicurezza generale
Smaltimento
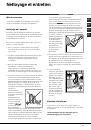
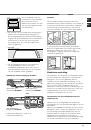
Manutenzione e cura, 11
Escludere la corrente elettrica
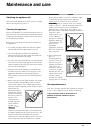
Pulire l’apparecchio
Manutenzione rubinetti gas
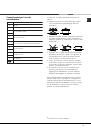
Anomalie e rimedi, 12
Assistenza attiva 7 giorni su 7
Istruzioni per l’uso
Italiano, 1
Français, 25
English,13
GB
IT
FR
Nederlands, 39
NL