Доступность: Бесплатно как и все руководства на сайте. Без регистрации и SMS.
Дополнительно: Чтение инструкции онлайн
oo
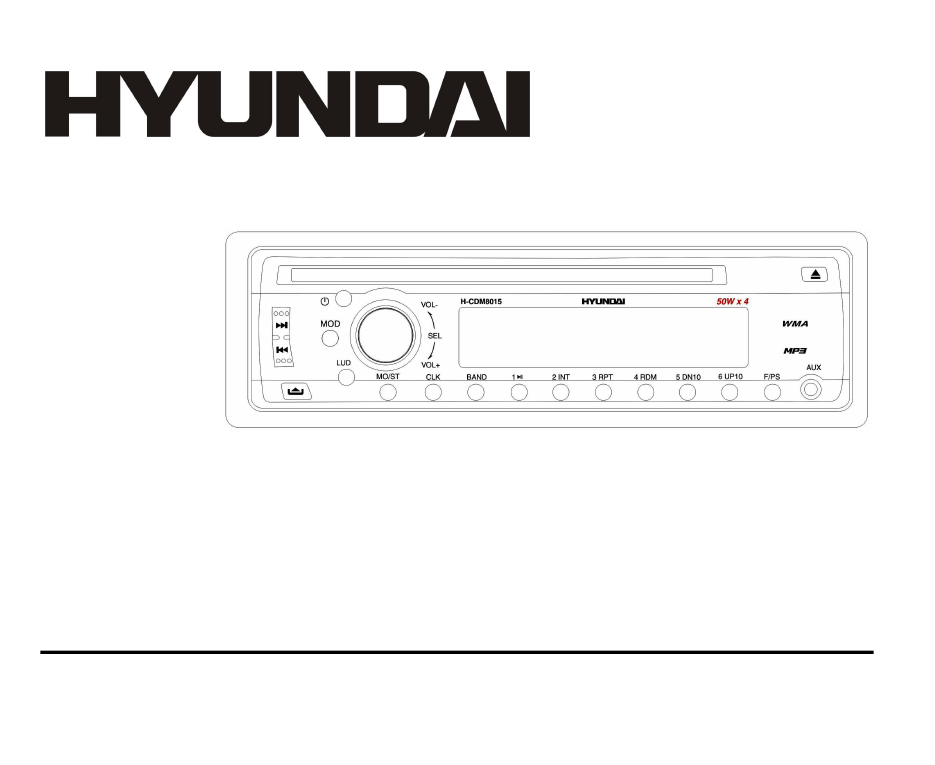
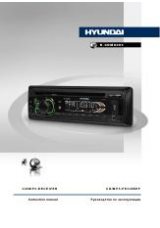
H-CDM8015
CD/MP3-RECEIVER CD/MP3-
Instruction
manual
Страница: (1 из 43)
навигация
1
2
3
4
5
6
7
8
9
10
11
12
13
14
15
16
17
18
19
20
21
22
23
24
25
26
27
28
29
30
31
32
33
34
35
36
37
38
39
40
41
42
43
Оглавление инструкции
Страница 1 из 44 oo H-CDM8015 CD/MP3-RECEIVER Instruction manual CD/MP3-
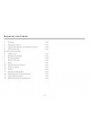
Страница 2 из 44 Dear customer! Thank you for purchasing our product. For safety, it is strongly recommended to read this manual carefully before connecting, operating and/or adjusting the product and keep the manual for reference in the future. Table of contents Table of contents
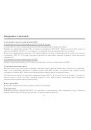
Страница 3 из 44 Important safeguards Read carefully through this manual to familiarize yourself with this high-quality sound system. The beginning of operation is the moment of the unit installation. Before use the device in winter it is recommended to heat up the passenger compartment during 20 seconds or to the
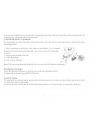
Страница 4 из 44 Components 1. Receiver 2. Front panel 3. Protective case 4. ISO connector Installation parts: 5. Nut 5 mm 6. Spring washer 7. Plain washer 8. Screw M5x25 mm 9. Screw 10. Metal strap 11. Release key 12. Mounting collar 13. Trim plate 14. Instruction manual 15. Warranty card 16. Customer information
Страница 5 из 44 Installation/Connections Choose the mounting location where the unit will not interfere with the normal driving function of the driver. Before finally installing the unit, connect the wiring and make sure that the unit works properly. Consult with your nearest dealer if installation requires the
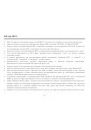
Страница 6 из 44 1. 2. 3. 4. 5. Install the sleeve into the dashboard; ensure it is installed with the correct side and there are no obstacles (wires, dashboard elements, etc) for the unit installation. After installing the sleeve into the dashboard, bend tabs fitting to the size of the dashboard to fix the sleeve
Страница 7 из 44 the front panel; otherwise you are not able to install the trim frame. When the trim frame being installed, the side with the groove should face down and fixed first. 2. DIN REAR-MOUNT (Method B) For this method, use the screw holes in the lateral sides of the unit. Fix the unit with the help of
Страница 10 из 44 General functions Turning on/off Press any key on the front panel to turn the unit on. Press POWER button again to turn the unit off. Mode Press MODE button to select between AUX, TUNER or S-CDP (disc) modes. Volume control The volume level can be adjusted at any time by rotating VOLUME knob. Bass,
Страница 11 из 44 LOUD mode Press LOUD button to emphasize the bass output. Multi-session disc reading This unit can read multi-session CDs. The multi-session reading will be activated automatically if the player detects a file that is written in multi-session format. Press and hold SEL button, then press SEL button
Страница 12 из 44 Radio operations Choose radio band Press BAND button to operate the radio function (even when a CD is playing). Total 3 sets of FM band (FM1, FM2, FM3) and 2 sets or MW band (MW1, MW2) are available. In each set of bands can be stored up to 6 preset stations, making total 30 preset memory stations.
Страница 13 из 44 Other functions Press and hold SEL button until DSP OFF is displayed. Then press repeatedly SEL button to select one of options below. Rotate VOL knob to adjust the selected option. Seek Select either “SEEK 1” or “SEEK 2”. Seek 1 Press and hold PREVIOUS or NEXT button for more than 1 second. The
Страница 14 из 44 Disc operations Electronic Shock Protection (ESP) CD Electronic Shock Protection The electronic shock protection is ideal for driving uneven road. Press SEL button for 2 seconds, the display will show “DSP OFF”. Press the button again so that “ESP 12” will be shown on the display indicating that
Страница 15 из 44 Track search Press F/PS button, the display will show “TRK SCH”. Press SEL button, the last digit of the track number will blink. Rotate VOL knob to input the digit. Press SEL button to confirm and go to the next digit of the track number. As you input thus the whole number of the track, press SEL
Страница 16 из 44 Repeat Press 3/RPT button to repeat the same track continuously. “RPT ON" will appear on the display. Press this button again to stop repeating. Random playback Press 4/RDM button to play all the tracks in random order. “RDM ON” will appear on the display. Press the button again to stop random
Страница 17 из 44 MP3 Overview MP3 is short for MPEG Audio Layer 3 and refers to an audio compression technology standard. This product allows playback of MP3 files on CD-ROM, CD-R or CD-RW discs. The unit can read MP3 files written in the format compliant with ISO 9660. However it does not support the MP3 data
Страница 18 из 44 and a fixed bit rate o f 128 kbps. Do not store more than 256 MP3 files per disc. For ISO 9660 - compliant format, the maximum allowable depth of nested folders is 8, including the root directory (folder). When CD-R disc is used, playback is possible only for discs, which have been finalized. Make
Страница 19 из 44 Handling compact discs Dirty, scratched or warped discs may cause skip ping or noise. Handle the disc only by the edges. To keep clean do not touch its surface. Discs should be stored in their cases after use to avoid scratches. Do not expose discs to direct sunlight, high humidity, high
Страница 20 из 44 Troubleshooting guide No power or no sound Disc is inside but no sound Disc sound skips, tone quality is low Sound skips due to vibration Much noise in broadcasts Preset station is reset Error display messages Car's engine switch is not on. Turn your car's key to ACC or ON. Cable is not correctly
Страница 21 из 44 Specification General Power supply: Maximum power output: Suitable speaker impedance: Pre-Amp output voltage: Fuse: Dimensions (WxHxD) / Weight ESP: FM Stereo Radio Frequency range: Stereo separation: Signal/noise ratio: MW (AM) Radio Frequency range: Usable sensitivity (S/N=20dB): Disc Player
Страница 22 из 44 ! . , . ........................................................................................................................................................22 ...................................................................................................................................23