3
Before you start
If you want to dispose this product, do not mix it with general household waste. There is
a separate collection system for used electronic products in accordance with legislation that
requires proper treatment, recovery and recycling.
Please contact your local authorities for the correct method of disposal. By doing so, you will
ensure that your disposed product undergoes the necessary treatment, recovery and recycling
and thus prevent potential negative effects on the environment and human health.
Utilization of the product
Important safeguards
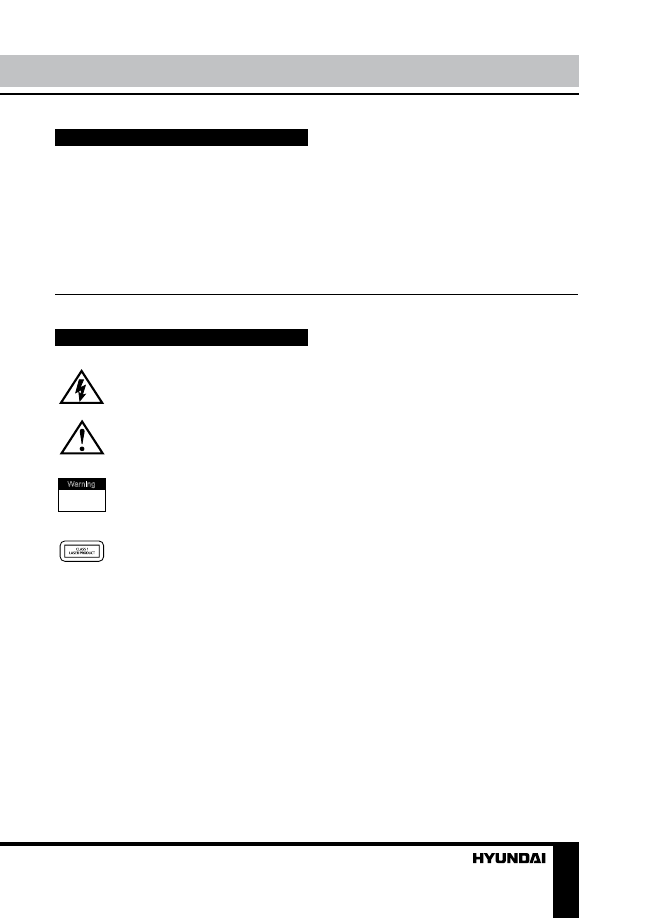
Alerts the user to the presence of
dangerous voltage within the
product’s enclosure.
Alerts the user to the presence of
important operating instructions.
To reduce the risk of electric shock
or fire, do not open the cover. Refer
servicing to qualified service
personnel.
This mark indicates this unit belongs
to class 1 laser product.
• To prevent the risk of fire or electric shock,
don’t allow water to come into contact with
the device and don’t use the device in high
humidity conditions.
• The device is equipped with high voltage
components and a laser system, hence you
shall not open the device and repair it by
yourself. The laser beam is dangerous to eyes
when the housing is removed. Don’t look at it.
• When the device is moved from cold
premises to the warm room or vice versa,
condensate may form on the laser head and
the device may not operate properly. In this
case please turn the device on for 1-2 hours
without disc before playback to heat it to a
proper operation temperature.
• Don’t try to manually open or close the
disc tray to load discs.
• Disconnect the receiver only when there is
no disc therein.
• If you are not going to use the device for a
long time disconnect it from the wall outlet.
• Before turning the device on, please make
sure that you have connected it properly,
adjust the volume of speakers and amplifiers of
your system to the minimum. Adjust the volume
as necessary only after normal playback has
started to avoid damage of your audio system.
• Use supply sources of rated voltage,
otherwise the unit may not function or may be
damaged.
• Place the unit on a horizontal surface.
Keep the unit ventilated. Don’t block the heat
hole. Overheat may cause malfunction.
• Do not place any objects on the cover,
this may make it function improperly (incorrect
playback).
• Please place the unit in a dry and well-
aired area. Do not place it near heating units
or expose it to direct sunlight, mechanical
vibration, humidity or excessive dust.
• Never use liquid detergents, abrasives or
organic compounds (alcohol, gasoline, etc) to
clean the unit body.
• All repairs and technical service should be
made by qualified specialist from service centers.
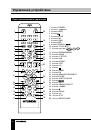
All images provided herein are schematic
drawings of real objects and may differ
from their real images.
Warning
RISK OF ELECTRIC SHOCK
DO NOT OPEN