7
E
N
G
LI
S
H
Quick Start
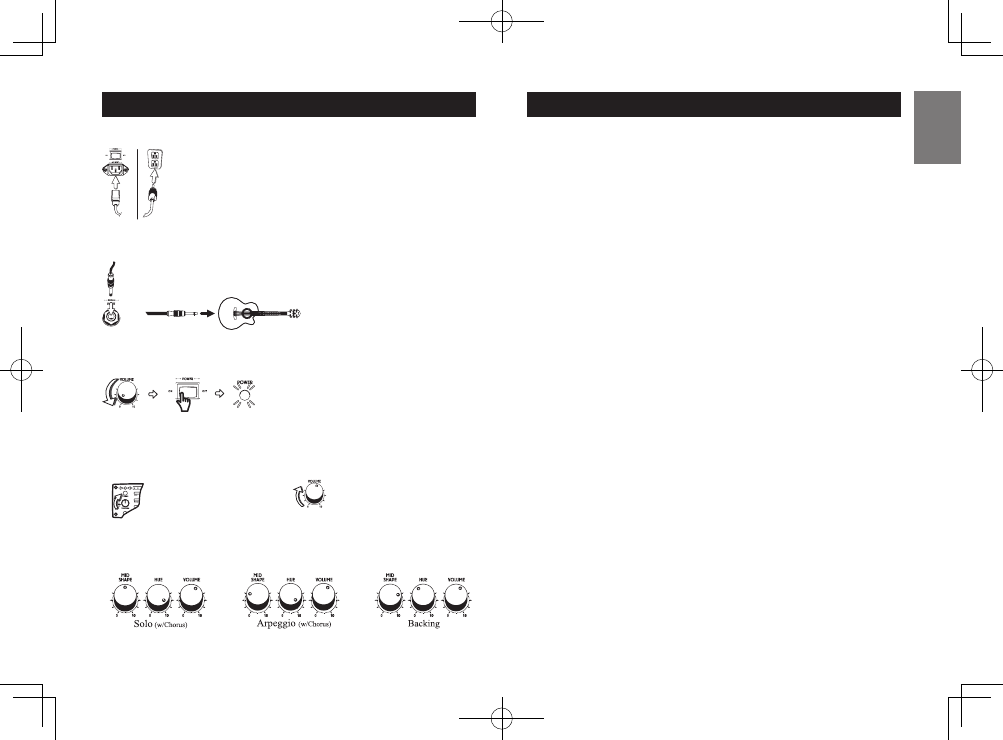
1. Connection
1) Carefully read “Important Safety Instructions” before you place
the amp in the location where you’ll be using it. Use the in-
cluded power cable to connect the rear panel AC input to an AC
outlet of the correct voltage for your unit.
2) Please note that the sound, and the low frequency response in particular, will
be affected by the location of your amp.
3) Connect your electric acoustic guitar. Use shielded guitar cables to make
connections.
4) If you are using a compact effects processor, use a shielded cable to connect
it between your acoustic guitar and the amplifier.
5) Make sure that each Volume control is set
to “0”, and then turn on the Power switch,
the power LED will be illuminated.
2. Using the controls
Different acoustic guitars will have varied output levels. Use the VOLUME settings
in this manual as reference only. Please adjust the controls according
to your specific guitar.
1) Raise the volume control
of your acoustic guitar.
2) Raise the Volume control to
approximately 1 o’clock.
3) Using Chorus control: Depress the Chorus switch and turning the Speed con-
trol clockwise will increase Chorus speed.
4) Using the equalizers: Try the settings shown in the illustrations.
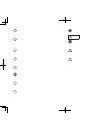
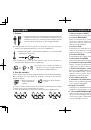
Names and Function of Each part
1. INPUT jack
1/4” phone jack input.
2. MID SHAPE control
This is a passive tone control. If you turn it clockwise, you will get more natural
and full body sound as guitar itself has. If you turn it counter-clockwise, you will
get a softer, more crisp scooped mid range sound.
3. HUE control
This controls the overall color of your guitar’s tone. If you turn it clockwise, you
will get a brighter punchy sound. If you turn it counter-clockwise, you will get a
slightly darker sound with fewer highs.
4. VOLUME control
This controls guitar signal level to the power amp.
5. CHORUS Switch
This is the ON/OFF switch for the chorus effect.
6. CHORUS-SPEED control
This controls the ripple speed of the chorus effect. Turn this control to the right
to increase the speed.
7. CD/AUX-INPUT jacks
This is an RCA jack. It is designed to be connected to the headphone output of
a portable CD or MP3 player, or similar device. Use an RCA plug cable to make
connections. Use the volume control of your portable CD player and MASTER
volume to adjust the volume.
8. Power LED light
9. POWER switch
This switch turns the power on/off. When you are not using the amp, please
leave it turned off.
10. AC INPUT
Connect the included AC power cable to this connector. Only use this amp with
the voltage indicated on the panel.
11. HEADPHONES/LINE OUT jack
This is a stereo 1/4” jack that outputs a mono audio signal. You can connect to
an external mixing console or similar equipment.
*If you’re using headphones or external equipment with this output, no sound
will be heard from the internal speaker.