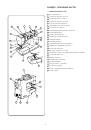
22
• Изготовление петли
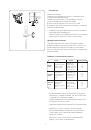
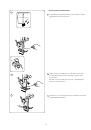
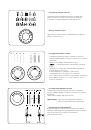
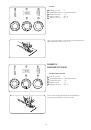
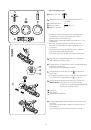
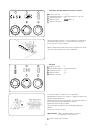
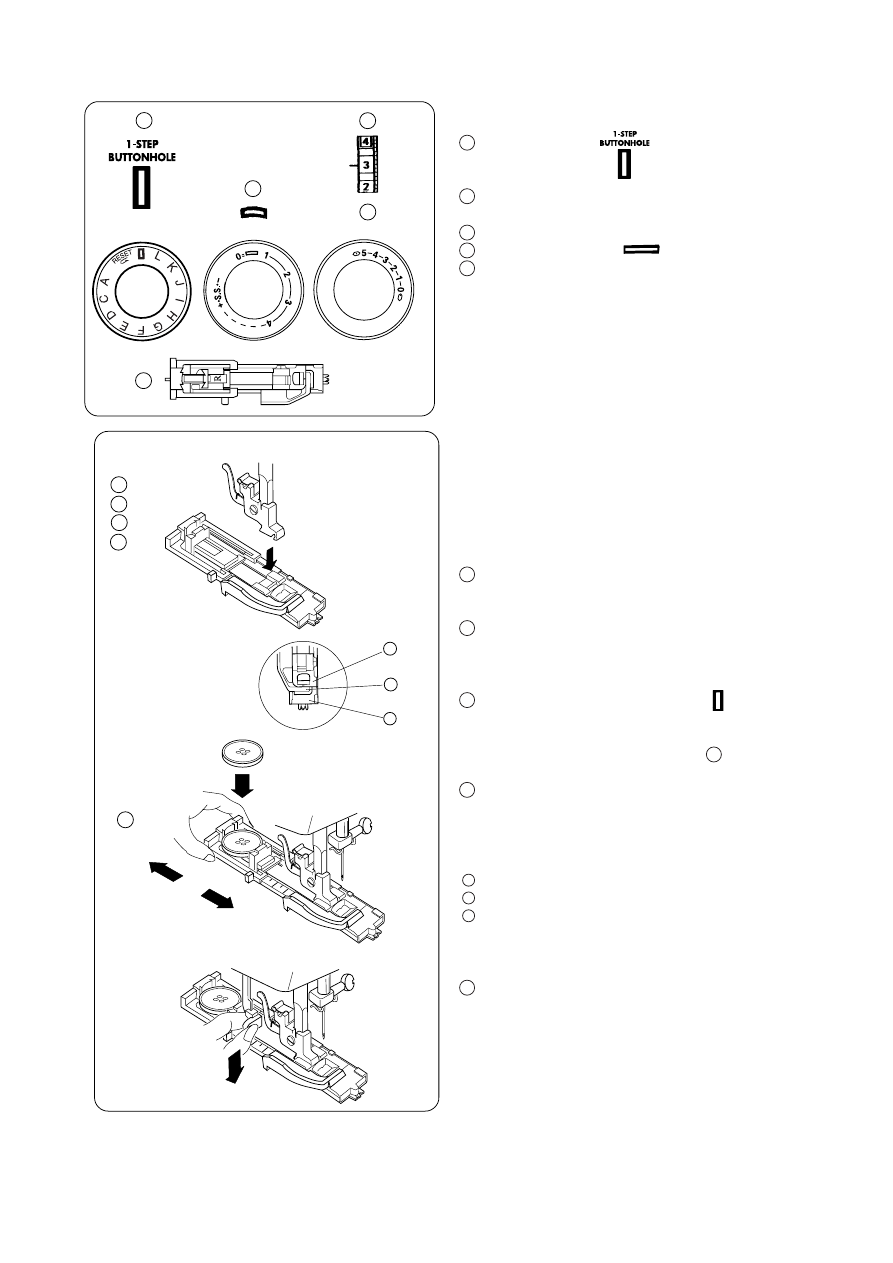
Выбор строчки:
Прижимная лапка:
лапка для автоматической
петли ВН
Натяжение нити:
1–5
Длина стежка:
(0.25–1)
Ширина зигзага:
5
* Размер пуговицы автоматически определяется
по размеру пуговицы, размещенной в лапке
для автоматической петли (R).
* Держатель в лапке принимает пуговицы до 2,5 см
в диаметре.
* Сначала сделайте пробную петлю на полоске
идентичной ткани для проверки правильности
установок.
* Разместите пуговицу на образце ткани, отметьте
верх и низ предполагаемой петли.
* На тканях стреч используйте прокладочную ткань.
Используйте стабилизатор в работе с тянущимся
трикотажем и тканями стреч.
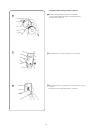
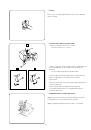
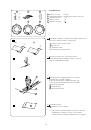
Поверните на себя маховое колесо и поднимите иглу
в верхнее положение.
Поднимите рычаг прижимной лапки.
Поверните ручку выбора строчек и установите
ее на «ВН».
* Если выбран образец «ВН», поверните ручку еще раз
в соответствии с указаниями в п. (на стр. 23).
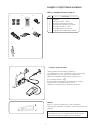
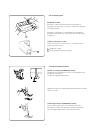
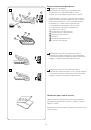
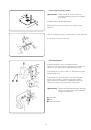
Пристегните лапку для автоматической петли (R).
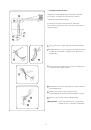
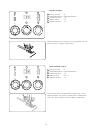
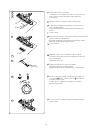
Примечание:
Не должно быть зазора между
ползунком и пружинным держателем
лапки как показано выше.
Ползунок
Нет зазора
Пружинный держатель
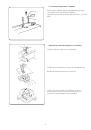
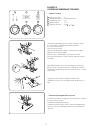
Оттяните держатель лапки назад и поместите в него
пуговицу.
Подтолкните держатель назад к пуговице и плотно
ее прижмите.
Опустите вниз рычаг петли насколько возможно.
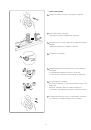
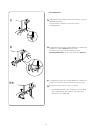
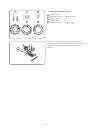
cord on the cord spur at the back of the
the buttonhole foot to hold them tight.
4
foot control gently and sew the
b
will be sewn over the cord.
6
to the bottom side of the fabric and cut.
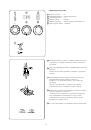
Stitch selector:
Presser foot: Automatic buttonhole foot
Thread tension: 1 - 5
Stitch length:
( 0.25 - 1)
Stitch width: 5
up to 2.5 cm (1´´) in diameter.
*
the fabric, interfacing and seams of the actual
garment.
*
the top and bottom to determine the position
of buttonhole.
fabrics.
Turn the handwheel toward you to raise the
needle to its highest position.
” by turning the
pattern selector dial.
dial once according to the procedure in step (on
page 23).
slider and spring holder of the foot as
shown above.
Slider
There should be no gap
Spring holder
Pull the button holder to the back, and place
3
2
5
4
•
•
•
5
4
3
2
1
( 0.25 - 1)
S
1
B
C
A
placing the button in the automatic buttonhole
up to 2.5 cm (1´´) in diameter.
*
the fabric, interfacing and seams of the actual
garment.
*
the top and bottom to determine the position
of buttonhole.
fabrics.
Turn the handwheel toward you to raise the
needle to its highest position.
” by turning the
pattern selector dial.
dial once according to the procedure in step (on
page 23).
slider and spring holder of the foot as
shown above.
Slider
There should be no gap
Spring holder
Pull the button holder to the back, and place
( 0.25 - 1)
S
placing the button in the automatic buttonhole
the fabric, interfacing and seams of the actual
garment.
*
Use interfacing on stretch and loosely woven
fabrics.
Turn the handwheel toward you to raise the
needle to its highest position.
the pattern “ ” by turning the
pattern selector dial.
dial once according to the procedure in step (on
page 23).
slider and spring holder of the foot as
shown above.
There should be no gap
Spring holder
Pull the button holder to the back, and place
the button in it. Push back the button holder
toward you as far as it will go.
( 0.25 - 1)
S
1
2
3
4
5
A
B
C
1
2
3
4
5
12