Connections
19
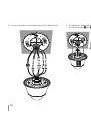
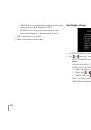
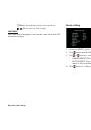
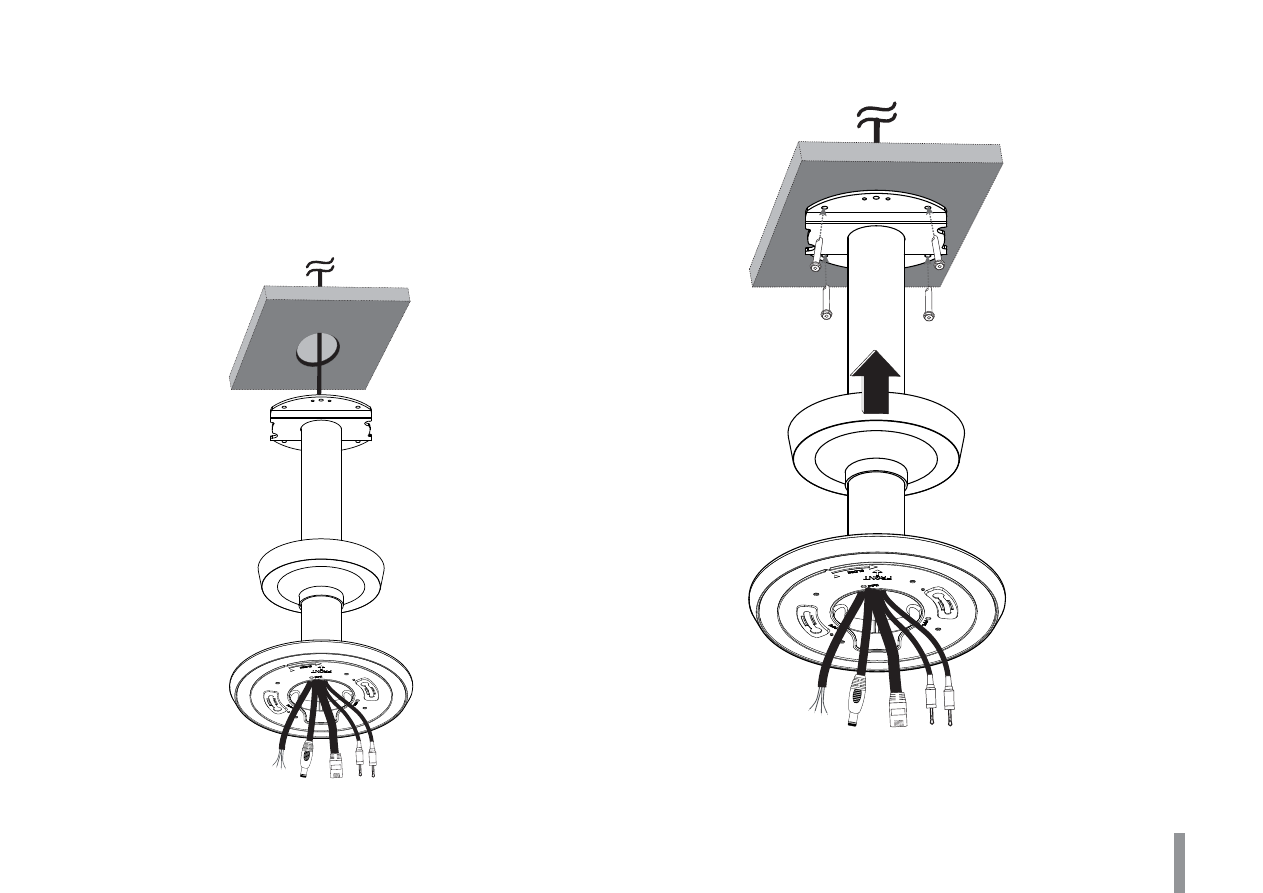
Pendant mount (Optional)
Follow the instructions below to install the camera with a pendant
mount.
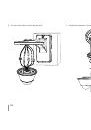
1. Drill holes on the wall where you want to install the pendant
mount.
2. Pass the connection cable through the pendant mount assembly
so that they hang down.
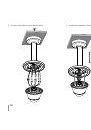
3. Install the pendant mount assembly.