45 -
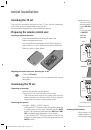
Operating additional equipment
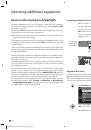
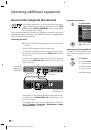
Devices to the PC IN connection
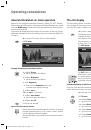
You can connect a PC to the
PC IN
socket for example
and thus use the TV screen as a monitor.
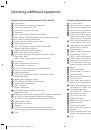
➠
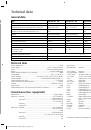
When connecting a PC or accessory equipment to the PC IN socket
of the TV set, set one of the following screen resolutions on the PC /
accessory equipment first.
800 x 600
60 Hz
(SVGA)
1024 x 768 60 Hz
(XGA)
1280 x 1024 60 Hz
(SXGA)
1360 x 768 60 Hz
(WXGA)
720 x 576i
(SDTV)
720 x 480i
(SDTV)
720 x 576p
(SDTV)
720 x 480p
(SDTV)
1280 x 720p
(HDTV)
1920 x 1080i
(HDTV)
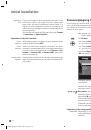
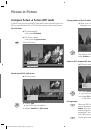
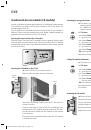
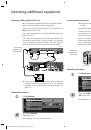
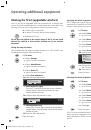
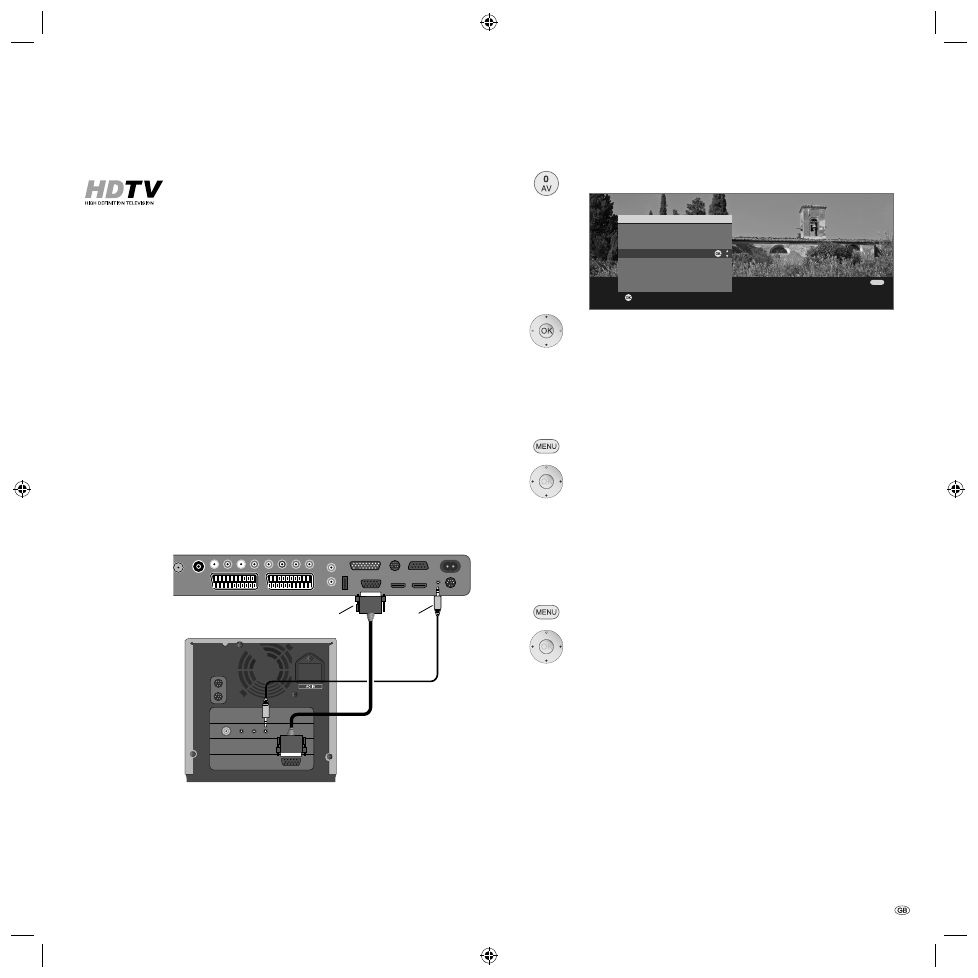
Connecting the device
➠
There is no need to register the device with the connec-
tion wizard.
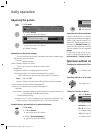
Switch off all equipment before connecting.
Connect the device to the TV set’s
PC IN
socket with a VGA
cable.
Connect the analogue audio signal of the PC to the
AUDIO
IN2
jack on the TV set with a stereo cable.
Alternatively, connect the digital audio output of the PC or
accessory equipment to the
AUDIO DIGITAL IN
socket of
the TV set with a cinch cable.
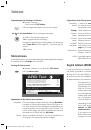
The digital audio input can be assigned to the PC IN socket
by
TV menu
→
Connections
→
Miscellaneous
→
Assign digi-
tal audio input
, see page 49.
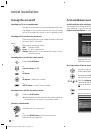
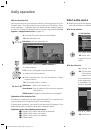
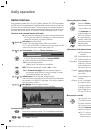
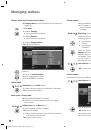
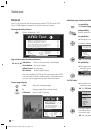
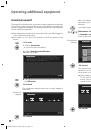
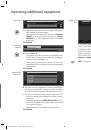
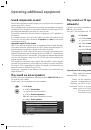
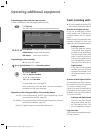
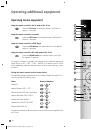
Playback from the device
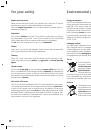
Call
AV selection
.
Select
PC IN
socket,
OK
switch over.
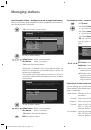
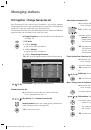
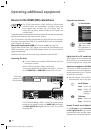
Adapt geometry (only possible with certain signals)
This can be used to position the picture correctly and move the position
of the picture (horizontally and vertically) so that it fills out the whole
screen.
Call
TV menu
.
Select
Geometry
,
go to the menu line below.
Select the desired setting,
go to the menu line below.
Make settings.
Set colour standard (only possible with certain signals)
Call
TV menu
.
Select
Picture
,
go to the menu line below.
Select and set
Colour standard
:
RGB
or
Ycc
/
Ypp
The colours will not be shown correctly if the wrong
standard is set.
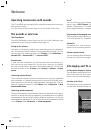
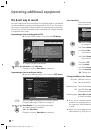
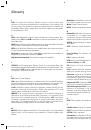
DIG-OUT
MIC
IN
OUT
TV set
PC
PC IN
AUDIO IN2
Connection
example of a
computer
OK
OK
END
Switch to ...
COMP. IN
HDMI2/DVI
HDMI1/DVI
PC IN
AVS
DVD-REC
DVD
VIDEO
AV selection
33156_024_Xelos_A32_42_GB_9_00_B45 45
33156_024_Xelos_A32_42_GB_9_00_B45 45
03.07.2008 15:39:05
03.07.2008 15:39:05