Инструкция для MITSUBISHI ELECTRIC PLH-6AKHS, PLH-6AAKH, PLH-5AKHS, PLH-5AAKH, PLH-4AKHS, PLH-4AAKH, PLH-3AKH, PLH-3AAKH, PLH-2KKHB, PLH-2KAKH, PLH-2.5KKHB, PLH-2.5KAKH, PLH-1.6KKHB, PLH-1.6KAKH
46
4
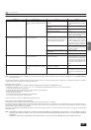
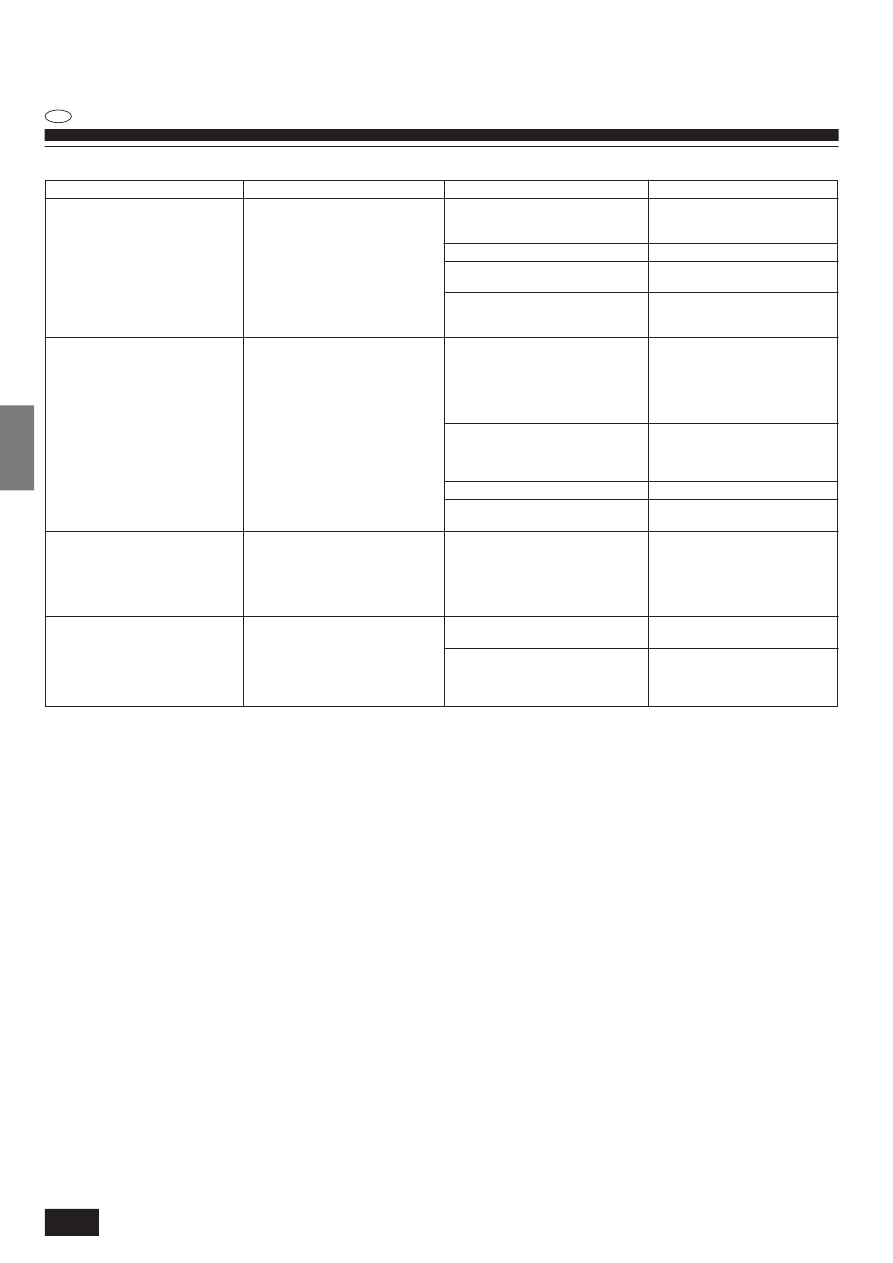
4. Localización de fallos
Antes de llamar al servicio técnico, compruebe la tabla siguiente para ver si hay alguna solución fácil a su problema.
ES
NOTA: Tras un corte de fluido eléctrico, la unidad no se pondrá automáticamente en marcha. Deberá presionar el botón POWER ON/OFF en el controlador
remoto.
Si ninguno de los fallos descritos arriba se aplica a su problema, desconecte el interruptor principal y llame al distribuidor al que adquirió el aparato de aire acondicionado;
dígale el modelo y la naturaleza del problema. No intente reparar usted mismo la unidad.
Controladores remotos cableados
En cualquiera de los casos siguientes desconecte el interruptor principal y contacte con su distribuidor local para servicio técnico:
• «CHECK» seguido de «P1», «P2», «P3», «P4», «P5», «P7» o «CENTRALLY CONTROLLED» en el display del panel de control.
• Los conmutadores no funcionan correctamente.
• El diferencial salta con frecuencia (o saltan los fusibles con frecuencia).
• Se ha vertido accidentalmente agua en la unidad.
• Pérdidas de agua en la unidad.
• Algo ha entrado accidentalmente en la unidad.
• Se escucha un ruido inusual durante el funcionamiento.
Controladores remotos inalámbricos: el LED de funcionamiento parpadea.
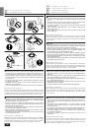
Lo siguiente no supone un funcionamiento incorrecto:
Olores: Los olores como tabaco o cosméticos pueden perdurar tras haber sido absorbidos por la unidad.
Ruido de líquido dentro de la unidad interior: Esto puede suceder durante o después del funcionamiento y no es más que el refrigerante que circula dentro de la unidad.
Ruido de “clics” en la unidad interior: Esto puede suceder cuando acaba de empezar o de acabar el proceso de enfriado o calentamiento. El ruido lo causa la ligera expansión
y contracción por los cambios de temperatura en la unidad.
El mensaje “CENTRALLY CONTROLLED” en el display LCD: De vez en cuando puede aparecer este mensaje. No indica mal funcionamiento.
NOTA: El refrigerante cargado en el acondicionador de aire es seguro. Normalmente este refrigerante no gotea; no obstante, si el gas refrigerante tiene fugas en
un espacio interior y entra en contacto con una llama proveniente del calentador de un ventilador, de un calentador de habitaciones, de una estufa, etc.,
se generarán sustancias nocivas.
Asegúrese de consultar con su representante de mantenimiento si existe alguna fuga de refrigerante cuando se realicen las reparaciones del aparato.
Problema
La unidad no se pone en marcha.
La unidad descarga bien el aire pero no
enfría ni calienta bien la habitación.
La unidad no se pone inmediatamente en
marcha.
La unidad se para poco después de po-
nerse en marcha.
Solución
Active el interruptor principal y luego pre-
sione el botón POWER ON/OFF para
encender la unidad.
Sustituya el fusible.
Cierre el diferencial de toma de tierra.
Espere a que vuelva la electricidad y
pulse POWER ON/OFF para poner en
marcha la unidad.
Compruebe la temperatura en el contro-
lador remoto y la temperatura de entra-
da de aire. Use los botones COOLER y
WARMER para fijar la temperatura se-
gún se describe en «Ajuste de la Tem-
peratura» en la página 19.
Limpie el filtro y vuelva a poner en mar-
cha la unidad. Consulte «Limpieza de los
filtros y de la unidad interior» en página
31.
Elimine la obstrucción.
Cierre ventanas y puertas.
Espere a que la unidad se ponga auto-
máticamente en marcha. El compresor
puede que espere antes de ponerse en
marcha al tener incorporado un circuito
de prevención de tres minutos en la uni-
dad exterior para proteger el compresor.
Elimine la obstrucción y ponga de nue-
vo en marcha la unidad.
Elimine la obstrucción, limpie el filtro y
vuelva a poner en marcha la unidad.
Consulte «Limpieza de los filtros y de la
unidad interior» en página 31.
Lectura en el display
La luz piloto no se enciende cuando se
presiona POWER ON/OFF.
El controlador remoto indica que la unidad
está funcionando.
El controlador remoto indica que la unidad
está en funcionamiento.
El controlador remoto indica en el display
de comprobación «CHECK P6» o
«CHECK P8».
Causa
El interruptor principal está desconectado.
Se ha fundido el fusible principal.
Está obstruida la entrada o la salida de aire
de la unidad exterior.
Ha habido un corte de luz (véase la NOTA
abajo).
Ajuste incorrecto de temperatura. Por ejem-
plo, ha elegido COOL pero el ajuste de tem-
peratura es superior a la temperatura am-
biente actual.
Los filtros están obstruidos.
Outdoor unit’s intake or outlet is obstructed.
Se ha dejado una puerta o ventana abier-
ta.
La unidad está esperando tres minutos
antes de ponerse en marcha.
La entrada o salida de aire de la unidad
interior o exterior está obstaculizada.
Los filtros están obstruidos.