3-24
G
e
ttin
g
Sta
rted
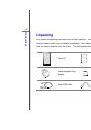
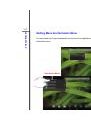
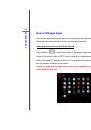
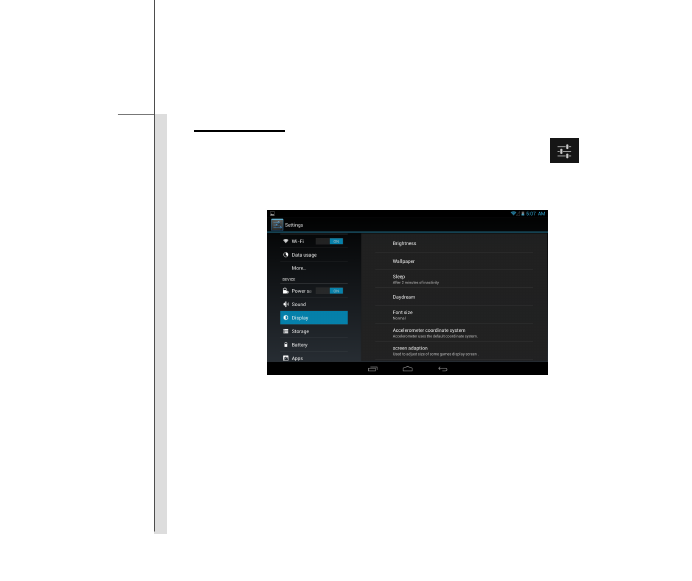
Display Setting
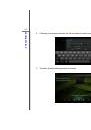
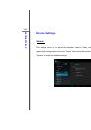
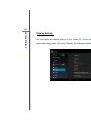
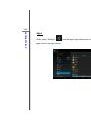
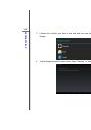
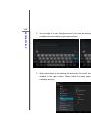
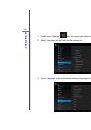
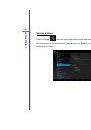
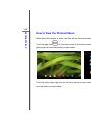
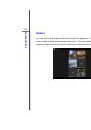
You can adjust the display setting of your tablet PC. Firstly, select “Settings”
from the
upper-right setting menu, then touch “Display” tab to bring the setting menu in the right column.
3-24
G
e
ttin
g
Sta
rted
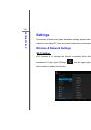
Display Setting
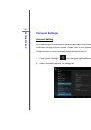
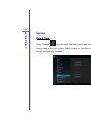
You can adjust the display setting of your tablet PC. Firstly, select “Settings”
from the
upper-right setting menu, then touch “Display” tab to bring the setting menu in the right column.