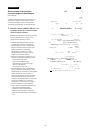
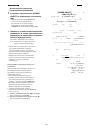
DiS
D.ZOOM
□.EFFECT
PROG.AE
REC MODE
ZEBRAPATT
MIC LEVEL
DATE/TIME
NEXT MENU
MENU
►
OFF
►
OFF
►
OFF
►OFF 0«.
►NORMAL
►
OFF
ON
24x
120x
SELECT
■
FRAME
ON
►
AUTO -lOdB -5dB
OdB +3dB +6dB
►
OFF TIME DATE
►OFF
SELECT
PRESS MENU TO EXIT
ENGLISH
other Convenient Functions
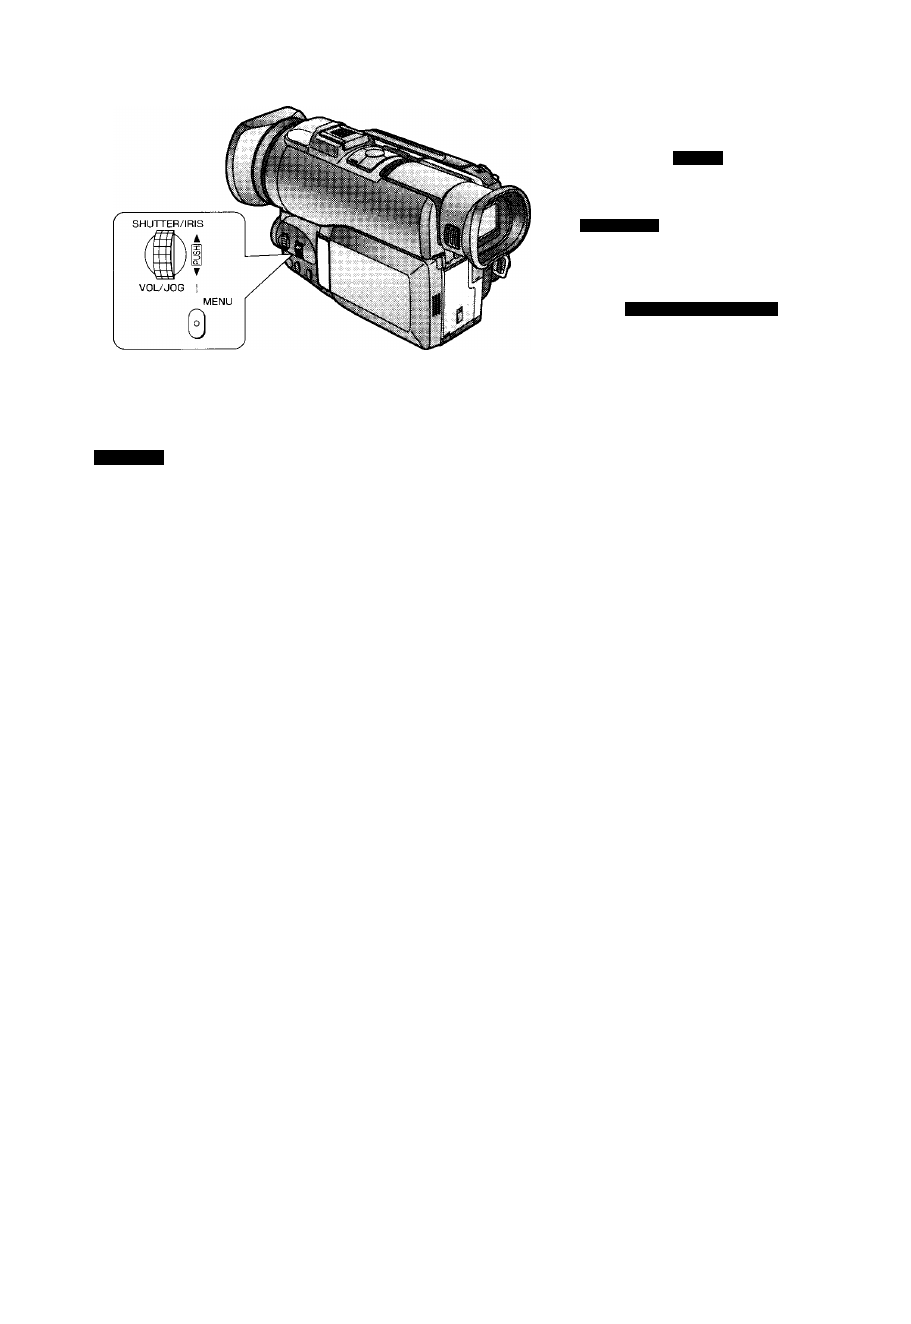
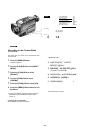
Recording mode
If you set [REC MODE] on the Menu to [FRAME] for
recoding (-> 126, 128) the still picture can be played back
with increased clarity.
NORMAL:
Select this mode for normal recording.
FRAME:
As the pictures are recorded as frames,
their vertical resolution is 50% higher
than in normal recording.
However, fast movements in the picture
become somewhat jerky.
Use this mode for recoding still pictures
that you want to print or import into
computer applications.
♦ If you set [REC MODE] to [FRAME], it is not possible to
use a digital effect. (-♦ 74)
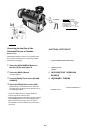
Microphone Sensitivity Level
You can adjust the microphone sensitivity for recording
and audio dubbing by selecting a setting for [MIC LEVEL]
on the Menu (-> 126) of the Camera Mode Menu or
[AUDIO DUB] on the Menu of the VCR Mode Menu
(-> 128).
AUTO:
To record with automatically adjusted
optimum level.
-10dB:
To record with reduced volume.
-5dB:
To record with slightly reduced volume.
OdB:
To record the sound with default
sensitivity. Loud sounds may become
distorted.
+3dB:
To record with slightly increased volume.
+
6
dB:
To record with increased volume.
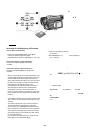
•
• When you set [MIC LEVEL] to any other setting than
[AUTO], the Microphone Sensitivity Level Indication, for
example [MIC +
6
dB], may be displayed in red to warn
that the sound being recorded is distorted. In this case,
select a lower setting for [MIC LEVEL] or set [MIC
LEVEL] to [AUTO].
When recording in the Mirror Mode, the [M] Indication is
displayed in red. (However, if you have set [DISPLAY] on the
Menu to [OFF], the [M] Indication does not appear.)
M eM fiJiJjW
m§mm
i
Y,iPEC
MODEl(i^l^.|if^i=V^iL|FRAME|
i - ^ 1 2 v l 2 8 )
N O R M A L
F R A M E .
It ’
-
♦
M 0 D E ] 0 A : i i ; i F R A M E | O ’ P
i-»74i
m,W-
:
e ^ j i M i c
l e v e u
\iB M M
A U D I O D U B ] ' f
Ru TinRuiii ■
(.-> 1 2 8 ) °
A U T O :
“
10
t
2
. B ,
“ 5 7; M
0
O R
- 8 3 ■
* -
6
• MORR[MIC LEVHL]
p
R^^[AUTO]Z:V|OR'I%0;
l
. O O
o '
' in;Mic +
6
ciBi% ' .3%t
0 : ^
0 i o O l M I C L E V E L I O O ' O O i M I C
L E V E L ] O 0 : O . A J T O ] °
ifl: ' ^Pm0:o084mx0[DISPLAY]0]0^[0FF]3t - gji
«94-
 1
1
 2
2
 3
3
 4
4
 5
5
 6
6
 7
7
 8
8
 9
9
 10
10
 11
11
 12
12
 13
13
 14
14
 15
15
 16
16
 17
17
 18
18
 19
19
 20
20
 21
21
 22
22
 23
23
 24
24
 25
25
 26
26
 27
27
 28
28
 29
29
 30
30
 31
31
 32
32
 33
33
 34
34
 35
35
 36
36
 37
37
 38
38
 39
39
 40
40
 41
41
 42
42
 43
43
 44
44
 45
45
 46
46
 47
47
 48
48
 49
49
 50
50
 51
51
 52
52
 53
53
 54
54
 55
55
 56
56
 57
57
 58
58
 59
59
 60
60
 61
61
 62
62
 63
63
 64
64
 65
65
 66
66
 67
67
 68
68
 69
69
 70
70
 71
71
 72
72
 73
73
 74
74
 75
75
 76
76
 77
77
 78
78
 79
79
 80
80
 81
81
 82
82
 83
83
 84
84
 85
85
 86
86
 87
87
 88
88
 89
89
 90
90
 91
91
 92
92
 93
93
 94
94
 95
95
 96
96
 97
97
 98
98
 99
99
 100
100
 101
101
 102
102
 103
103
 104
104
 105
105
 106
106
 107
107
 108
108
 109
109
 110
110
 111
111
 112
112
 113
113
 114
114
 115
115
 116
116
 117
117
 118
118
 119
119
 120
120
 121
121
 122
122
 123
123
 124
124
 125
125
 126
126
 127
127
 128
128
 129
129
 130
130
 131
131
 132
132
 133
133
 134
134
 135
135
 136
136
 137
137
 138
138
 139
139
 140
140
 141
141
 142
142
 143
143
 144
144
 145
145
 146
146
 147
147
 148
148
 149
149
 150
150
 151
151
 152
152
 153
153
 154
154
 155
155
 156
156
 157
157
 158
158
 159
159
 160
160
 161
161
 162
162
 163
163