51
3
B
asic Op
er
atio
ns
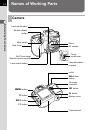
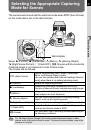
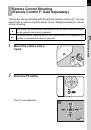
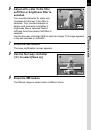
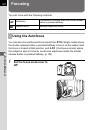
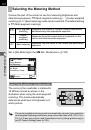
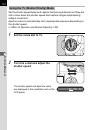
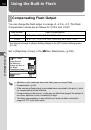
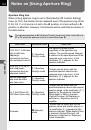
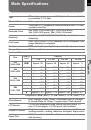
Using the Built-in Flash
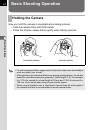
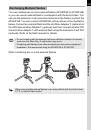
Use the following procedures to take a picture in low light or backlit
conditions or when you want to manually use the built-in flash.
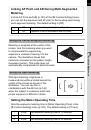
The built-in flash is optimum at about 0.7 m to 4 m from the subject.
Exposure will not be properly controlled and vignetting may occur when
used at a distance closer than 0.7 m (this distance varies slightly
depending on the lens being used and set sensitivity (p.152)).
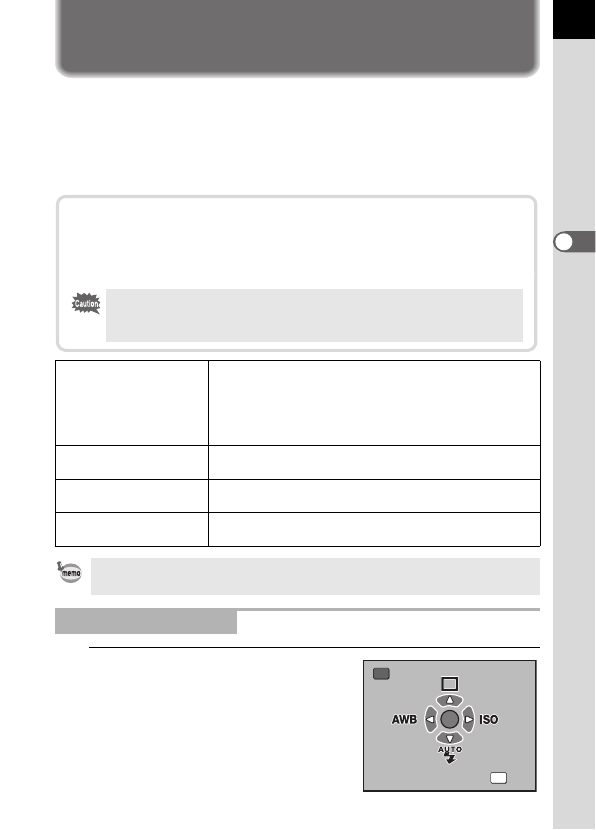
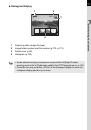
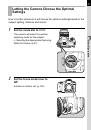
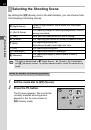
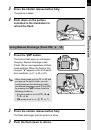
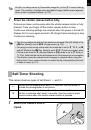
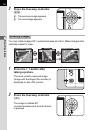
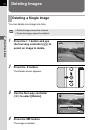
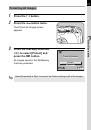
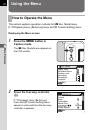
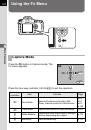
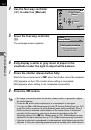
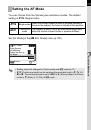
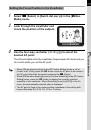
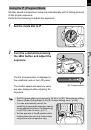
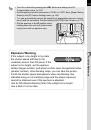
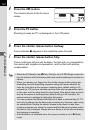
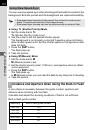
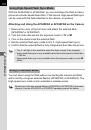
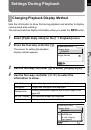
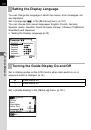
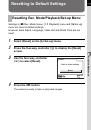
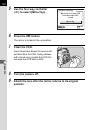
1
Press the
{
button.
The Fn menu appears.
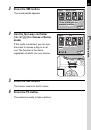
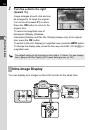
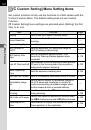
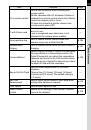
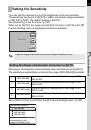
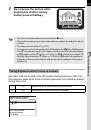
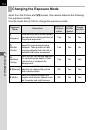
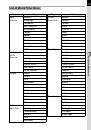
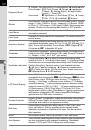
g
Auto discharge
Camera automatically determines surrounding light and
built-in flash pops up. The flash pops up and discharges
automatically when necessary, such as when using a
shutter speed likely to cause camera shake or in backlit
conditions. (The flash may pop up but may not discharge
if the camera determines that the flash is not necessary.)
h
Manual discharge
Discharges flash manually. Flash discharges when
popped up, does not discharge when retracted.
i
Auto flash+Redeye
reduct
Lights a red-eye reduction light before automatic flash.
j
Manl flash+Redeye
reduct
Discharges flash manually. Lights a red-eye reduction
light before manual flash.
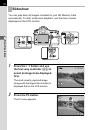
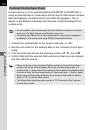
Manual discharge mode (Flash ON) is used regardless of flash mode settings
if the
K
button is pressed to pop up the flash manually.
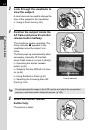
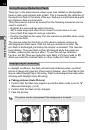
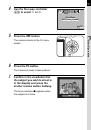
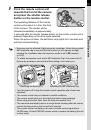
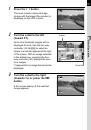
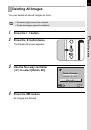
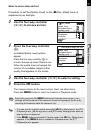
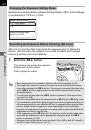
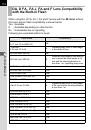
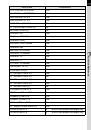
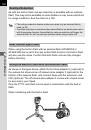
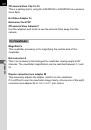
Selecting Flash Mode
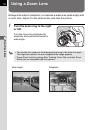
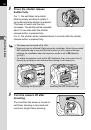
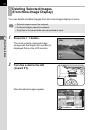
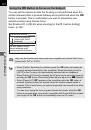
Compatibility of built-in flash and lens
Vignetting (darkening of the corners of the image due to a lack of light) may
occur depending on the lens being used and the capture conditions. We
recommend taking a test shot to confirm this.
1
DA, D FA , FA J, FA and F Lens Compatibility with the Built-in Flash (p.154)
• When using the built-in flash, remove the lens hood before shooting.
• The built-in flash fully discharges for lenses without a function to set
aperture lens ring to
s
(Auto).
Fn
AUTO
AUTO
AUTO
OK
Exit
Exit
Exit
Fn
 1
1
 2
2
 3
3
 4
4
 5
5
 6
6
 7
7
 8
8
 9
9
 10
10
 11
11
 12
12
 13
13
 14
14
 15
15
 16
16
 17
17
 18
18
 19
19
 20
20
 21
21
 22
22
 23
23
 24
24
 25
25
 26
26
 27
27
 28
28
 29
29
 30
30
 31
31
 32
32
 33
33
 34
34
 35
35
 36
36
 37
37
 38
38
 39
39
 40
40
 41
41
 42
42
 43
43
 44
44
 45
45
 46
46
 47
47
 48
48
 49
49
 50
50
 51
51
 52
52
 53
53
 54
54
 55
55
 56
56
 57
57
 58
58
 59
59
 60
60
 61
61
 62
62
 63
63
 64
64
 65
65
 66
66
 67
67
 68
68
 69
69
 70
70
 71
71
 72
72
 73
73
 74
74
 75
75
 76
76
 77
77
 78
78
 79
79
 80
80
 81
81
 82
82
 83
83
 84
84
 85
85
 86
86
 87
87
 88
88
 89
89
 90
90
 91
91
 92
92
 93
93
 94
94
 95
95
 96
96
 97
97
 98
98
 99
99
 100
100
 101
101
 102
102
 103
103
 104
104
 105
105
 106
106
 107
107
 108
108
 109
109
 110
110
 111
111
 112
112
 113
113
 114
114
 115
115
 116
116
 117
117
 118
118
 119
119
 120
120
 121
121
 122
122
 123
123
 124
124
 125
125
 126
126
 127
127
 128
128
 129
129
 130
130
 131
131
 132
132
 133
133
 134
134
 135
135
 136
136
 137
137
 138
138
 139
139
 140
140
 141
141
 142
142
 143
143
 144
144
 145
145
 146
146
 147
147
 148
148
 149
149
 150
150
 151
151
 152
152
 153
153
 154
154
 155
155
 156
156
 157
157
 158
158
 159
159
 160
160
 161
161
 162
162
 163
163
 164
164
 165
165
 166
166
 167
167
 168
168
 169
169
 170
170
 171
171
 172
172
 173
173
 174
174
 175
175
 176
176
 177
177
 178
178
 179
179
 180
180
 181
181
 182
182
 183
183
 184
184
 185
185
 186
186
 187
187
 188
188
 189
189
 190
190
 191
191
 192
192
 193
193
 194
194
 195
195
 196
196
 197
197
 198
198
 199
199
 200
200
 201
201
 202
202
 203
203
 204
204
 205
205
 206
206
 207
207
 208
208
 209
209
 210
210
 211
211
 212
212
 213
213
 214
214
 215
215
 216
216
 217
217