5
English
EN
2
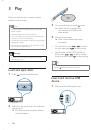
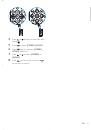
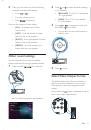
Insert the USB device into the USB socket.
»
The unit starts playing from the USB
device automatically.
3
To remove the USB device, press
to
turn off the unit.
4
Remove the USB device.
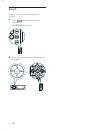
Insert and remove SD/SDHC
card
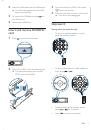
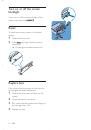
1
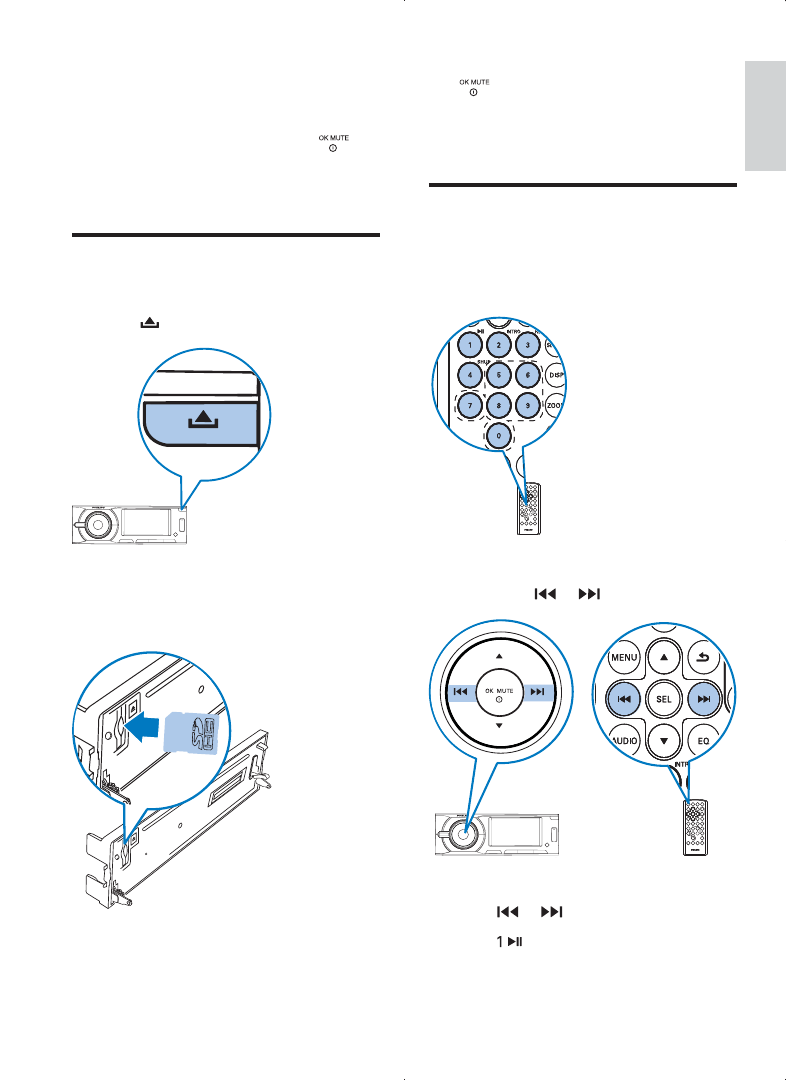
Press
to open the front panel.
2
Insert SD or SDHC card into the card slot.
»
The unit starts playing from the SD/
SDHC card automatically.
3
To remove the SD or SDHC card, press
to turn off the unit.
4
Press the card until you hear a click sound.
»
The card is now disengaged.
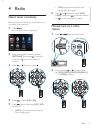
Skip/search
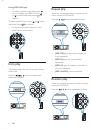
During video and audio disc play
press the numeric buttons.
To skip to the previous or next chapter or
track, press
or
.
To search backward or forward quickly,
press
or
for 3 seconds.
Press
to resume normal play.