4-4
Samsung Electronics
Disassembly and Reassembly
No.
Part name
Procedures
Remarks
➄
➅
➆
⑧
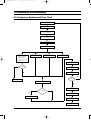
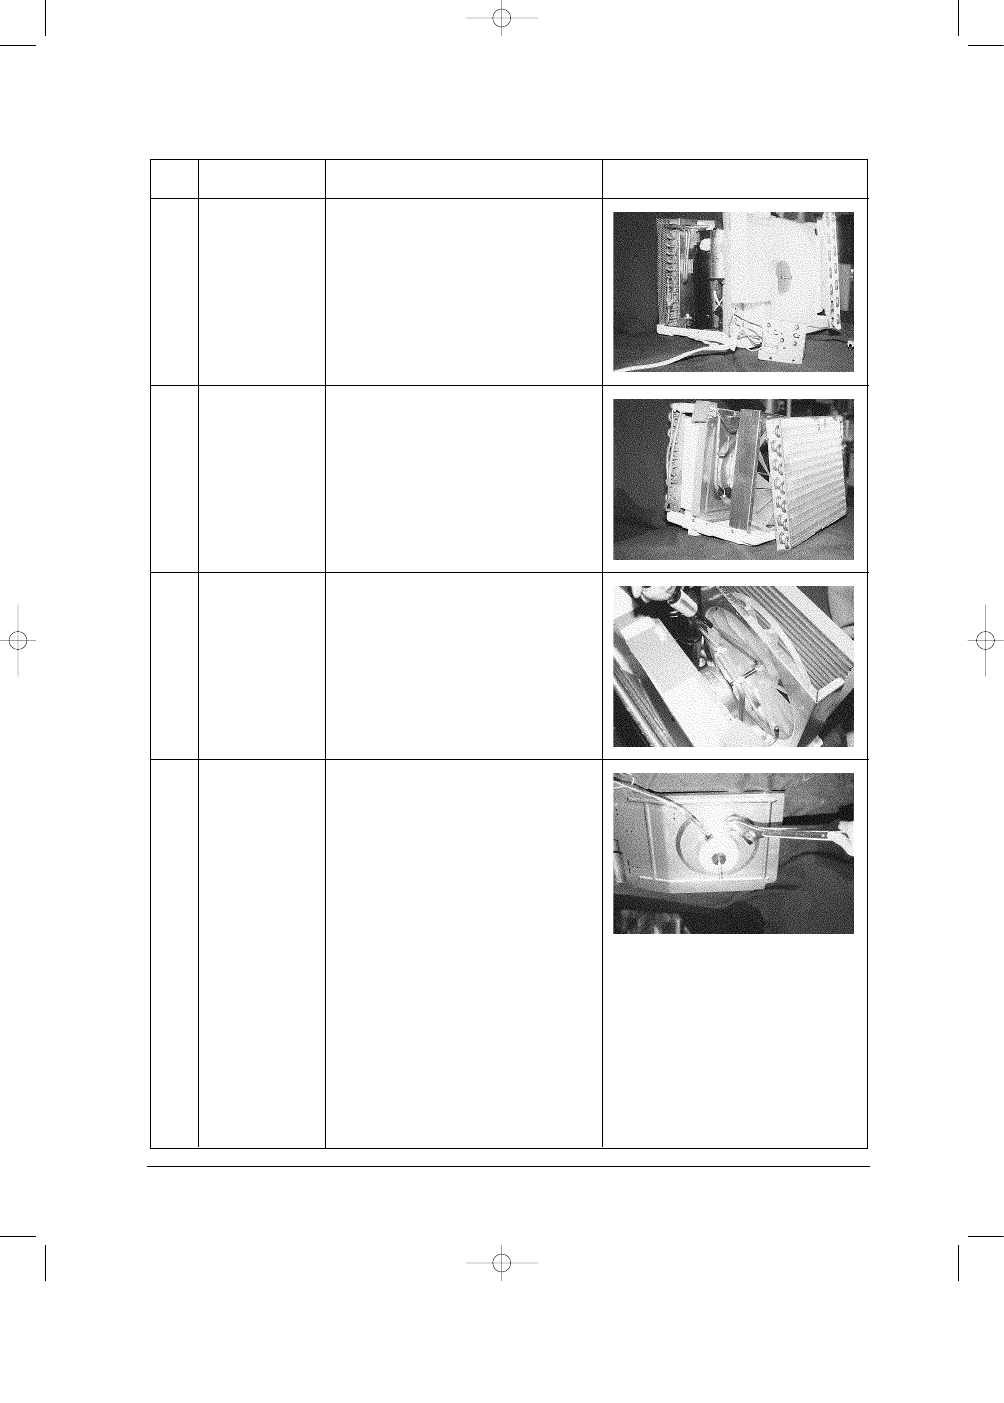
Ass'y - Control
1. Remove the 2 screws at the bottom of
between the base-pan and the control-box.
2. Separate the power cord from the base pan.
Ass'y - Condenser
1. Remove the 6 screws on the condenser.
2. Separate the cond-casing from the base-pan.
Ass'y - Fan Propeller
1. Loose the bolt to disassemble the fan-propeller.
2. Separate the fan-propeller from the motor and
the cond-casing.
Ass'y - Motor
1. Separate the motor and the bulk-head from the
base pan.
2. Loose the 4 nuts on the bulk-head.
AW-05B0LA(AW0519)-1 11/27/98 2:05 PM Page 4-4