LCD TV
LW46G15W
Owner’s Instructions
Before operating the unit,
please read this manual thoroughly,
and retain it for future reference.
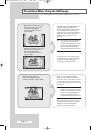
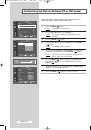
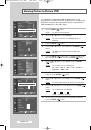
P
ICTURE
I
N
P
ICTURE
(PIP)
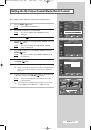
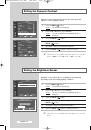
TELETEXT
This dvice is a class B digital apparatus.
BN68-00746A(GAIA2_Euro_ENG) 2004/08/23 03:54 PM Page 1