www.timberk.com • electrical storage water heater
6
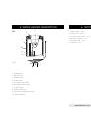
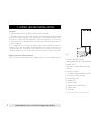
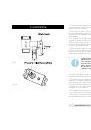
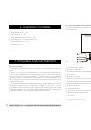
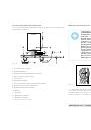
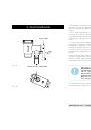
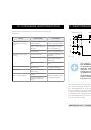
7. WATER HEATER INSTALLATION
1. Power cord with a plug
2. Magnesium anode – water discharge nozzle
3. Water outlet
4. Hot water supply adjustment tap*
5. Mixer*
6. Shower header*
7. Cold water supply adjustment tap*
8. Pressure relieving opening
9. Check relief valve
10. Water inlet
11. Water heater
12. Water main shut-off valve*
13. Water main
14. T-bend*
*Does not included in the scope of delivery
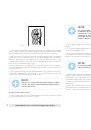
Location
1. Electric water heater should be mounted on a firm wall.
2. The wall, where the electric water heater is to be mounted, must withstand
at least the double weight of the water heater, fully filled with water; there
must be no cracks and other damages on the wall. Otherwise it is necessary
to take measures to strengthen the mounting or mount the water heater on
a special support.
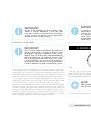
3. If a bathroom is too small, the water heater can be installed elsewhere,
unexposed to direct sunlight and unavailable for moisture. However, to
reduce heat losses in pipelines, the location, where a water heater is to be
installed, must be as close to the place, where hot water is used, as possible.
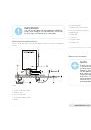
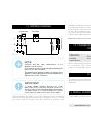
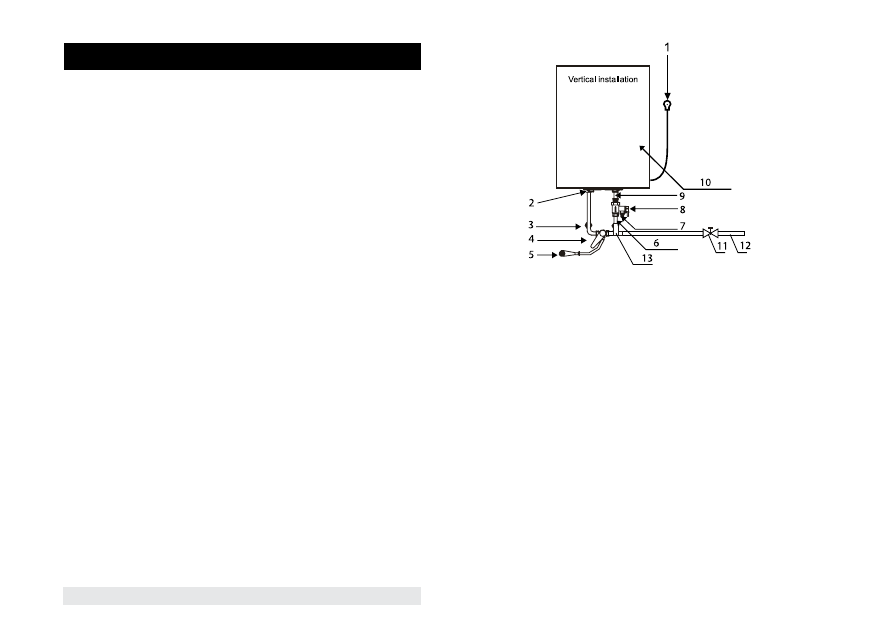
Water heater mounting methods
Fig. 5 shows the way to mount the water heater for one consumption point.
Fig. 5