1
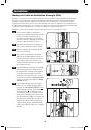
Owner’s Manual
3-Phase Monitored 0U Power
Distribution Units
(Phase and Bank Measurements)
208V MODELS
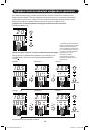
PDU3VN6L2120 • PDU3VN6L2130 • PDU3VN6G30B
(Series Number: AG-00B8) (Series Number: AG-00B9) (Series Number: AG-00BA)
400V MODEL
PDU3XVN6G20
(Series Number: AG-00BD)
Important Safety Instructions 2
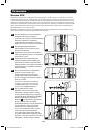
Installation 3
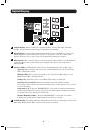
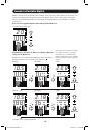
Digital Display
6
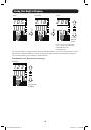
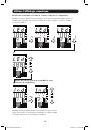
Using the Digital Display
9
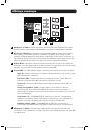
Features 16
Configuration and Operation 18
Service 18
Warranty and
19
Product Registration
Español 20
Français 39
Русский
58
1111 W. 35th Street, Chicago, IL 60609 USA • www.tripplite.com/support
Copyright © 2015 Tripp Lite. All rights reserved.
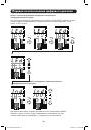
PDU3VN6L1530B
(Series Number: AG-00BA)
PDU3VN10L1530B
(Series Number: AG-00BA)
PDU3VN6L2130B
(Series Number: AG-00BA)
PDU3VN6H50B
(Series Number: AG-00BA)
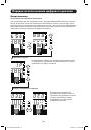
PDU3VN6G60B
(Series Number: AG-00BA)
PDU3VN6G60C
(Series Number: AG-00BB)
•
•
•
•
PROTECT YOUR INVESTMENT!
Register your product for quicker service
and ultimate peace of mind.
You could also win an
ISOBAR6ULTRA surge protector—
a $100 value!
www.tripplite.com/warranty
15-09-467-9332F9.indb 1
10/5/2015 11:41:27 AM