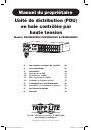
Owner’s Manual
1
Warranty
Registration:
register online today for a
chance to win a FREE T
ripp Lite
product—www
.tripplite.com/warranty
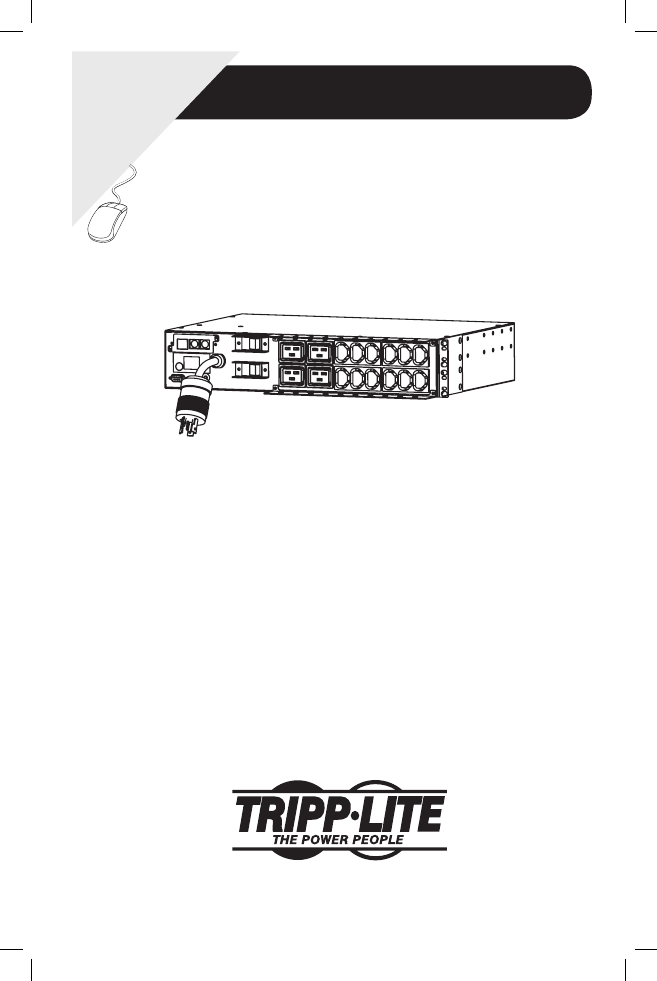
High Voltage
Monitored Rack PDUs
Models: PDUMNH20HV, PDUMNH30HV & PDUMNH32HV
1.
Important Safety Instructions
2
2.
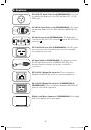
Features
3
3.
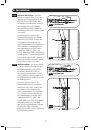
Installation
6
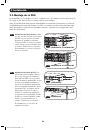
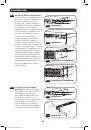
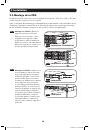
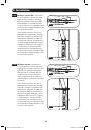
3.1 Mounting the PDU
6
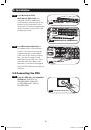
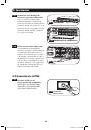
3.2 Connecting the PDU
9
3.3 Networking the PDU
11
3.4 Testing Network Connection
11
4.
Configuration and Operation
11
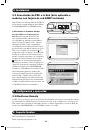
4.1 Remote Monitoring
11
5.
Technical Support
11
6.
Warranty & Warranty Registration
12
1111 W. 35th Street, Chicago, IL 60609 USA
www.tripplite.com/support
Copyright © 2011 Tripp Lite. All rights reserved.
201110150-93-3050.indb 1
11/9/2011 11:13:06 AM