Инструкция для ARCHOS 404 Camcorder

(скачивание инструкции бесплатно)
Формат файла: PDF
Доступность: Бесплатно как и все руководства на сайте. Без регистрации и SMS.
Дополнительно: Чтение инструкции онлайн
background image

3

InTRODuCTIOn

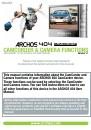
ARChOs 404 CAMCORDER DEsCRIpTIOn
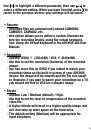
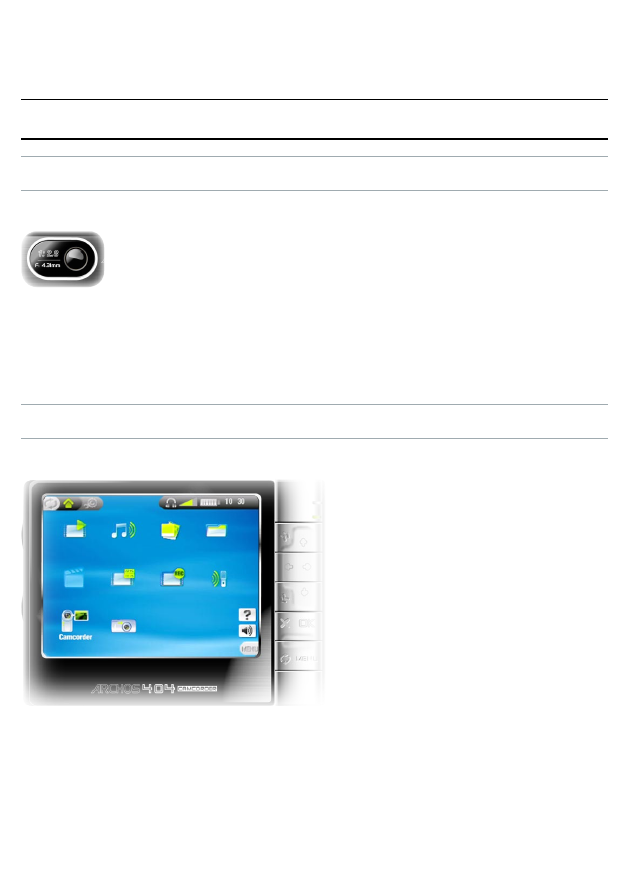
CAMERA SENSOR

On the Back of the Device:

The optical sensor of the device.

Be careful not to leave your fingers in front of it 

when taking a picture or shooting a video.

Take all appropriate care to avoid scratching the 

lens: use the included protective pouch to carry 

the device.

ARCHOS 404 CAMCORDER INTERFACE DESCRIpTION
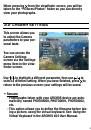
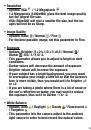
Home Screen

The Home Screen of the 

ARCHOS 404 CamCorder 

has two more icons than 

that of the ARCHOS 404: 

CamCorder and Camera.

select an icon with the 

navigation pad and press 

OK

 to use the particular 

function.

1
2
3
4
5
6
7
8
9
10
11
12
13
14
Оглавление инструкции
  • Страница 1 из 15
    English 404 CAMCORDER CAMCORDER & CAMERA FUNCTIONS Supplement to the ARCHOS 404 User Manual Version 1.1 Please visit www.archos.com/manuals to download the latest version for this manual. This manual contains information about the CamCorder and Camera functions of your ARCHOS 404 CamCorder device.
  • Страница 2 из 15
    Table Of Contents Introduction . . . . . . . . . . . . . . . . . . . . . . . . . . . . 3 ARCHOS 404 CamCorder description. . . . . . . . . . . 3 1. Using the CamCorder. . . . . . . . . . . . . . . . 4 1.1 Video Recording Procedure . . . . . . . . . . . . . . . 4 1.2 CamCorder Settings. . . . . . .
  • Страница 3 из 15
    Introduction ARCHOS 404 CamCorder description Camera Sensor On the Back of the Device: • The optical sensor of the device. • Be careful not to leave your fingers in front of it when taking a picture or shooting a video. • Take all appropriate care to avoid scratching the lens: use the included
  • Страница 4 из 15
    1. Using the CamCorder In the Home Screen, highlight the CamCorder icon and press OK to display the CamCorder pre-recording screen. All CamCorder recordings made by your ARCHOS device are saved in the “Video/Camcorder” folder. If you wish to keep them in a different location, you can use the Move
  • Страница 5 из 15
    • Press OK to start recording. • You can pause and restart your recording by pressing OK. • You can adjust certain settings, such as Exposure and White Balance, during a recording: press MENU and select the Settings menu item. • Press to stop recording. When pressing from the pre-recording screen,
  • Страница 6 из 15
    Use / to highlight a different parameter, then use / to select a different setting. When you have finished, press to return to the previous screen: your settings will be saved. • Rename - Recorded files are automatically named CAM0000, CAM0001, CAM0002, etc. - this option allows you to define a
  • Страница 7 из 15
    • Exposure - Options: Brighter +2/+1,5/+1/+0,5 / Normal / Darker -0,5/-1/-1,5/-2. - This parameter allows you to adjust to bright or dark conditions. - Darker values will decrease the amount of exposure. - Brighter values will increase the exposure. - If your subject has a bright background, you
  • Страница 8 из 15
    2. Using the Still Camera In the Home Screen, highlight the Camera icon and press OK to enter the still camera mode. All photographs taken by your ARCHOS device are saved in the “Pictures/Photos” folder. If you wish to keep them in a different location, you can use the Move function of the Archos
  • Страница 9 из 15
    When pressing from the viewfinder screen, you will be taken to the “Pictures/Photos” folder so you can directly view your photographs. 2.2 Camera Settings This screen allows you to adjust the Camera parameters to your personal taste. You can access the Camera Settings screen via the Settings menu
  • Страница 10 из 15
    • Resolution - Options: VGA / 1.2 Megapixels - 1.2 Megapixels (1280x960) gives the best image quality but the largest file size. - VGA (640x480) will give a smaller file size, but the images will not be as sharp. • Image Quality - Options: Basic / Normal / Fine - For the best possible image, set
  • Страница 11 из 15
    • Timer - Options: Off / 5 seconds / 10 seconds - The timer setting allows you to delay the moment at which the photo is taken, for example if you want to include yourself in the picture. • Reset - This will reset the values in this screen to the factory default settings. 2.3 Taking Photos Using
  • Страница 12 из 15
    3. Controlling the Image Quality 3.1 Blurred images If you notice that some of your videos or photographs are blurred, it could be due to various reasons. As with any other camcorder or still camera, keep in mind the following: • If you use the zoom, you must have a very steady hand to hold the
  • Страница 13 из 15
    • Use the Lock exposure menu item: - Point the ARCHOS 404 CamCorder away from the bright light, towards an area where the light conditions are similar to those around the person or object. - Select the Lock exposure menu item: the exposure settings become fixed and the exposure-locked icon will
  • Страница 14 из 15
    Technical Specifications These are specifications for the CamCorder functions only. For general specifications of the ARCHOS 404 series, please see the ARCHOS 404 user manual. RESOLUTION • Digital Still Camera: 1.2 mega pixels. • CamCorder: 640x480 (300.000 pixels). SENSOR • CCD (Charge Coupled
  • Страница 15 из 15