7
Safety, regulatory and legal information
Eng
lish
Safety instructions (continued)
5.
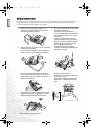
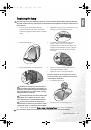
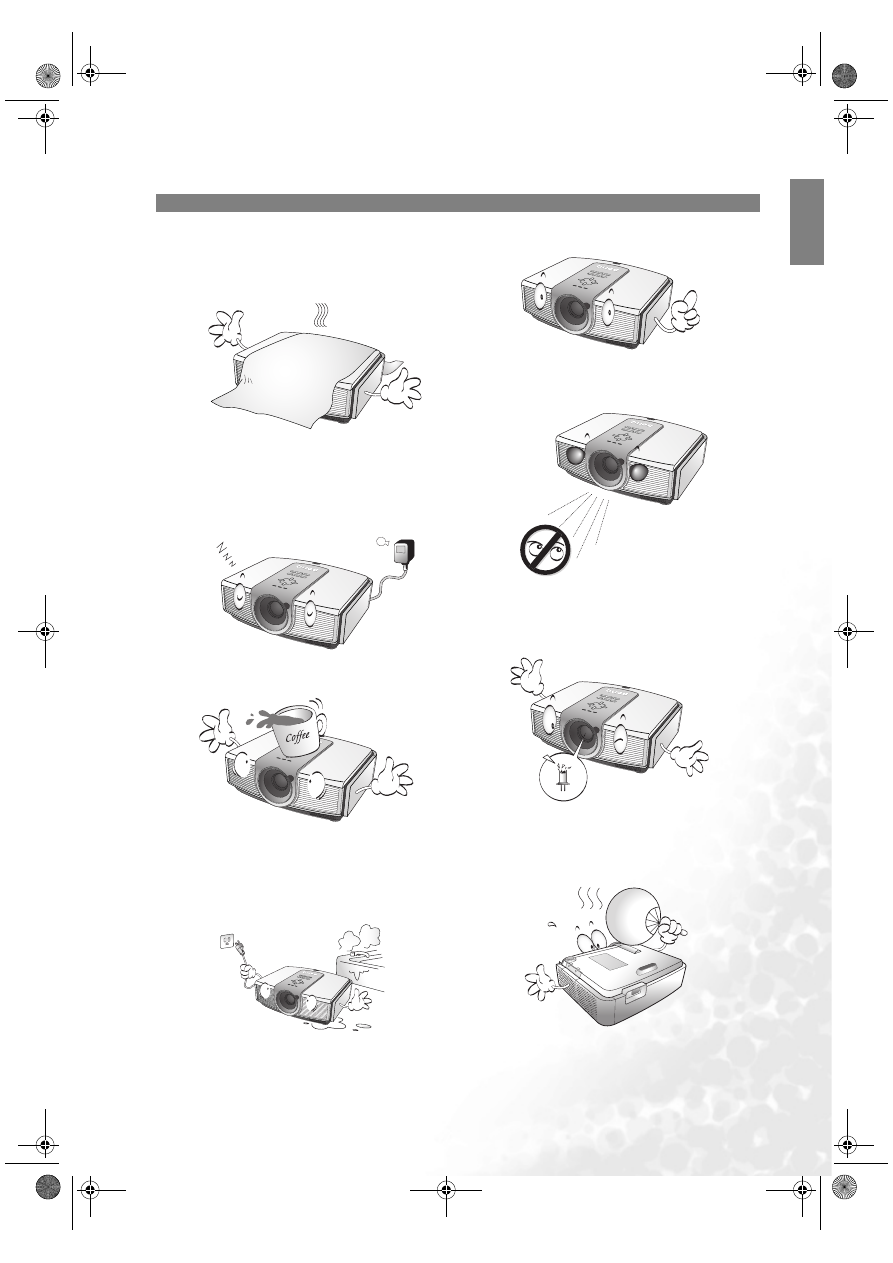
Do not block the ventilation holes whilst the
projector is on (even in standby mode):
- Do not cover the projector with any item;
- Do not place the projector on a blanket,
bedding or any other soft surface.
6.
In areas where the mains power supply
voltage may fluctuate by
±
10 volts, it is
recommended that you connect your
projector through a power stabilizer, surge
protector or uninterruptible power supply
(UPS) as appropriate to your situation.
7.
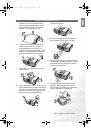
Do not step on the projector or place any
objects upon it..
8.
Do not place liquids near or on the projector.
Liquids spilled into the projector will void your
warranty. If the projector does become wet,
disconnect it from the power point and call
BenQ to have the projector repaired.
9.
Always remove the lens cap before switching
the projector lamp on.
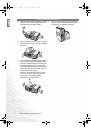
10. Do not look straight into the projector lens
during operation. It may harm your sight.
11. Do not operate the projector lamp beyond the
rated lamp life. Excessive operation of lamps
beyond the rated life could cause a lamp to
break on rare occasions.
12. The lamp becomes extremely hot during
operation. Allow the projector to cool for
approximately 45 minutes prior to removing
the lamp assembly for replacement.
PE8720-en.book Page 7 Friday, May 13, 2005 5:19 PM