Back to Contents Page
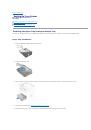
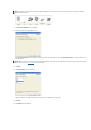
Copying
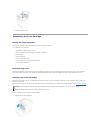
Dell™ Multi
-Function Printer 1125
User's Guide
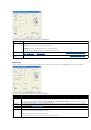
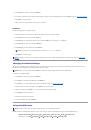
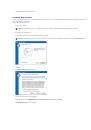
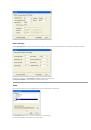
Loading Paper for Copying
The instructions for loading print media are the same whether you are printing, faxing, or copying. For more information, see
Loading Print Media in the Paper
Tray
for loading paper in the paper tray and
Using the Bypass Tray
for loading paper in the bypass tray.
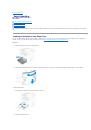
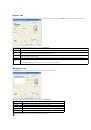
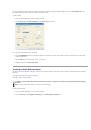
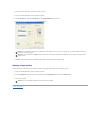
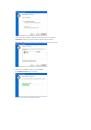
Selecting a Paper Tray
The printer uses the main paper tray by default. If there is paper in the bypass tray, the printer automatically detects it and uses the bypass tray for the
operation.
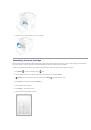
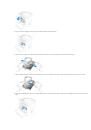
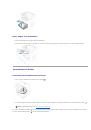
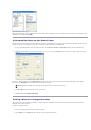
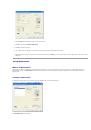
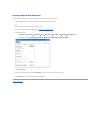
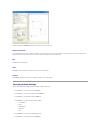
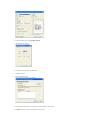
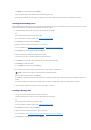
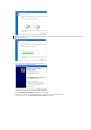
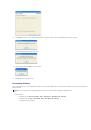
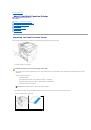
Preparing a Document
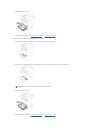
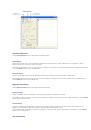
You can use the scanner glass or the Automatic Document Feeder (ADF) to load an original document for copying, scanning, and sending a fax. Using the ADF,
you can load up to 30 sheets of 55 to 125 g/m2 (20 lb) documents for one job. Using the scanner glass, you can load one sheet at a time.
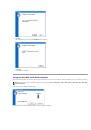
When you use the ADF:
l
The ADF only supports A4, Letter, and Legal size documents as indicated on the width guide.
l
Do not attempt to feed the following types of documents:
¡
Carbon-paper or carbon-backed paper
¡
Coated paper
¡
Onion skin or thin paper
¡
Wrinkled or creased paper
¡
Curled or rolled paper
¡
Torn paper
l
Remove all staples and paper clips before loading documents.
l
Ensure that any glue, ink, or correction fluid on the paper is completely dry before loading documents.
l
Do not load documents containing different sizes or weights of paper.
l
Do not load booklets, pamphlets, transparencies or documents having other unusual characteristics.
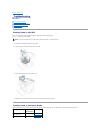
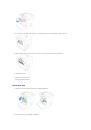
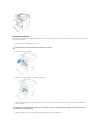
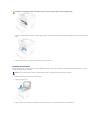
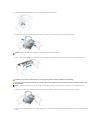
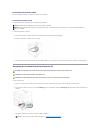
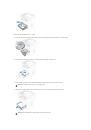
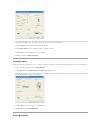
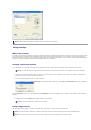
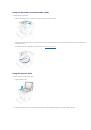
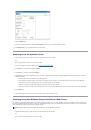
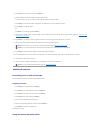
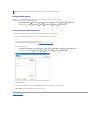
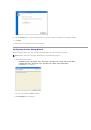
Loading an Original Document
You can use the ADF (Automatic Document Feeder) or the scanner glass to load an original document. Using the ADF, you can load up to 30 sheets of 55 to
125 g/m2 paper at a time. Using the scanner glass, you can load one sheet at a time.
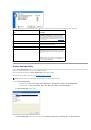
NOTE:
To get the best scan quality, especially for color or gray scale images, use the scanner glass instead of the ADF.
NOTE:
ADF Output stacking performance may be affected if the ADF is loaded with media with a paper curl of more than 4.4 mm.
NOTE:
To scan a document from the scanner glass, ensure that no document is in the ADF. If any document is detected in the
ADF, it has priority over
the document on the scanner glass.
NOTE:
To get the best scan quality, especially for color or gray scale images, use the scanner glass instead of the ADF.
 1
1
 2
2
 3
3
 4
4
 5
5
 6
6
 7
7
 8
8
 9
9
 10
10
 11
11
 12
12
 13
13
 14
14
 15
15
 16
16
 17
17
 18
18
 19
19
 20
20
 21
21
 22
22
 23
23
 24
24
 25
25
 26
26
 27
27
 28
28
 29
29
 30
30
 31
31
 32
32
 33
33
 34
34
 35
35
 36
36
 37
37
 38
38
 39
39
 40
40
 41
41
 42
42
 43
43
 44
44
 45
45
 46
46
 47
47
 48
48
 49
49
 50
50
 51
51
 52
52
 53
53
 54
54
 55
55
 56
56
 57
57
 58
58
 59
59
 60
60
 61
61
 62
62
 63
63
 64
64
 65
65
 66
66
 67
67
 68
68
 69
69
 70
70
 71
71
 72
72
 73
73
 74
74
 75
75
 76
76
 77
77
 78
78
 79
79
 80
80
 81
81
 82
82
 83
83
 84
84
 85
85
 86
86
 87
87
 88
88
 89
89
 90
90
 91
91
 92
92
 93
93
 94
94
 95
95
 96
96
 97
97
 98
98
 99
99
 100
100
 101
101
 102
102
 103
103
 104
104
 105
105
 106
106
 107
107
 108
108
 109
109
 110
110
 111
111
Инструкции и руководства похожие на DELL 1125