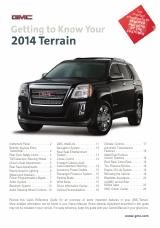
19
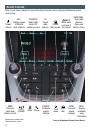
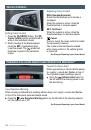
The
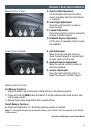
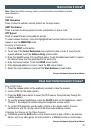
Low Tire Pressure warning light on the instrument cluster illuminates when one
or more of the vehicle’s tires is significantly underinflated. Fill the tires to the proper tire
pressures. The proper tire pressures for the vehicle are listed on the Tire and Loading
Information label, located below the driver’s door latch. Current tire pressures can be
viewed in the Driver Information Center.
Tire pressure is affected by cold weather and distance driven. If the low tire pressure
warning light illuminates when the vehicle is first started in cooler temperatures and then
turns off as the vehicle is driven, check for the proper tire pressures.
Refer to your Owner Manual for additional information about normal monthly tire maintenance.
See Vehicle Care in your Owner Manual.
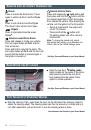
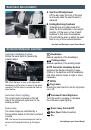
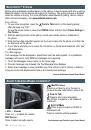
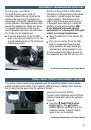
The roof rack cross rails can be secured in four positions along the roof rack side rails.
When adjusting the cross rails, slide each cross rail slightly back and forth until the lock
pins fully engage the holes. An audible click will be heard.
To help reduce wind noise when not in use, move the front cross rail to the forwardmost
position and the rear cross rail to the rearwardmost position.
See Storage in your Owner Manual.
r
oof
r
acK
c
ross
r
aIls
F
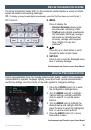
The Oil Life System calculates engine oil life based on vehicle use and displays Change
Engine Oil Soon on the Driver Information Center when it’s necessary to change the engine
oil and filter. The Oil Life System should be reset to 100% only following an oil change.
See Vehicle Care in your Owner Manual.
e
ngIne
o
Il
l
Ife
s
ystem
t
Ire
P
ressure
m
onItor
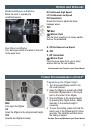
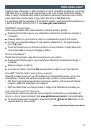
To open the fuel door, press the dimple in the center of the rear edge of the door. The
fuel door will pop out. Pull the door open.
When tightening the fuel cap after refueling, turn it clockwise until it clicks. If the cap is
not properly installed, the Check Engine light will illuminate on the instrument cluster.
See Driving and Operating in your Owner Manual.
r
efuelIng
the
v
ehIcle
F
Optional equipment