14
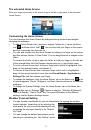
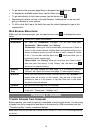
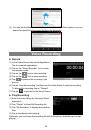
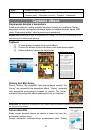
Note: Not all wireless networks offer access to the Internet. Some Wi-Fi networks only link several
computers together, without any Internet connection.
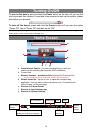
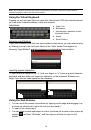
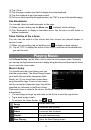
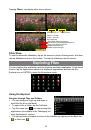
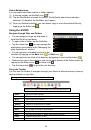
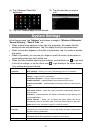
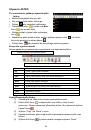
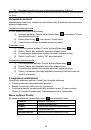
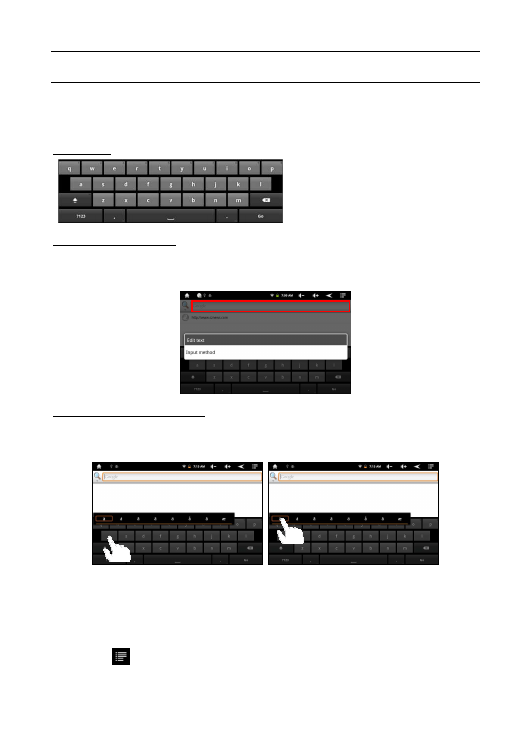
Using the Virtual Keyboard
Tapping on any text input field can open the virtual board. With the virtual keyboard,
you can enter a website address or any text required.
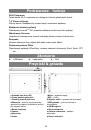
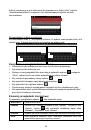
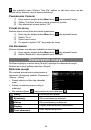
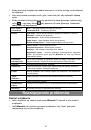
Indications
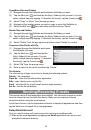
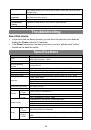
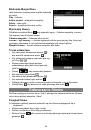
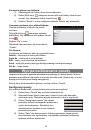
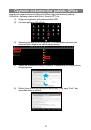
Selecting Input Method
If you have installed more than one input method in this device, you can select one by
a) holding your tap in the text input filed until the “Input method” box appear; b)
choosing “Input Method” and then choosing your desired text input method.
Inputting special characters
To input a special character like “
à
”, hold your finger on “a” to see a special character
keyboard and then slide your finger to a character on the keyboard. Release your
finger if you see two lines appear on the character.
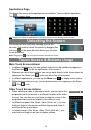
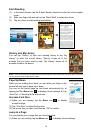
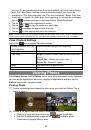
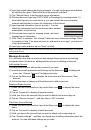
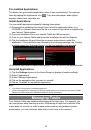
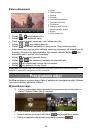
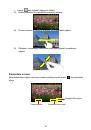
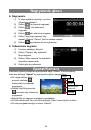
Using the Web Browser
You can scroll the screen up and down by tapping on the page and dragging it up
or down (be careful not to tap a link until you are ready!).
To open a link, simply tap it.
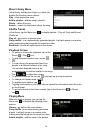
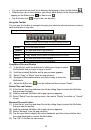
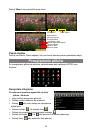
You can open several web pages at a time, view them all at once on the screen by
tapping
and then “Windows”, and then tap one of them to view it in full
screen.
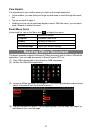
a. Caps Lock
b. Backspace
c. Number and Characters /Letter
Keyboard Switch
d. Space
e. Enter/Confirm
c
b
d
a
e