GB
5. Fix the power supply cable in place by fastening
the cable clamp screw.
6. Close the terminal board cover by tightening the
screws V.
Connecting the supply cable to the mains
Install a standardised plug corresponding to the
load indicated on the data plate located on the
appliance.
The appliance must be directly connected to the
mains using an omnipolar circuit-breaker with a
minimum contact opening of 3 mm installed between
the appliance and the mains. The circuit-breaker
must be suitable for the charge indicated and must
comply with current electrical regulations (the
earthing wire must not be interrupted by the circuit-
breaker). The supply cable must be positioned so
that it does not come into contact with temperatures
higher than 50°C at any point.
Before connecting the appliance to the power
supply, make sure that:
• The appliance is earthed and the plug is compliant
with the law.
• The socket can withstand the maximum power of
the appliance, which is indicated by the data
plate.
• The voltage is in the range between the values
indicated on the data plate.
• The socket is compatible with the plug of the
appliance. If the socket is incompatible with the
plug, ask an authorised technician to replace it.
Do not use extension cords or multiple sockets.
!
Once the appliance has been installed, the power
supply cable and the electrical socket must be
easily accessible.
!
The cable must not be bent or compressed.
!
The cable must be checked regularly and replaced
by authorised technicians only.
!
The manufacturer declines any liability should
these safety measures not be observed.
We recommend cleaning the oven before using it for
the first time, following the instructions provided in
the "Care and maintenance" section.
*
Only available in certain models.
TECHNICAL DATA
Oven dimensions
(WxDxH)
39x44x34 cm
Volume
lt. 60
Useful
measurements
relating to the
oven compartment
width 42 cm
depth 44 cm
height 23 cm
Power supply
voltage and
frequency
see data plate
Ceramic hob
Front Left
Back Left
Back Right
Front Right
Max. ceramic hob
consumption
1200 W
1700 W
1200 W
1700 W
5800 W
ENERGY LABEL
Directive 2002/40/EC on the label of
electric ovens. Standard EN 50304
Declared energy consumption for
Natural convection Class – heating
mode:
D
Static;
EC Directives: 06/95/EC dated
12/12/06 (Low Voltage) and
subsequent amendments -
04/108/EC dated 15/12/04
(Electromagnetic Compatibility) and
subsequent amendments -
93/68/EEC dated 22/07/93 and
subsequent amendments -
2002/96/EC.
1275/2008 (Stand-by/ Off mode)
Data plate, is located inside the flap or, after the
ovencompartment has been opened, on the left-hand
wall inside the oven.
16
Safety Chain
! In order
to prevent
accidental
tipping of the
appliance, for
example by
a child clim-
bing onto the
oven door, the
supplied safety
chain MUST be
installed!
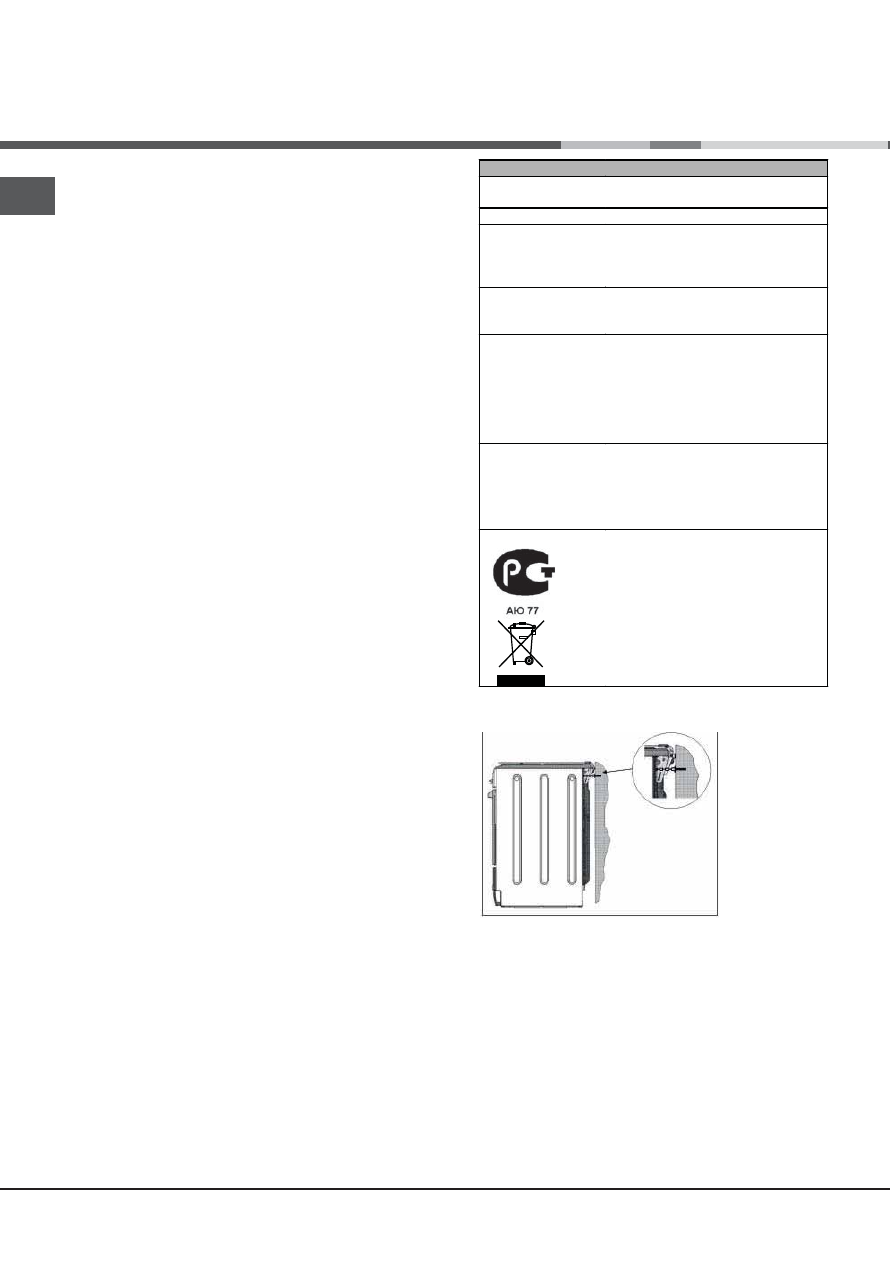
The cooker is fitted with a safety chain to be fixed by
means of a screw (not supplied with the cooker) to
the wall behind the appliance, at the same height as
the chain is attached to the appliance.
Choose the screw and the screw anchor according
to the type of material of the wall behind the applian-
ce. If the head of the screw has a diameter smaller
than 9mm, a washer should be used. Concrete wall
requires the screw of at least 8mm of diameter, and
60mm of length.
Ensure that the chain is fixed to the rear wall of the
cooker and to the wall, as shown in figure, so that
after installation it is tensioned and parallel to the
ground level.


