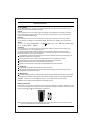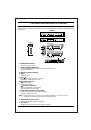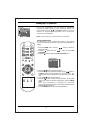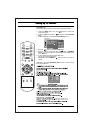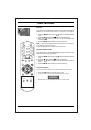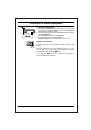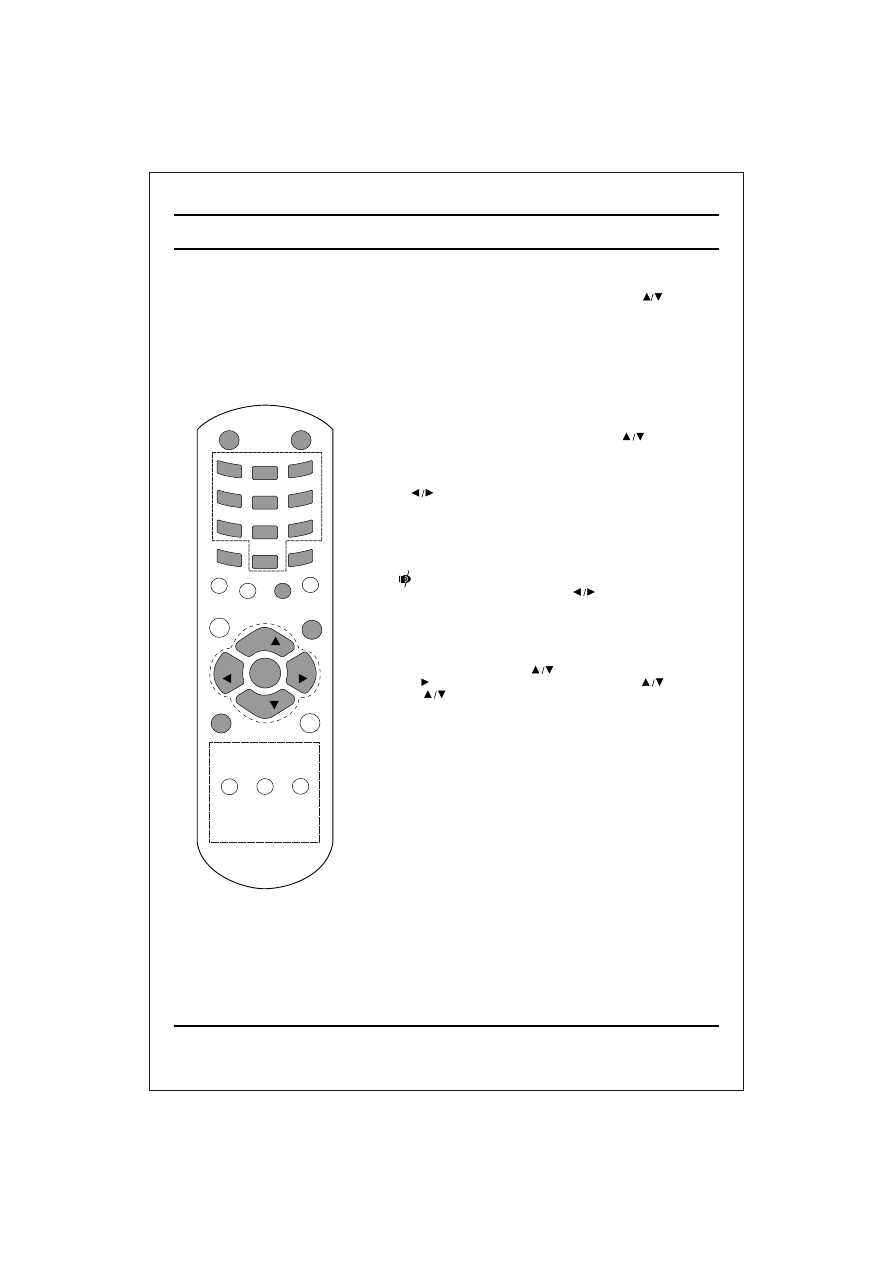
On and Off
1. Press the main power button to switch the set On.
2. If the set is in standby mode, press the
POWER
,
TV/AV
or
NUMBER
buttons on the remote control handset to switch it On
fully.
3. Press the
POWER
button on the remote control handset.
The set reverts to standby mode.
4. Press the main power button again to switch the set Off.
Note
: while the set is switched On and mains plug is disconnected,
if mains plugged again then set will switch to standby or power On.
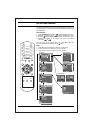
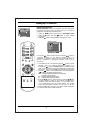
Programme selection
You can select a programme number with the or
NUMBER
Buttons.
Volume adjustment
Press the button to adjust the volume.
Quick view
Press the
Q.VIEW
button to view the last programme
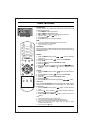
Mute
function
Press the
MUTE
button. The sound is switched Off and the
display
appears.
You can cancel it by pressing the
MUTE
,
, SSM
button.
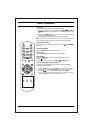
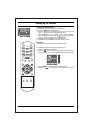
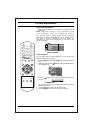
On screen language selection (option)
The menu can be displayed on the screen in desired language.
First select your language.
1.
Press the
Menu
button and then
button to select the special menu.
2. Press the button after selecting language by pressing button.
3. Press the button to selects the desired language.
All the On screen display will appear in the selected language.
4. Press the
MENU
button to return to normal TV viewing.
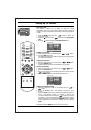
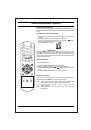
Basic operation
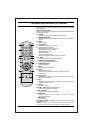
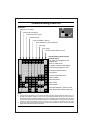
7
POWER
MUTE
1
2
3
4
5
6
8
9
7
0
PSM
SSM
EYE/*
ARC/*
Q.VIEW
LIST
SLEEP
MENU
TV/AV
FAVOURITE
I/II/*
PR
PR
VOL
VOL
OK
MM/*
TURBO
PICTURE/*