21
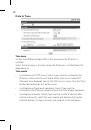
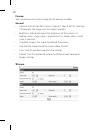
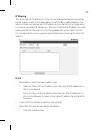
If the login window is not displayed, check the pop-up blocker.
•
If you set the pop-up blocker, the login window is not displayed.
You must allow the pop-ups.
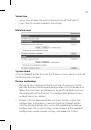
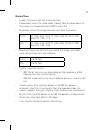
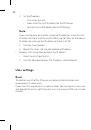
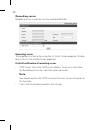
If you connect the LG Smart Web Viewer for the fi rst time, the
•
Security Warning window is displayed to install the LG Smart
Web Viewer program. You must install the LG Smart Web Viewer
program for using the LG IP device.
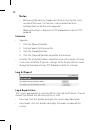
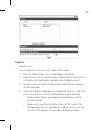
If your computer or network is protected by a proxy or fi rewall, the
•
proxy or fi rewall settings can prevent the LG Smart Web Viewer
program. Change the proxy or fi rewall settings to activate the LG
Smart Web Viewer program.
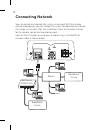
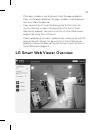
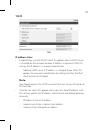
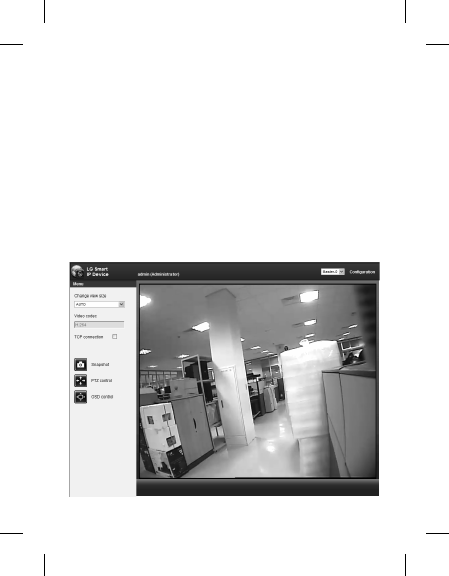
LG Smart Web Viewer Overview