[de] Gebrauchs- und
Montageanleitung
0
3
[en] Instructions for
installation and use
10
[fr] Notice d’utilisation
et de montage
17
[nl] Gebruiksaanwijzing en
installatievoorschrift
24
[it] Istruzioni per l’uso
e montaggio
31
[es] Instrucciones de uso
y montaje
38
[ru] Руководство по
эксплуатации
и монтажу
45
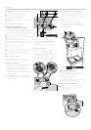
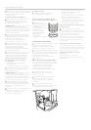
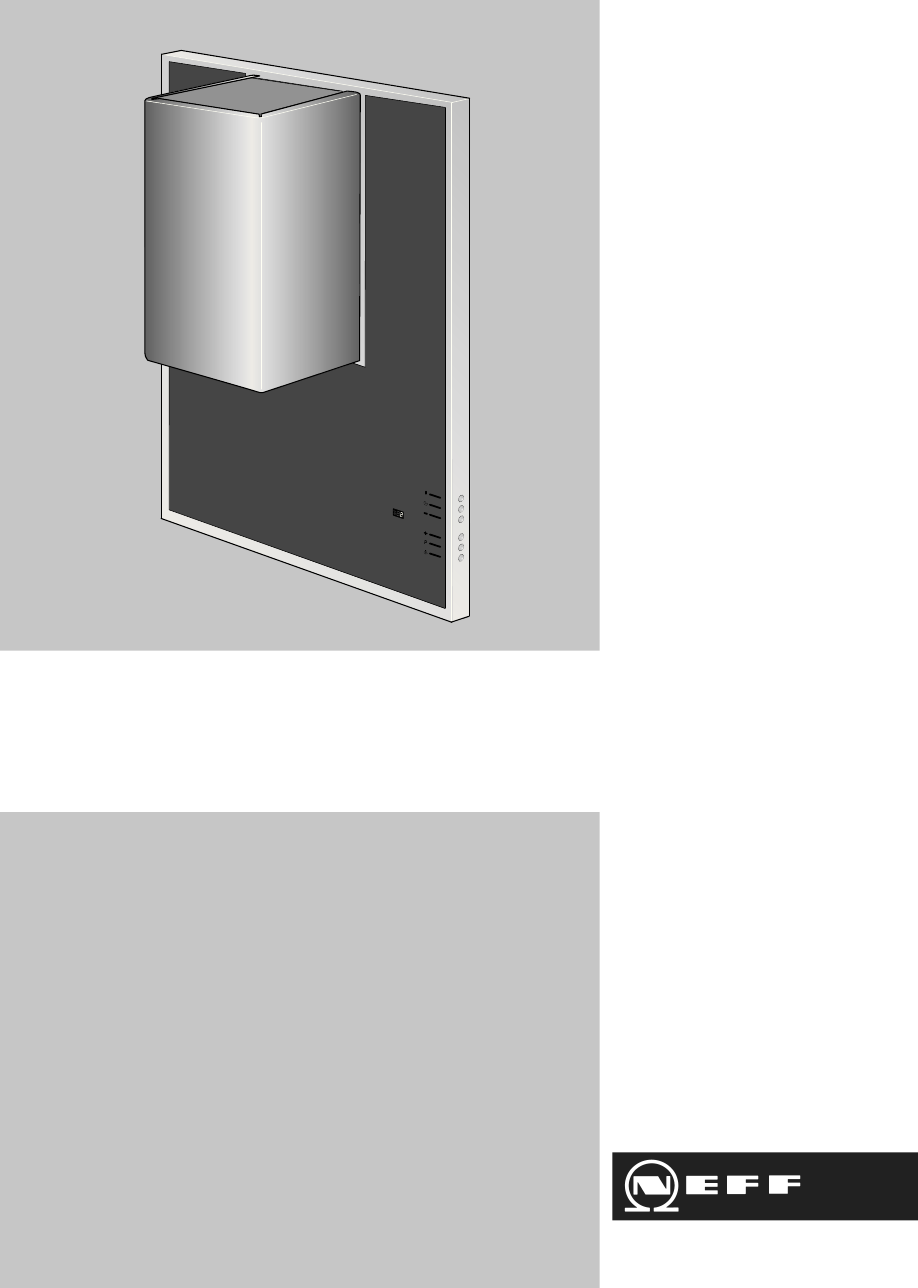
Dunstabzugshaube
Extractor hood
Hotte
Afzuigkap
Cappa aspirante
Campana extractora
Вытяжка