UftI ^ I
I
I Ltl
- I I I.
2
CD
3,6
O
t
S
i
O
4
'
SHIFT
SFT
¿
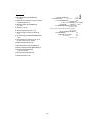
VUHrtJAMtHAn ^
"Dl#
12:30
O
HOLIDAY
15.10.1998
15.10.1998
Q
15.10.1998
HOLIDAY
Of
12:30 HOLIDAY
15.10.1998
12:30.15
15.10.1996
+ >c
s
• |CAMERA|}SjFtg(l}«fe.
2
®[DATE/TITLE]ia,'®a«l/fl#rBVS«
• KS: 0 *«infiip=TO,
ws«i^^© la
4p*(iP.ivttja«}g^©B#, iiaiii
0M/a#r=VS«i§^(O-Ol!i©)o (->36)
}i[ DATE/TiME/sHiFTi (0
a
its
3
4
:m®[DATE/TiME/sET] (0
M / m m /
1998)„
• 0 M/a#P.1ig;K + il?ftT5yilii¥Sit*A‘:
%:
1990—1991—.....................—2089—1990
B'.
1—2—........................................... —12—1-
0:
1—2—........................................... —31—1-
'I'Si: 0-^1--................................................ —23—0-
S-ffl: 00^01-^...............................................-59-00-
ia::g “
b
’\ “'j^Br
6 a
iritis»jiiSiEit
at, iSiirDATE/TIME/SHIFTMo
ENGLISH
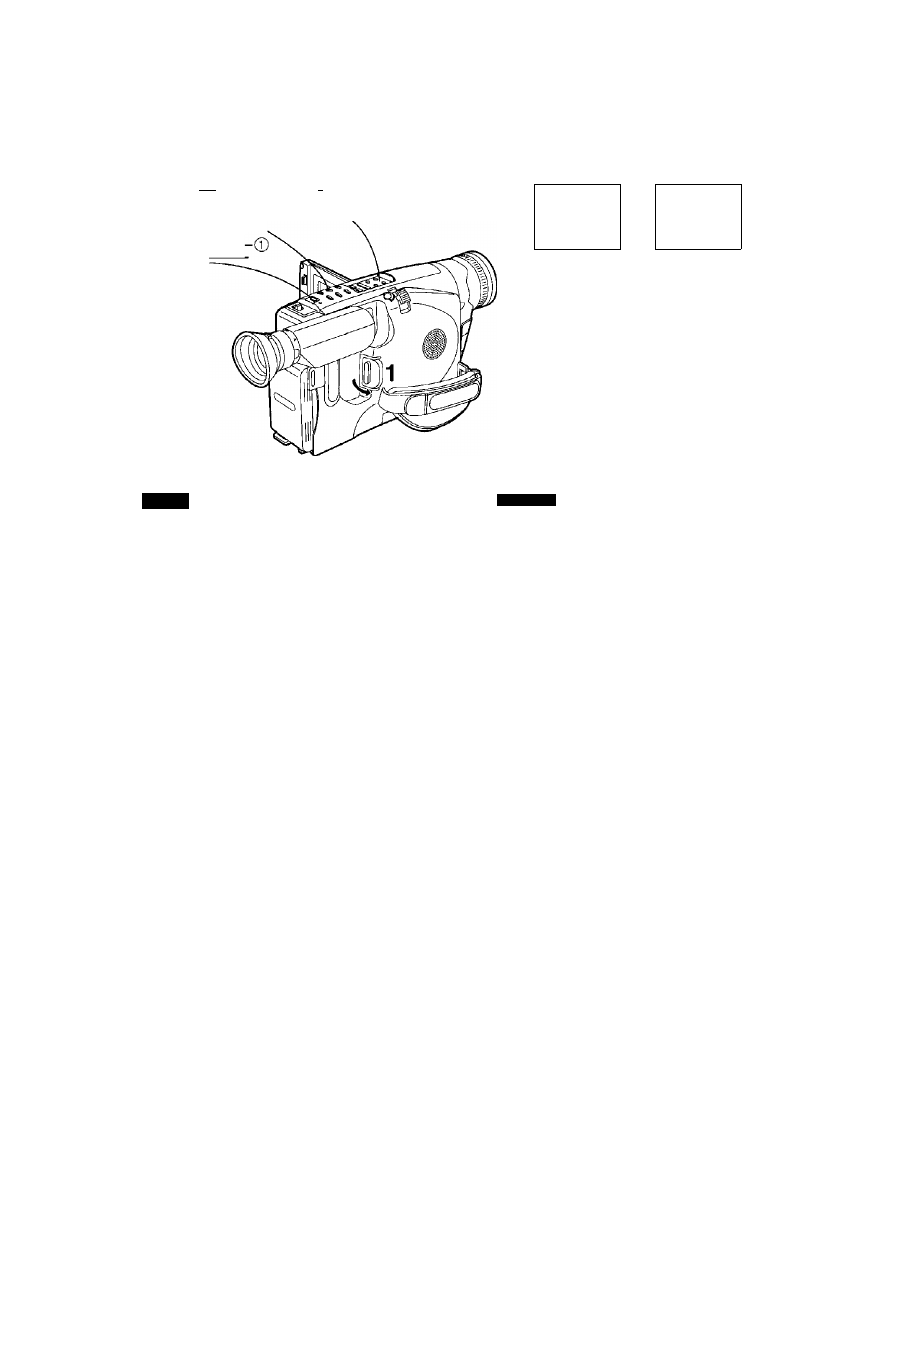
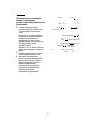
Setting the Date and Time
1
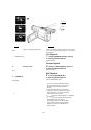
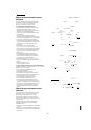
Turn out the [POWER] Switch to turn the
Movie Camera on.
•The [CAMERA] Lamp ® lights.
2
Press the [DATE/TITLE] Button to make
the Date/Time/Title Indication appear.
•To set the date and time, one of the indications
other than the Title Indication alone
Q
shown
above must be displayed. If the Title Indication
alone
Q
is displayed, select another Date/Time/
Title indication (Q - © or ©). (-» 36)
3
Press the [DATE/TIME/SHIFT] Button
until the “Year” portion flashes.
4
Press the [DATE/TIME/SETI Button
repeatedly until the current year (for
example: 1998) is displayed.
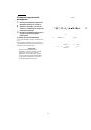
•The figures in the Date/Time Indication change in
the following order:
Year:
1990 >1991 > .........................-^2089^1990^...
Month: 1^2^ .................................^12->1-^...
Day:
1^2^ ............................... ^31-^1-^...
Hour: 0^1^ ...................................^23^0-^...
Minute: 00^01^ ............................^59^00^...
5
Also set the “Month”, “Day”, “Hour”,
“Minute” in the same way as explained
in steps 3 and 4.
6
After you have set the date and time and
confirmed that they are correct, press
the [DATE/TIME/SHIFT] Button.
•The operation of the clock starts.
48
 1
1
 2
2
 3
3
 4
4
 5
5
 6
6
 7
7
 8
8
 9
9
 10
10
 11
11
 12
12
 13
13
 14
14
 15
15
 16
16
 17
17
 18
18
 19
19
 20
20
 21
21
 22
22
 23
23
 24
24
 25
25
 26
26
 27
27
 28
28
 29
29
 30
30
 31
31
 32
32
 33
33
 34
34
 35
35
 36
36
 37
37
 38
38
 39
39
 40
40
 41
41
 42
42
 43
43
 44
44
 45
45
 46
46
 47
47
 48
48
 49
49
 50
50
 51
51
 52
52
 53
53
 54
54
 55
55
 56
56
 57
57
 58
58
 59
59
 60
60
 61
61
 62
62
 63
63
 64
64
 65
65
 66
66
 67
67
 68
68
 69
69
 70
70
 71
71
 72
72
 73
73
 74
74
 75
75
 76
76
 77
77
 78
78
 79
79
 80
80
 81
81
 82
82
 83
83
 84
84
 85
85
 86
86
 87
87
 88
88
 89
89
 90
90
 91
91
 92
92
 93
93
 94
94
 95
95
 96
96
 97
97
 98
98
 99
99
 100
100
 101
101
 102
102
 103
103
 104
104
 105
105
 106
106
 107
107
 108
108
 109
109
 110
110
 111
111
 112
112
 113
113
 114
114
 115
115
 116
116
 117
117
 118
118
 119
119
 120
120
 121
121
 122
122
 123
123
 124
124
 125
125
 126
126
 127
127
 128
128
 129
129
 130
130
 131
131
 132
132
 133
133
 134
134
 135
135
 136
136
 137
137
 138
138
 139
139
 140
140
 141
141
 142
142
 143
143
 144
144
 145
145
 146
146
 147
147
 148
148
 149
149
 150
150
 151
151
 152
152
 153
153
 154
154
 155
155
 156
156
 157
157
 158
158
 159
159
 160
160
 161
161
 162
162
 163
163
 164
164
 165
165
 166
166
 167
167
 168
168
 169
169