36
Getti
ng Sta
rted
2
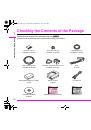
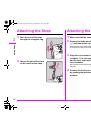
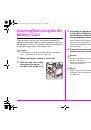
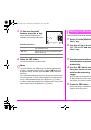
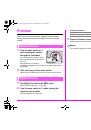
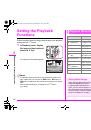
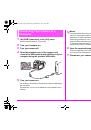
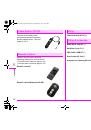
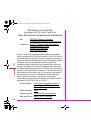
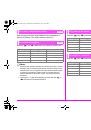
An SD Memory Card must be formatted with this camera before
use.
Caution
• Do not remove the SD Memory Card while formatting. The card
may be damaged and become unusable.
• Formatting an SD Memory Card deletes all images on the card
even protected images.
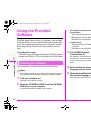
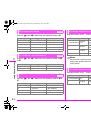
1
Press the
3
button.
The [
A
1] menu appears.
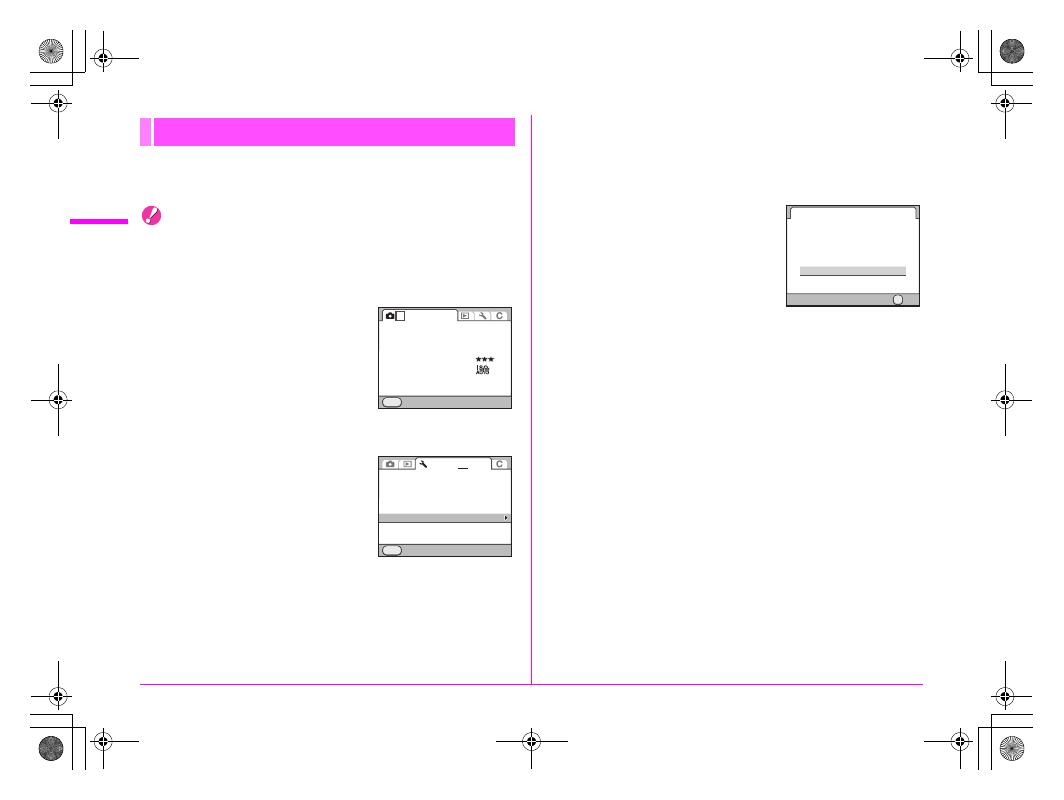
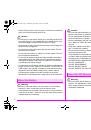
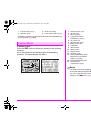
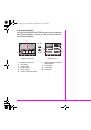
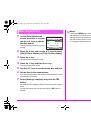
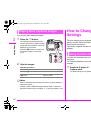
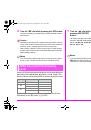
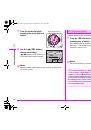
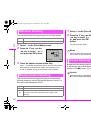
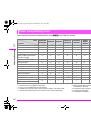
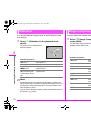
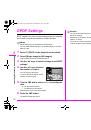
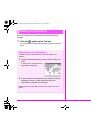
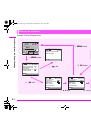
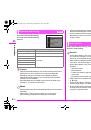
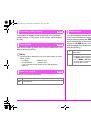
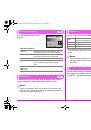
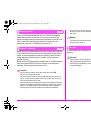
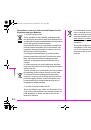
2
Turn the
S
dial to select the [
R
4] menu.
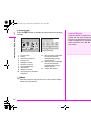
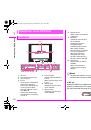
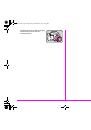
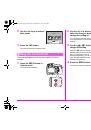
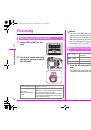
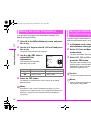
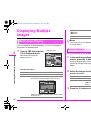
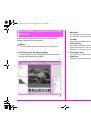
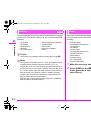
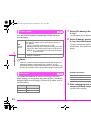
3
Use the
23
keys to select
[Format] and press the
5
key.
The [Format] screen appears.
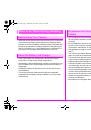
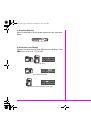
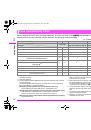
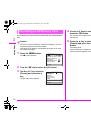
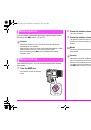
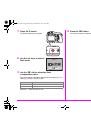
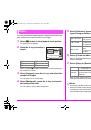
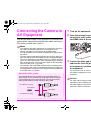
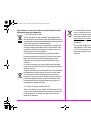
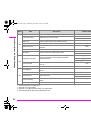
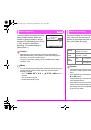
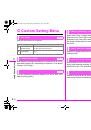
4
Use the
23
keys to select the card to format and
press the
4
button.
You cannot select a card when either one of the cards is locked or
not inserted.
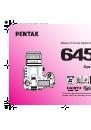
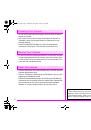
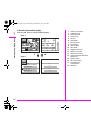
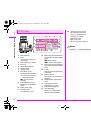
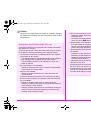
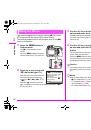
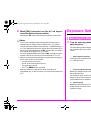
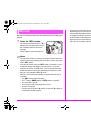
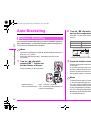
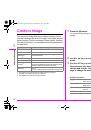
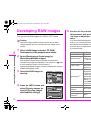
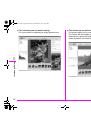
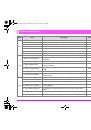
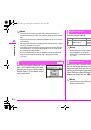
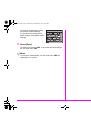
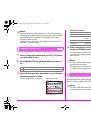
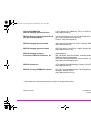
5
Press the
2
key to select
[Format] and press the
4
button.
Formatting starts.
When formatting is completed, the
camera returns to Capture mode.
Formatting an SD Memory Card
JPEG
JPEG
L
Exit
MENU
1
2 3 4
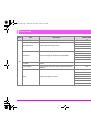
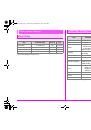
SD1 Image File Format
SD2 Image File Format
JPEG Recorded Pixels
JPEG Quality
ISO AUTO Adjustment
D-Range Setting
Pixel Mapping
Dust Alert
Dust Removal
Sensor Cleaning
Format
Exit
MENU
1 2 3
4
Format
OK
OK
Cancel
Format
All data saved
on SD1 card
will be deleted
e_kb487.book Page 36 Wednesday, December 8, 2010 9:49 AM
 1
1
 2
2
 3
3
 4
4
 5
5
 6
6
 7
7
 8
8
 9
9
 10
10
 11
11
 12
12
 13
13
 14
14
 15
15
 16
16
 17
17
 18
18
 19
19
 20
20
 21
21
 22
22
 23
23
 24
24
 25
25
 26
26
 27
27
 28
28
 29
29
 30
30
 31
31
 32
32
 33
33
 34
34
 35
35
 36
36
 37
37
 38
38
 39
39
 40
40
 41
41
 42
42
 43
43
 44
44
 45
45
 46
46
 47
47
 48
48
 49
49
 50
50
 51
51
 52
52
 53
53
 54
54
 55
55
 56
56
 57
57
 58
58
 59
59
 60
60
 61
61
 62
62
 63
63
 64
64
 65
65
 66
66
 67
67
 68
68
 69
69
 70
70
 71
71
 72
72
 73
73
 74
74
 75
75
 76
76
 77
77
 78
78
 79
79
 80
80
 81
81
 82
82
 83
83
 84
84
 85
85
 86
86
 87
87
 88
88
 89
89
 90
90
 91
91
 92
92
 93
93
 94
94
 95
95
 96
96
 97
97
 98
98
 99
99
 100
100
 101
101
 102
102
 103
103
 104
104
 105
105
 106
106
 107
107
 108
108
 109
109
 110
110
 111
111
 112
112
 113
113
 114
114
 115
115
 116
116
 117
117
 118
118
 119
119
 120
120
 121
121
 122
122
 123
123
 124
124
 125
125
 126
126
 127
127
 128
128
 129
129
 130
130
 131
131
 132
132
 133
133
 134
134
 135
135
 136
136
 137
137
 138
138
 139
139
 140
140
 141
141
 142
142
 143
143
 144
144
 145
145
 146
146
 147
147
 148
148
 149
149
 150
150
 151
151
 152
152
 153
153
 154
154
 155
155
 156
156
 157
157
 158
158
 159
159
 160
160